SETUP

AUTOMATIC CHANNEL SET UP

VCR

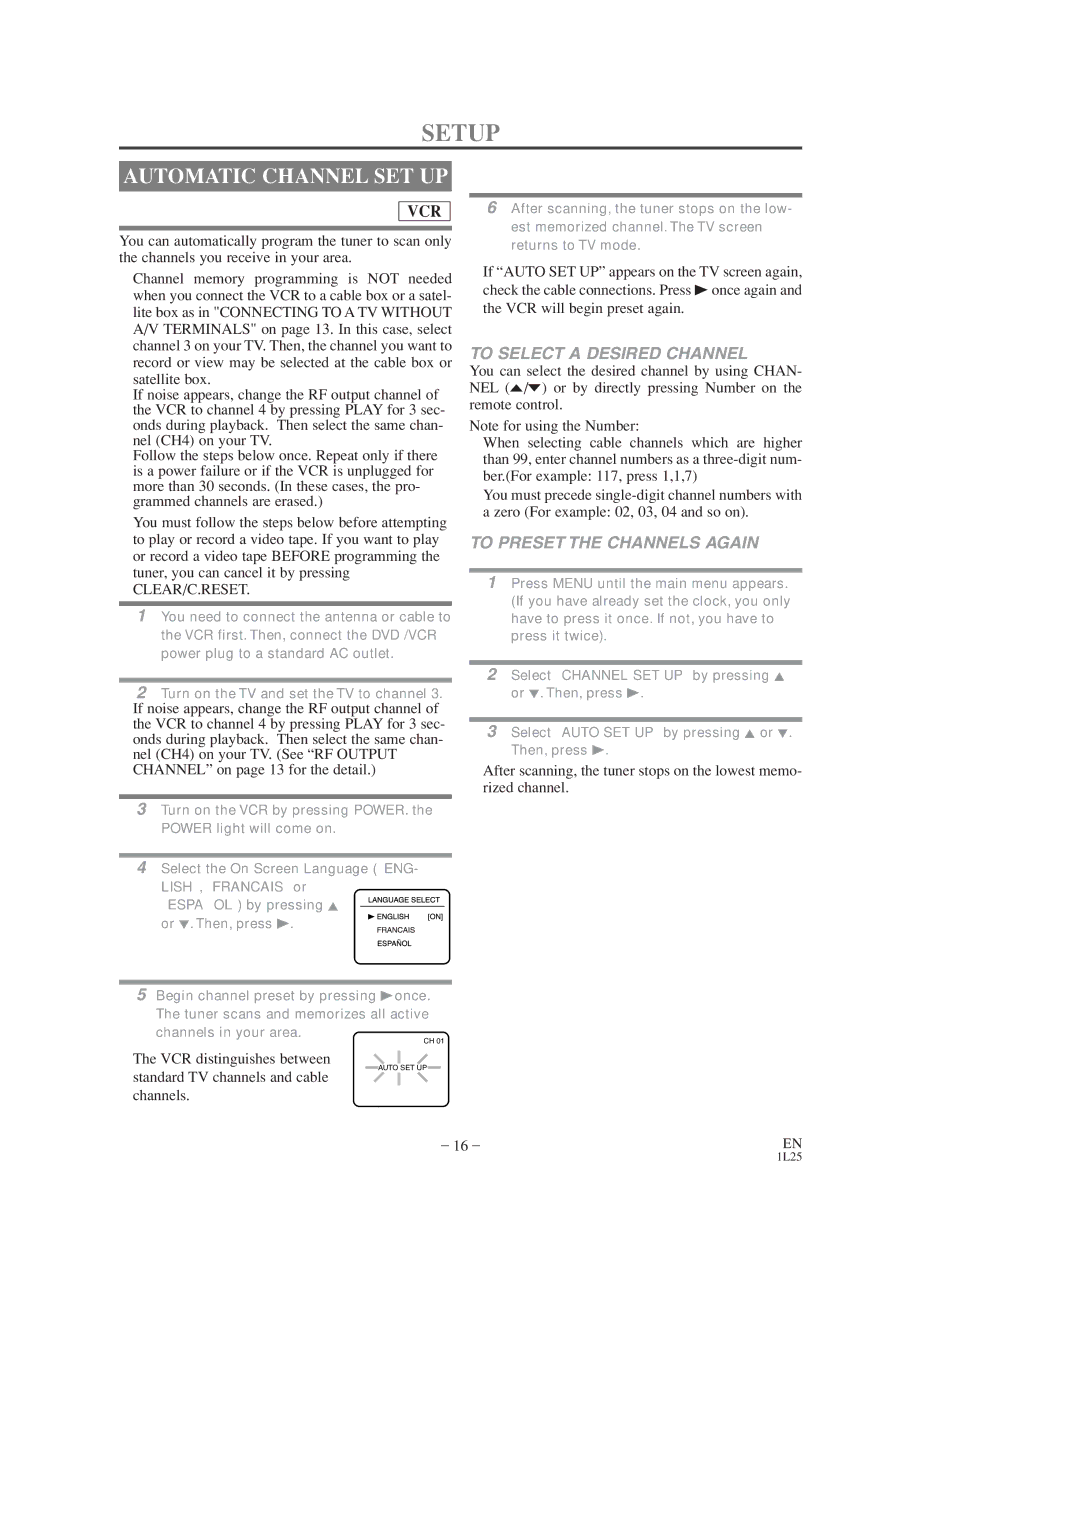
You can automatically program the tuner to scan only the channels you receive in your area.

¡Channel memory programming is NOT needed when you connect the VCR to a cable box or a satel- lite box as in "CONNECTING TO A TV WITHOUT A/V TERMINALS" on page 13. In this case, select channel 3 on your TV. Then, the channel you want to record or view may be selected at the cable box or satellite box.

¡If noise appears, change the RF output channel of the VCR to channel 4 by pressing PLAY for 3 sec- onds during playback. Then select the same chan- nel (CH4) on your TV.

¡Follow the steps below once. Repeat only if there is a power failure or if the VCR is unplugged for more than 30 seconds. (In these cases, the pro- grammed channels are erased.)

¡You must follow the steps below before attempting to play or record a video tape. If you want to play or record a video tape BEFORE programming the tuner, you can cancel it by pressing CLEAR/C.RESET.

1You need to connect the antenna or cable to the VCR first. Then, connect the DVD /VCR power plug to a standard AC outlet.

2Turn on the TV and set the TV to channel 3.

¡If noise appears, change the RF output channel of the VCR to channel 4 by pressing PLAY for 3 sec- onds during playback. Then select the same chan- nel (CH4) on your TV. (See “RF OUTPUT CHANNEL” on page 13 for the detail.)

3Turn on the VCR by pressing POWER. the POWER light will come on.

4Select the On Screen Language (“ENG- LISH”, “FRANCAIS” or

“ESPAÑOL”) by pressing K or L. Then, press B.

5Begin channel preset by pressing Bonce.

The tuner scans and memorizes all active channels in your area.

CH 01

¡The VCR distinguishes between

AUTO SET UP

standard TV channels and cable channels.

6After scanning, the tuner stops on the low- est memorized channel. The TV screen returns to TV mode.

¡If “AUTO SET UP” appears on the TV screen again, check the cable connections. Press Bonce again and the VCR will begin preset again.

TO SELECT A DESIRED CHANNEL

You can select the desired channel by using CHAN- NEL (o/p) or by directly pressing Number on the remote control.

Note for using the Number:

¡When selecting cable channels which are higher than 99, enter channel numbers as a three-digit num- ber.(For example: 117, press 1,1,7)

¡You must precede single-digit channel numbers with a zero (For example: 02, 03, 04 and so on).

TO PRESET THE CHANNELS AGAIN

1Press MENU until the main menu appears. (If you have already set the clock, you only have to press it once. If not, you have to press it twice).

2Select “CHANNEL SET UP” by pressing K or L. Then, press B.

3Select “AUTO SET UP” by pressing K or L. Then, press B.

¡After scanning, the tuner stops on the lowest memo- rized channel.

– 16 –

EN

1L25

Page 16
Image 16
Sylvania DVC860D owner manual Setup, Automatic Channel SET UP, To Select a Desired Channel, To Preset the Channels Again

DVC860D specifications

The Sylvania DVC860D is a versatile and user-friendly digital video recorder that combines functionality and innovation to cater to today’s multimedia needs. Designed for both casual users and tech enthusiasts, the DVC860D stands out with its compact design and robust performance features.

One of the main features of the DVC860D is its ability to record video in high definition. With support for various resolutions, including 720p and 1080p, the device captures every detail, ensuring that your home videos look sharp and vibrant. Its built-in MPEG-4 encoding technology allows for efficient storage without compromising on quality, making it ideal for recording long events or multiple shows.

In addition to its recording capabilities, the DVC860D offers playback support for a wide range of formats, including DVD, CD, and various digital file formats. This means users can not only record but also view their favorite movies, TV shows, and personal videos with ease. The compatibility with standard DVD media ensures that anyone can access their video library without the need for additional converters or software.

The DVC860D is also equipped with a user-friendly interface that simplifies navigation. The remote control features dedicated buttons for quick access to recordings, playback functions, and menu options. This intuitive design makes it accessible even for those who may not be tech-savvy, minimizing the learning curve associated with digital recording devices.

Moreover, the Sylvania DVC860D comes with built-in scheduling features, allowing users to set recordings in advance. This function is particularly beneficial for capturing live broadcasts, such as sports events or favorite TV shows, without the need to be present at all times.

Connectivity is another area where the DVC860D excels. With multiple inputs, including USB ports and HDMI output, the device allows for easy connection to TVs, computers, and external storage devices. This flexibility means that users can transfer videos seamlessly or enhance their viewing experience on larger screens.

In summary, the Sylvania DVC860D is a sophisticated digital video recorder that offers high-definition video recording, extensive format compatibility, an intuitive user interface, scheduling capabilities, and versatile connectivity options. Its combination of features makes it an excellent choice for anyone looking to enhance their video recording and playback experience in a straightforward and efficient manner.