Hardware Installation
Please note for Windows® User's
Before attaching your new LCD monitor to your computer, please make sure that your resolution and refresh rates are set correctly for your monitor to work properly. This is especially important if you are changing monitors (for example, from a CRT to a LCD). Before disconnecting your old monitor, please set the resolution to 1024 x 768 and set the refresh rate to 60Hz. You can adjust these settings by right clicking your desktop, select “Properties”, then “Settings”. To adjust the refresh rate, click on “Advanced” and search for this option.
Video card settings will be different based on the video capability of your computer. Please consult your video graphics card or computer manual for more information.
1.Carefully position your LCD monitor so that you can see all of the connection ports on the bottom of the monitor.
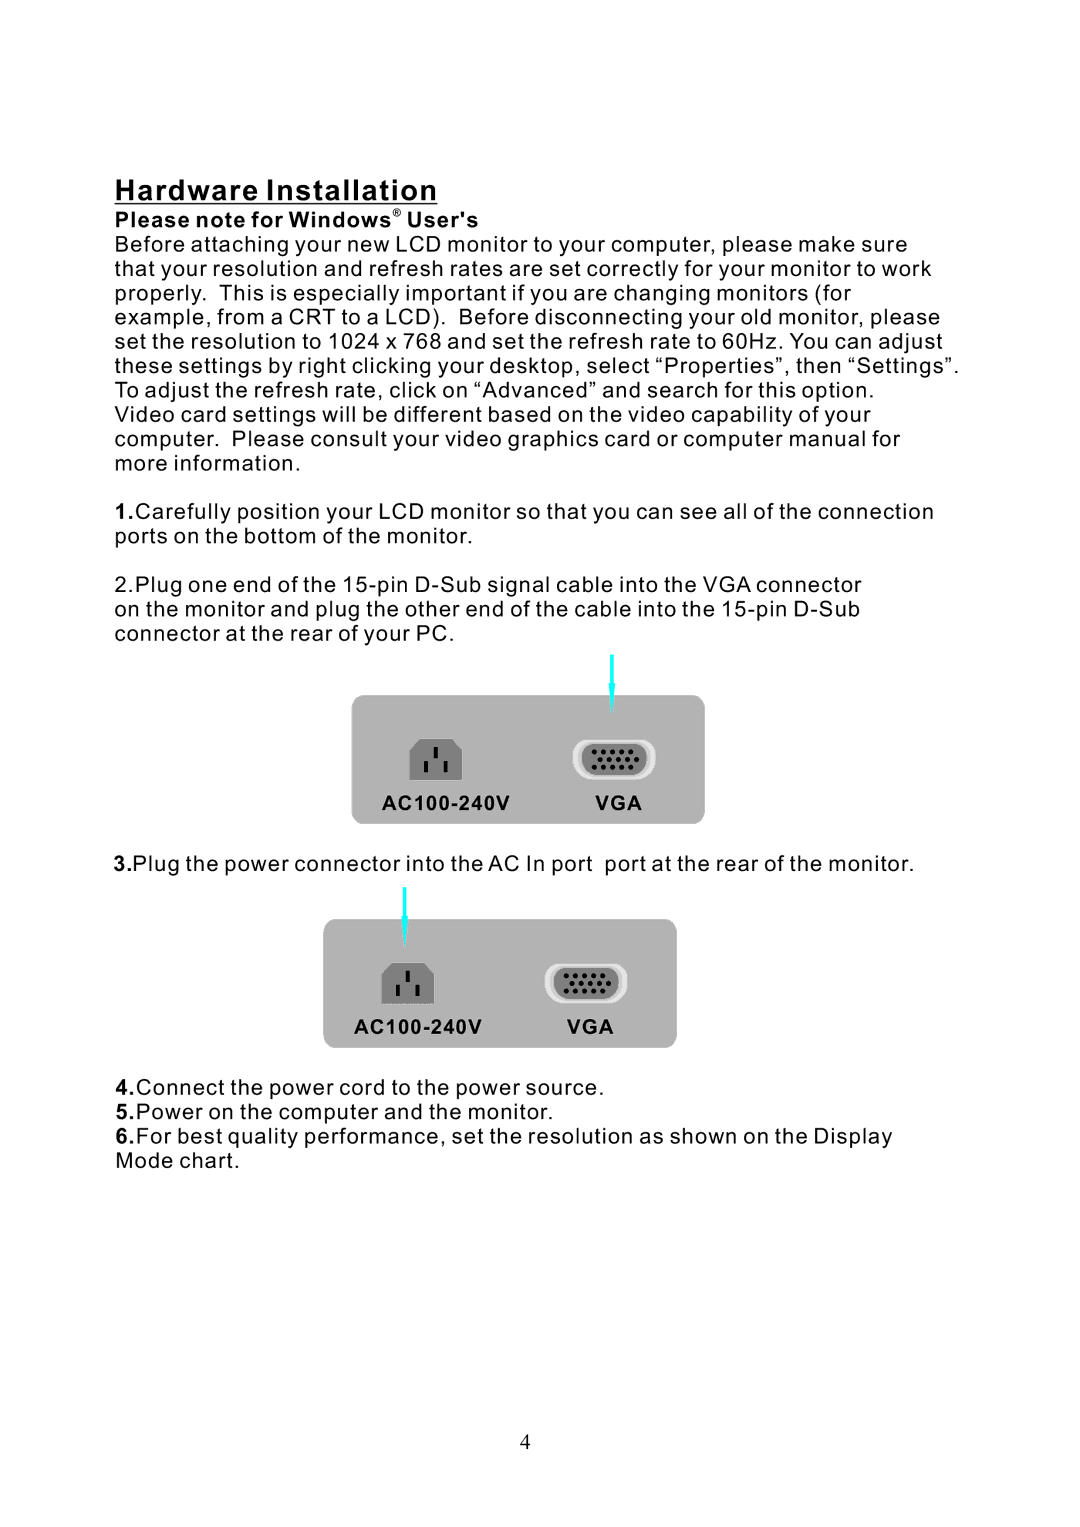
2.Plug one end of the
3.Plug the power connector into the AC In port port at the rear of the monitor.
4.Connect the power cord to the power source.
5.Power on the computer and the monitor.
6.For best quality performance, set the resolution as shown on the Display Mode chart.
4