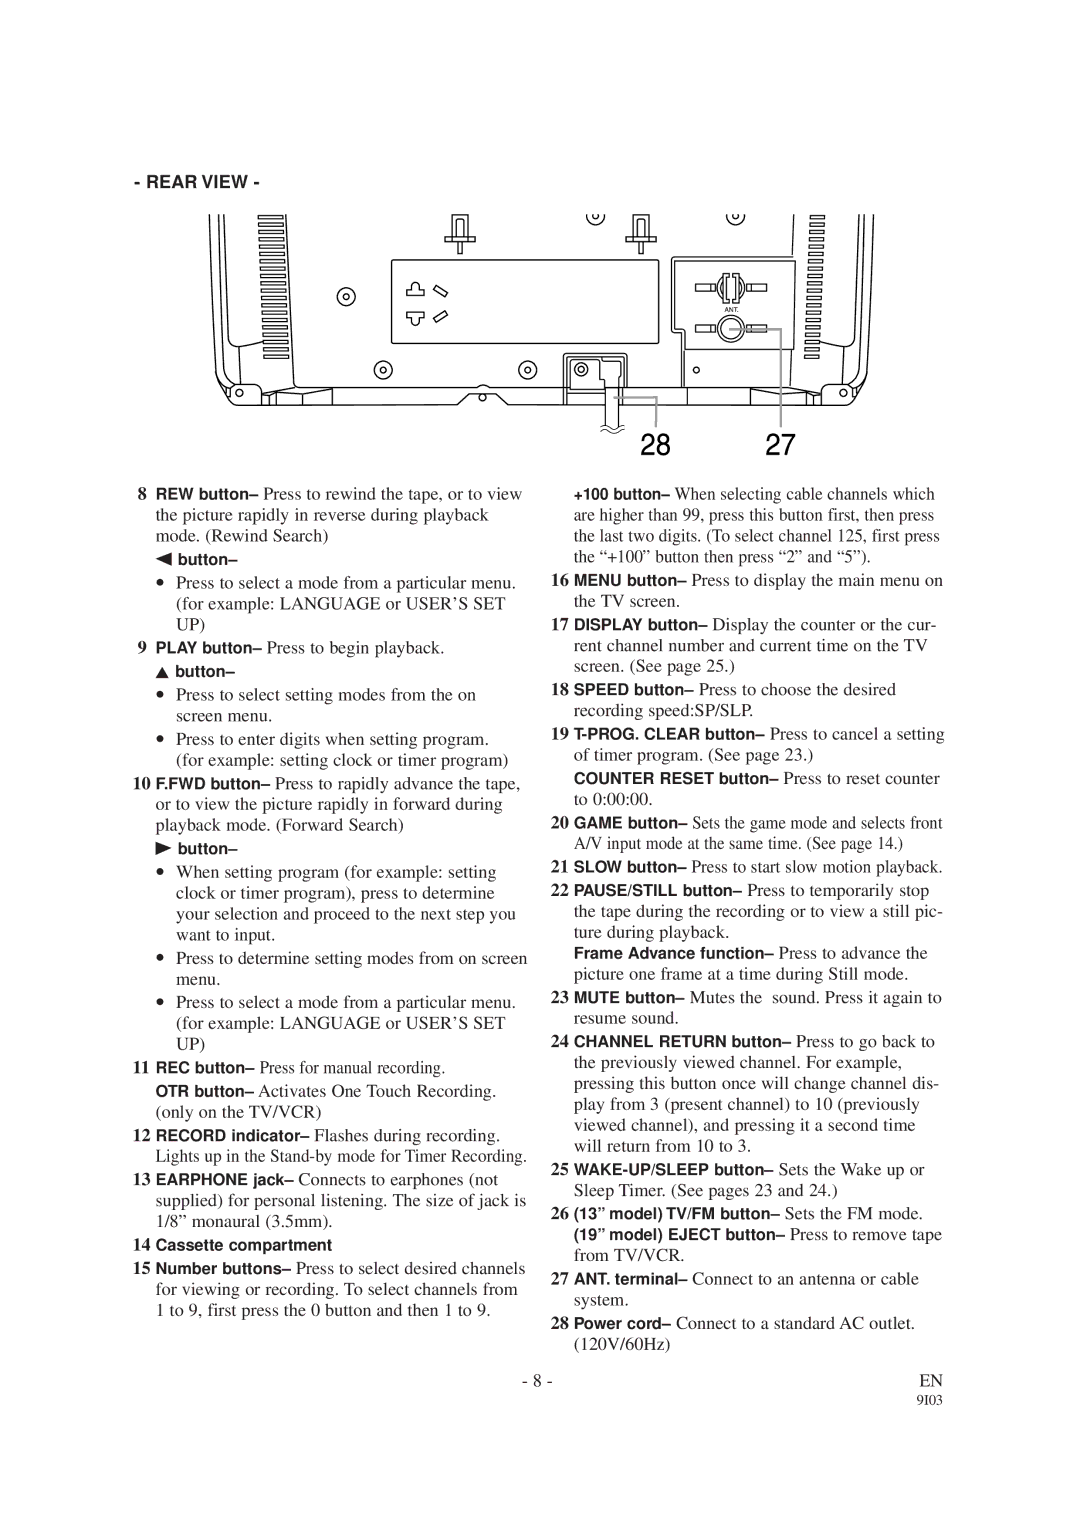
- REAR VIEW -
8REW button– Press to rewind the tape, or to view the picture rapidly in reverse during playback mode. (Rewind Search)
s button–
•Press to select a mode from a particular menu. (for example: LANGUAGE or USER’S SET UP)
9PLAY button– Press to begin playback.
K button–
•Press to select setting modes from the on screen menu.
•Press to enter digits when setting program. (for example: setting clock or timer program)
10 F.FWD button– Press to rapidly advance the tape, or to view the picture rapidly in forward during playback mode. (Forward Search)
Bbutton–
•When setting program (for example: setting clock or timer program), press to determine your selection and proceed to the next step you want to input.
•Press to determine setting modes from on screen menu.
•Press to select a mode from a particular menu. (for example: LANGUAGE or USER’S SET UP)
11 REC button– Press for manual recording.
OTR button– Activates One Touch Recording. (only on the TV/VCR)
12 RECORD indicator– Flashes during recording. Lights up in the
13 EARPHONE jack– Connects to earphones (not supplied) for personal listening. The size of jack is 1/8” monaural (3.5mm).
14 Cassette compartment
15 Number buttons– Press to select desired channels for viewing or recording. To select channels from 1 to 9, first press the 0 button and then 1 to 9.
+100 button– When selecting cable channels which are higher than 99, press this button first, then press the last two digits. (To select channel 125, first press the “+100” button then press “2” and “5”).
16 MENU button– Press to display the main menu on the TV screen.
17 DISPLAY button– Display the counter or the cur- rent channel number and current time on the TV screen. (See page 25.)
18 SPEED button– Press to choose the desired recording speed:SP/SLP.
19
COUNTER RESET button– Press to reset counter to 0:00:00.
20 GAME button– Sets the game mode and selects front A/V input mode at the same time. (See page 14.)
21 SLOW button– Press to start slow motion playback.
22 PAUSE/STILL button– Press to temporarily stop the tape during the recording or to view a still pic- ture during playback.
Frame Advance function– Press to advance the picture one frame at a time during Still mode.
23 MUTE button– Mutes the sound. Press it again to resume sound.
24 CHANNEL RETURN button– Press to go back to the previously viewed channel. For example, pressing this button once will change channel dis- play from 3 (present channel) to 10 (previously viewed channel), and pressing it a second time will return from 10 to 3.
25
26 (13” model) TV/FM button– Sets the FM mode. (19” model) EJECT button– Press to remove tape from TV/VCR.
27 ANT. terminal– Connect to an antenna or cable system.
28 Power cord– Connect to a standard AC outlet. (120V/60Hz)
- 8 - | EN |