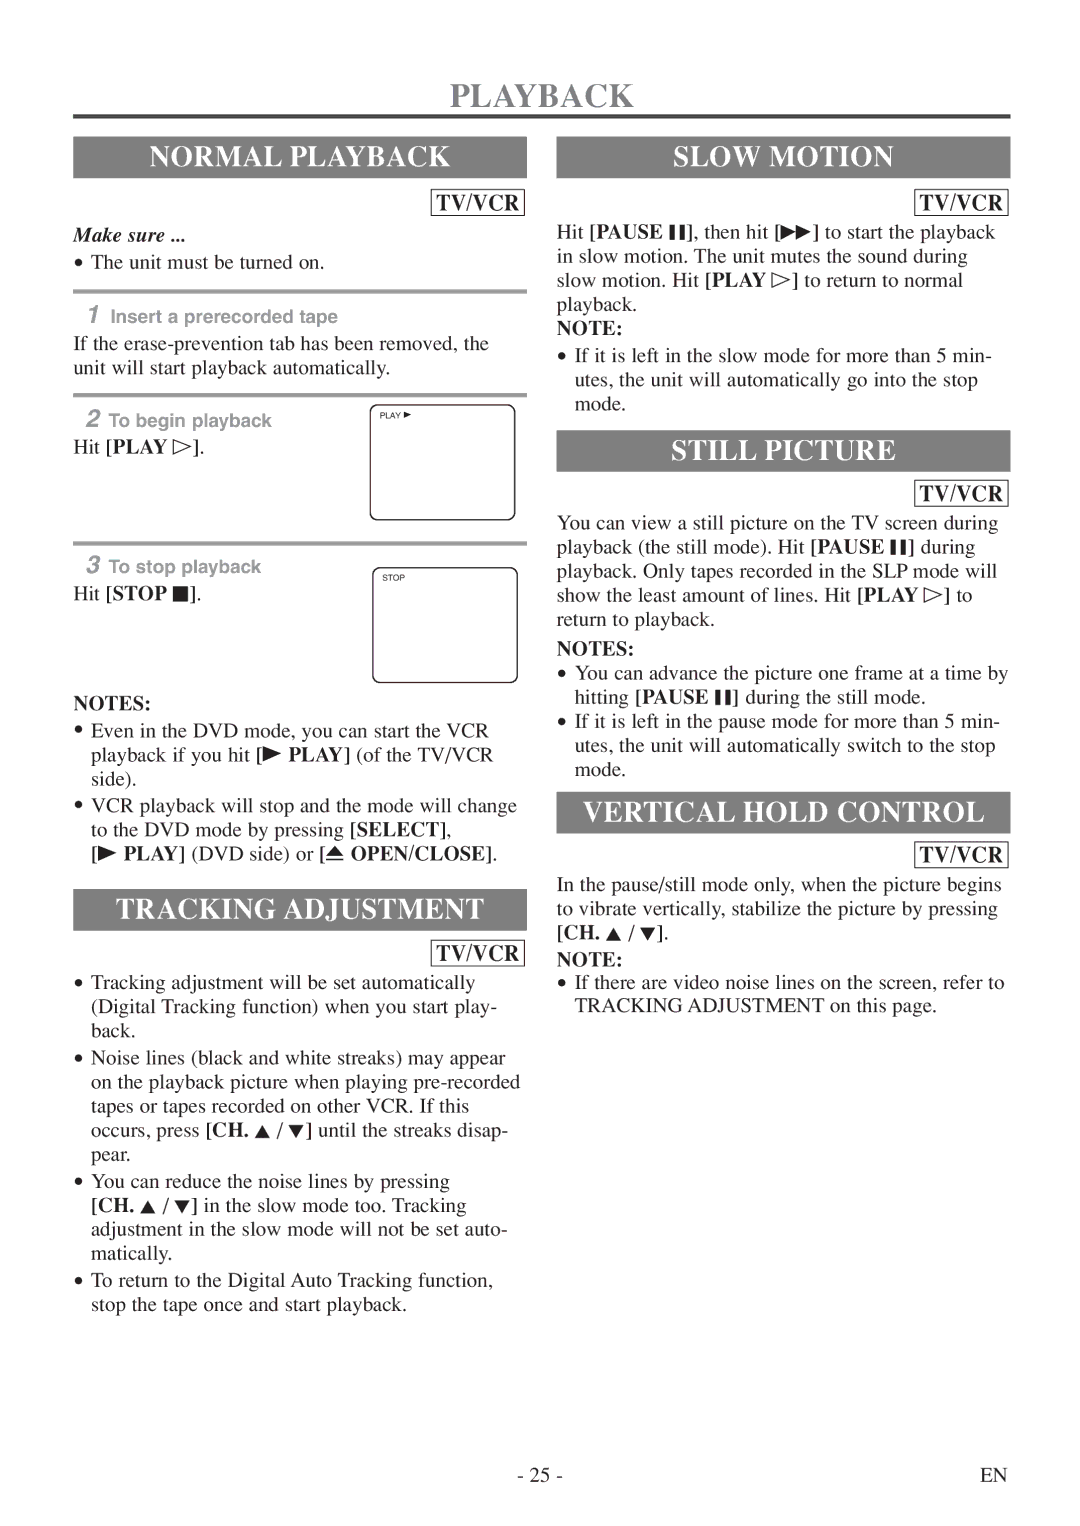
PLAYBACK
NORMAL PLAYBACK
TV/VCR
Make sure ...
•The unit must be turned on.
1Insert a prerecorded tape
If the
2 | To begin playback | PLAY B |
|
Hit [PLAY O].
3To stop playback
STOP
Hit [STOP C].
NOTES:
•Even in the DVD mode, you can start the VCR playback if you hit [B PLAY] (of the TV/VCR side).
•VCR playback will stop and the mode will change to the DVD mode by pressing [SELECT],
[B PLAY] (DVD side) or [A OPEN/CLOSE].
TRACKING ADJUSTMENT
TV/VCR
•Tracking adjustment will be set automatically (Digital Tracking function) when you start play- back.
•Noise lines (black and white streaks) may appear on the playback picture when playing
•You can reduce the noise lines by pressing [CH. K / L] in the slow mode too. Tracking adjustment in the slow mode will not be set auto- matically.
•To return to the Digital Auto Tracking function, stop the tape once and start playback.
SLOW MOTION
TV/VCR
Hit [PAUSE F], then hit [D] to start the playback in slow motion. The unit mutes the sound during slow motion. Hit [PLAY O] to return to normal playback.
NOTE:
•If it is left in the slow mode for more than 5 min- utes, the unit will automatically go into the stop mode.
STILL PICTURE
TV/VCR
You can view a still picture on the TV screen during playback (the still mode). Hit [PAUSE F] during playback. Only tapes recorded in the SLP mode will show the least amount of lines. Hit [PLAY O] to return to playback.
NOTES:
•You can advance the picture one frame at a time by hitting [PAUSE F] during the still mode.
•If it is left in the pause mode for more than 5 min- utes, the unit will automatically switch to the stop mode.
VERTICAL HOLD CONTROL
TV/VCR
In the pause/still mode only, when the picture begins to vibrate vertically, stabilize the picture by pressing [CH. K / L].
NOTE:
•If there are video noise lines on the screen, refer to TRACKING ADJUSTMENT on this page.
- 25 - | EN |
