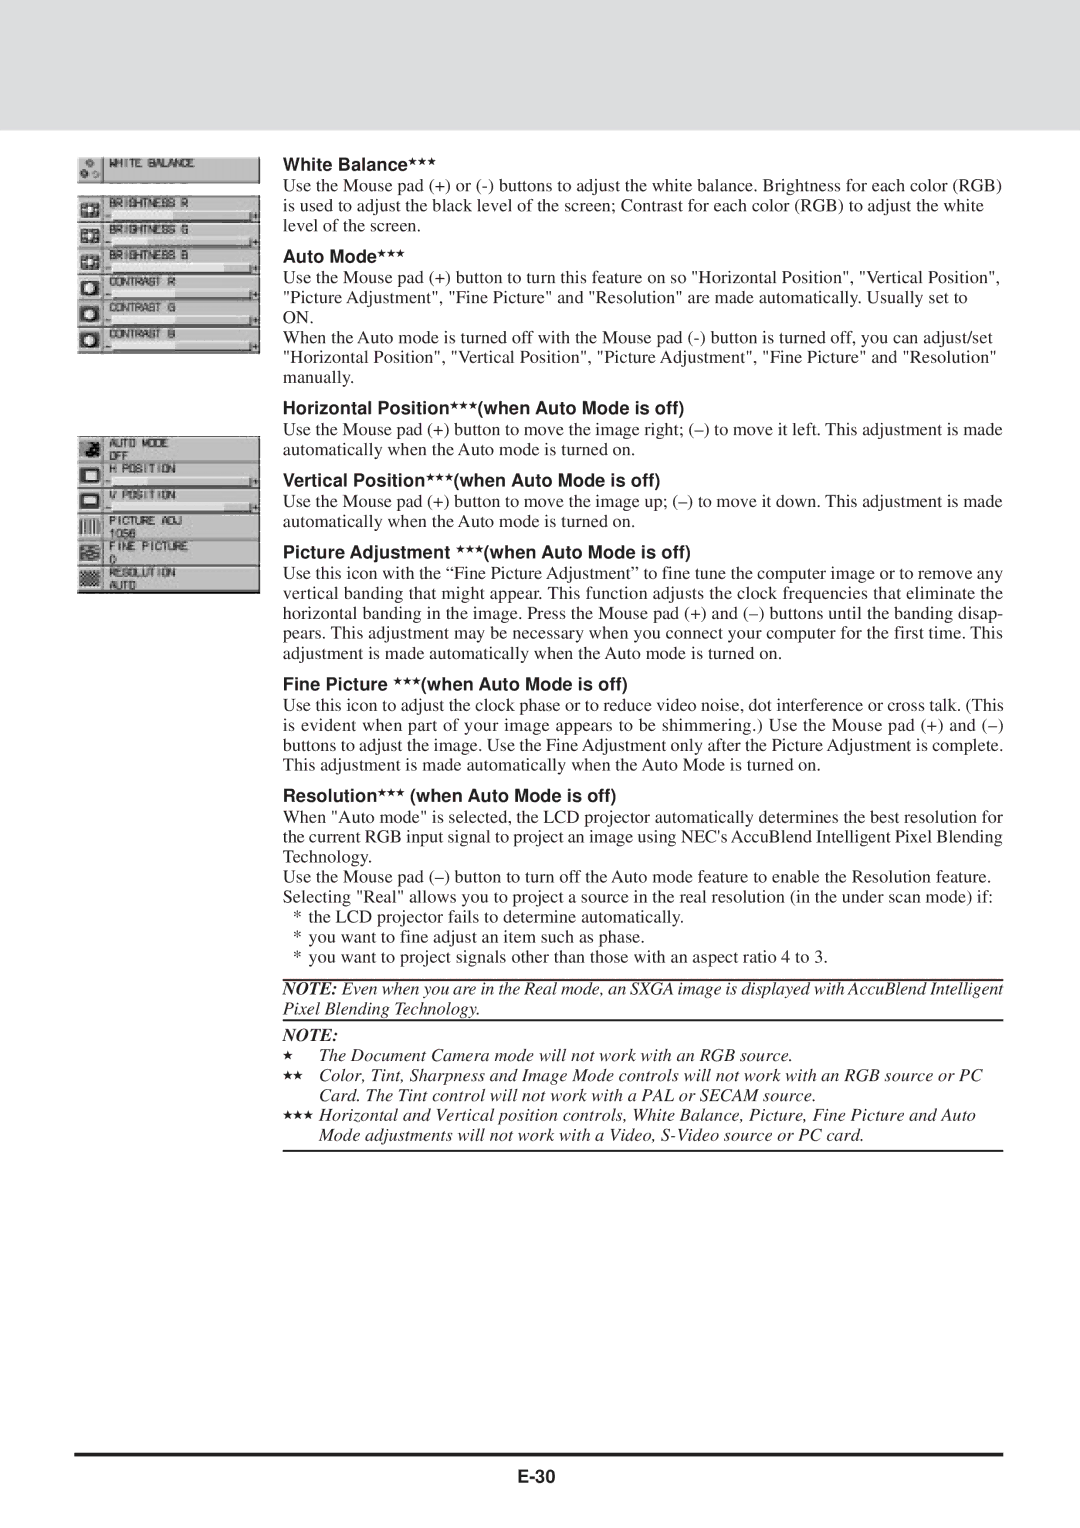
White Balance★★★
Use the Mouse pad (+) or
Auto Mode★★★
Use the Mouse pad (+) button to turn this feature on so "Horizontal Position", "Vertical Position", "Picture Adjustment", "Fine Picture" and "Resolution" are made automatically. Usually set to ON.
When the Auto mode is turned off with the Mouse pad
Horizontal Position★★★(when Auto Mode is off)
Use the Mouse pad (+) button to move the image right;
Vertical Position★★★(when Auto Mode is off)
Use the Mouse pad (+) button to move the image up;
Picture Adjustment ★★★(when Auto Mode is off)
Use this icon with the “Fine Picture Adjustment” to fine tune the computer image or to remove any vertical banding that might appear. This function adjusts the clock frequencies that eliminate the horizontal banding in the image. Press the Mouse pad (+) and
Fine Picture ★★★(when Auto Mode is off)
Use this icon to adjust the clock phase or to reduce video noise, dot interference or cross talk. (This is evident when part of your image appears to be shimmering.) Use the Mouse pad (+) and
Resolution★★★ (when Auto Mode is off)
When "Auto mode" is selected, the LCD projector automatically determines the best resolution for the current RGB input signal to project an image using NEC's AccuBlend Intelligent Pixel Blending Technology.
Use the Mouse pad
*the LCD projector fails to determine automatically.
*you want to fine adjust an item such as phase.
*you want to project signals other than those with an aspect ratio 4 to 3.
NOTE: Even when you are in the Real mode, an SXGA image is displayed with AccuBlend Intelligent Pixel Blending Technology.
NOTE:
⋆The Document Camera mode will not work with an RGB source.
⋆⋆Color, Tint, Sharpness and Image Mode controls will not work with an RGB source or PC Card. The Tint control will not work with a PAL or SECAM source.
⋆⋆⋆Horizontal and Vertical position controls, White Balance, Picture, Fine Picture and Auto Mode adjustments will not work with a Video,