Switching Slides
To switch slides, press "SLIDE +" or "SLIDE
*SLIDE- returns to the previous slide. SLIDE+ advances to the next slide.
NOTE: Editing tasks such as deleting the data inside the flash memory card cannot be accomplished with the LCD projector. Use the exclusive software on your PC for this purpose. If you accidentally delete data required for playback, playing back the data is not possible.
Effect Sound
The Viewer function allows you to play back effect sound for the slide.
Playing back effect sound can be accomplished during the switching slides or files only. To use this feature, you must first specify the effect sound with the supplied software.
You can adjust volume by using the Volume button.
Capturing the currently displayed screen image
The Viewer feature allows you to capture a screen image and store it to a flash memory card.
To capture a screen image and store it to a flash memory card; Select "Capture" from the Settings menu and press the Enter button on the cabinet or Left Click button on the remote control. * To view the captured image
1.Select "Select File" from the Source menu and display a list of files.
*A thumbnail (reduced image) of the first captured image will be displayed.
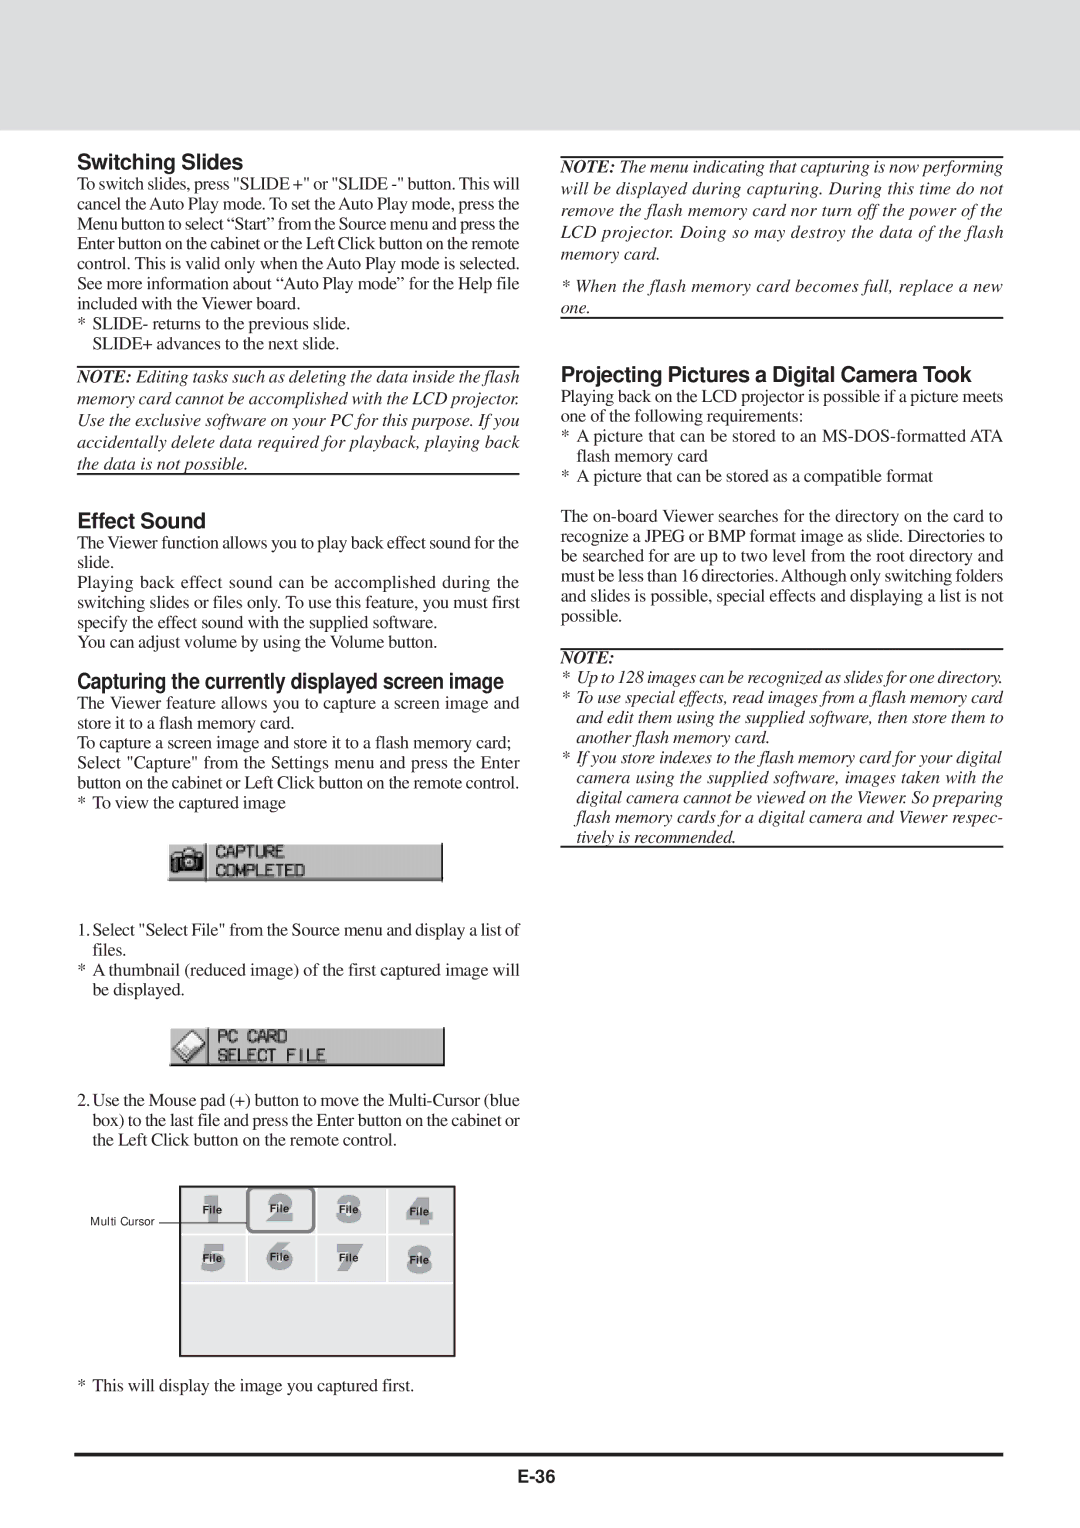
2.Use the Mouse pad (+) button to move the
|
| File | File | File | File |
Multi Cursor |
| 1 | 2 | 3 | 4 |
| 5 | ||||
|
| 6 | 7 | 8 | |
|
| File | File | File | File |
|
|
|
|
|
|
NOTE: The menu indicating that capturing is now performing will be displayed during capturing. During this time do not remove the flash memory card nor turn off the power of the LCD projector. Doing so may destroy the data of the flash memory card.
*When the flash memory card becomes full, replace a new one.
Projecting Pictures a Digital Camera Took
Playing back on the LCD projector is possible if a picture meets one of the following requirements:
*A picture that can be stored to an
*A picture that can be stored as a compatible format
The
NOTE:
*Up to 128 images can be recognized as slides for one directory.
*To use special effects, read images from a flash memory card and edit them using the supplied software, then store them to another flash memory card.
*If you store indexes to the flash memory card for your digital camera using the supplied software, images taken with the digital camera cannot be viewed on the Viewer. So preparing flash memory cards for a digital camera and Viewer respec- tively is recommended.
* This will display the image you captured first.