DA-40 specifications
The Tascam DA-40 is a professional-grade digital audio tape recorder designed for a variety of audio production applications, including music recording, broadcasting, and post-production. Known for its durability and reliability, the DA-40 has established itself as a popular choice among sound engineers and musicians.One of the main features of the Tascam DA-40 is its ability to record in both high-quality digital formats and traditional DAT (Digital Audio Tape). It supports sampling rates of 44.1 kHz and 48 kHz, which are industry standards for audio recording. This flexibility allows users to choose the format that best suits their workflow, making it an excellent tool for archiving, mastering, or live recording.
The DA-40 employs advanced digital processing technologies to provide superior sound quality. Its 20-bit digital audio converter ensures that recordings are captured with precision and clarity, preserving the nuances of the source material. Additionally, the DA-40 features a dynamic range of 100 dB, contributing to its reputation for delivering high-fidelity audio.
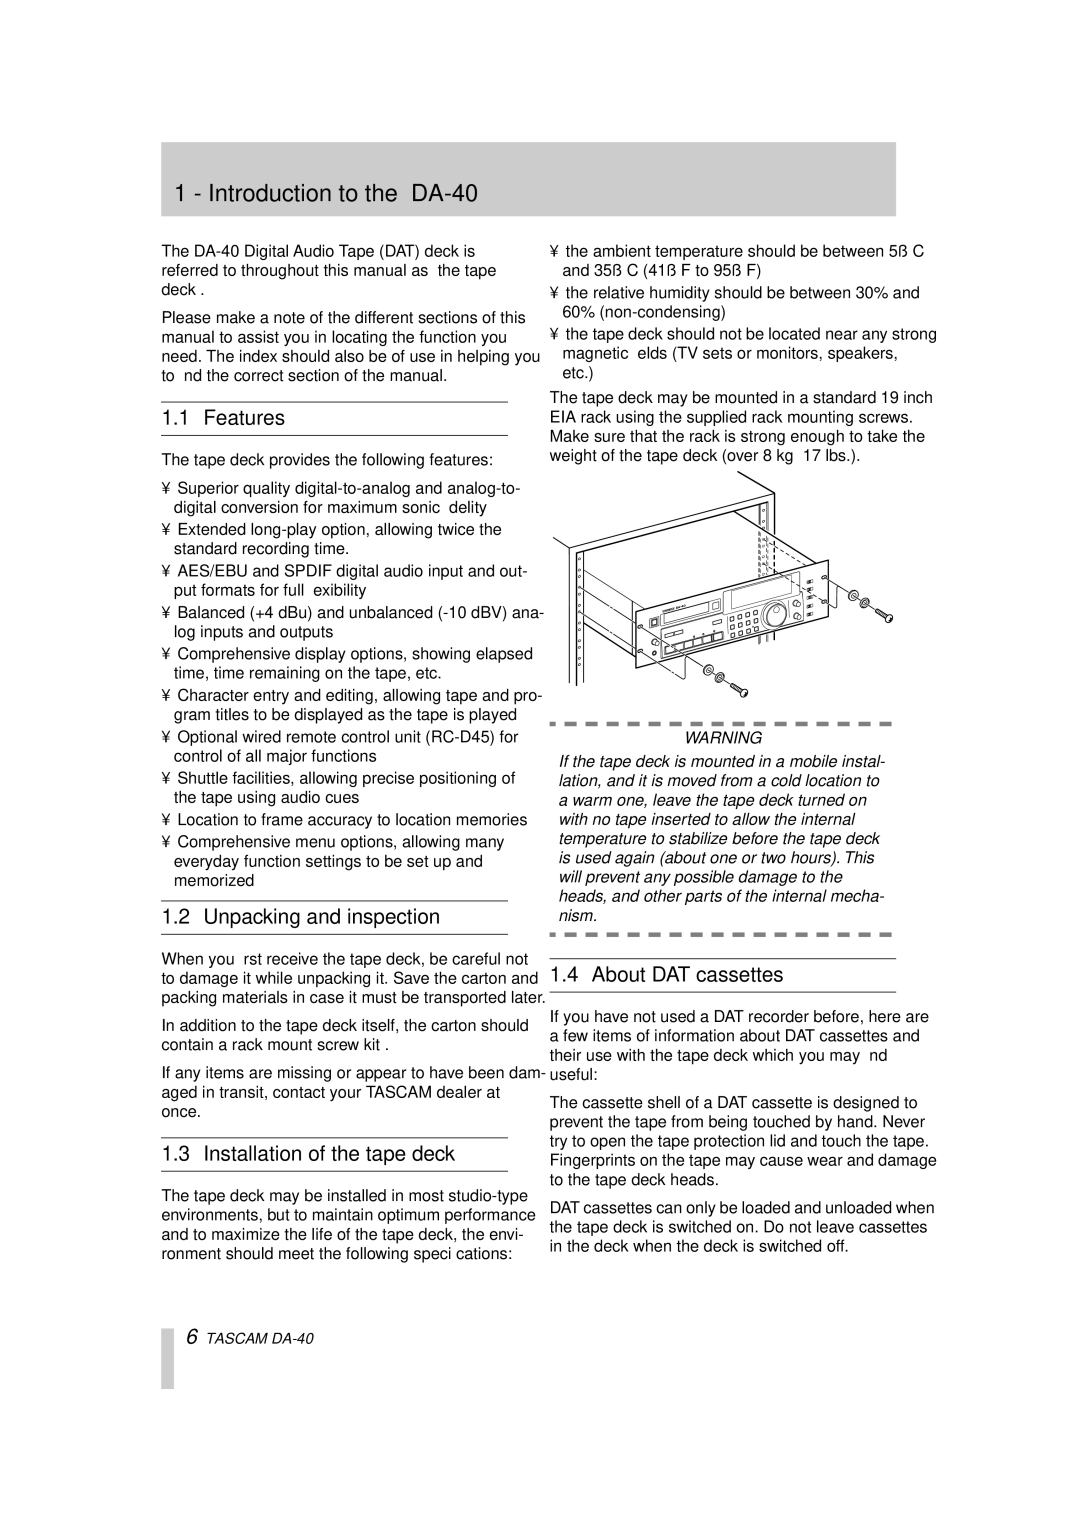
For ease of operation, the DA-40 is equipped with an intuitive user interface. The front panel includes an alphanumeric display that provides essential information like track status, timecode, and remaining tape length, making it user-friendly even in complex recording situations. The machine also offers multiple transport controls, allowing for precise navigation through recordings during playback or editing.
Another characteristic of the DA-40 is its versatility in connectivity options. It features balanced XLR inputs and outputs, along with unbalanced RCA connections, making it compatible with a wide range of audio equipment. The built-in S/PDIF digital output allows for seamless integration with digital audio workstations and other digital devices, enhancing its usability in modern studio environments.
The Tascam DA-40 is also designed with reliable performance in mind. Its rugged construction ensures that it can withstand the demands of live environments while providing consistent operation. Moreover, the unit supports automatic tape advance and rewind functions, streamlining the workflow for busy professionals.
In conclusion, the Tascam DA-40 is a highly capable digital audio tape recorder that combines advanced recording technology with user-friendly features. Its flexibility in audio formats, high-quality sound reproduction, versatile connectivity options, and durable design make it an essential tool for audio professionals aiming to achieve the best results in their production endeavors.

