General Cooking Procedures |
|
1. Preheat the grill or oven to desired cooking temperature. Place | |
the food in the oven or grill. |
|
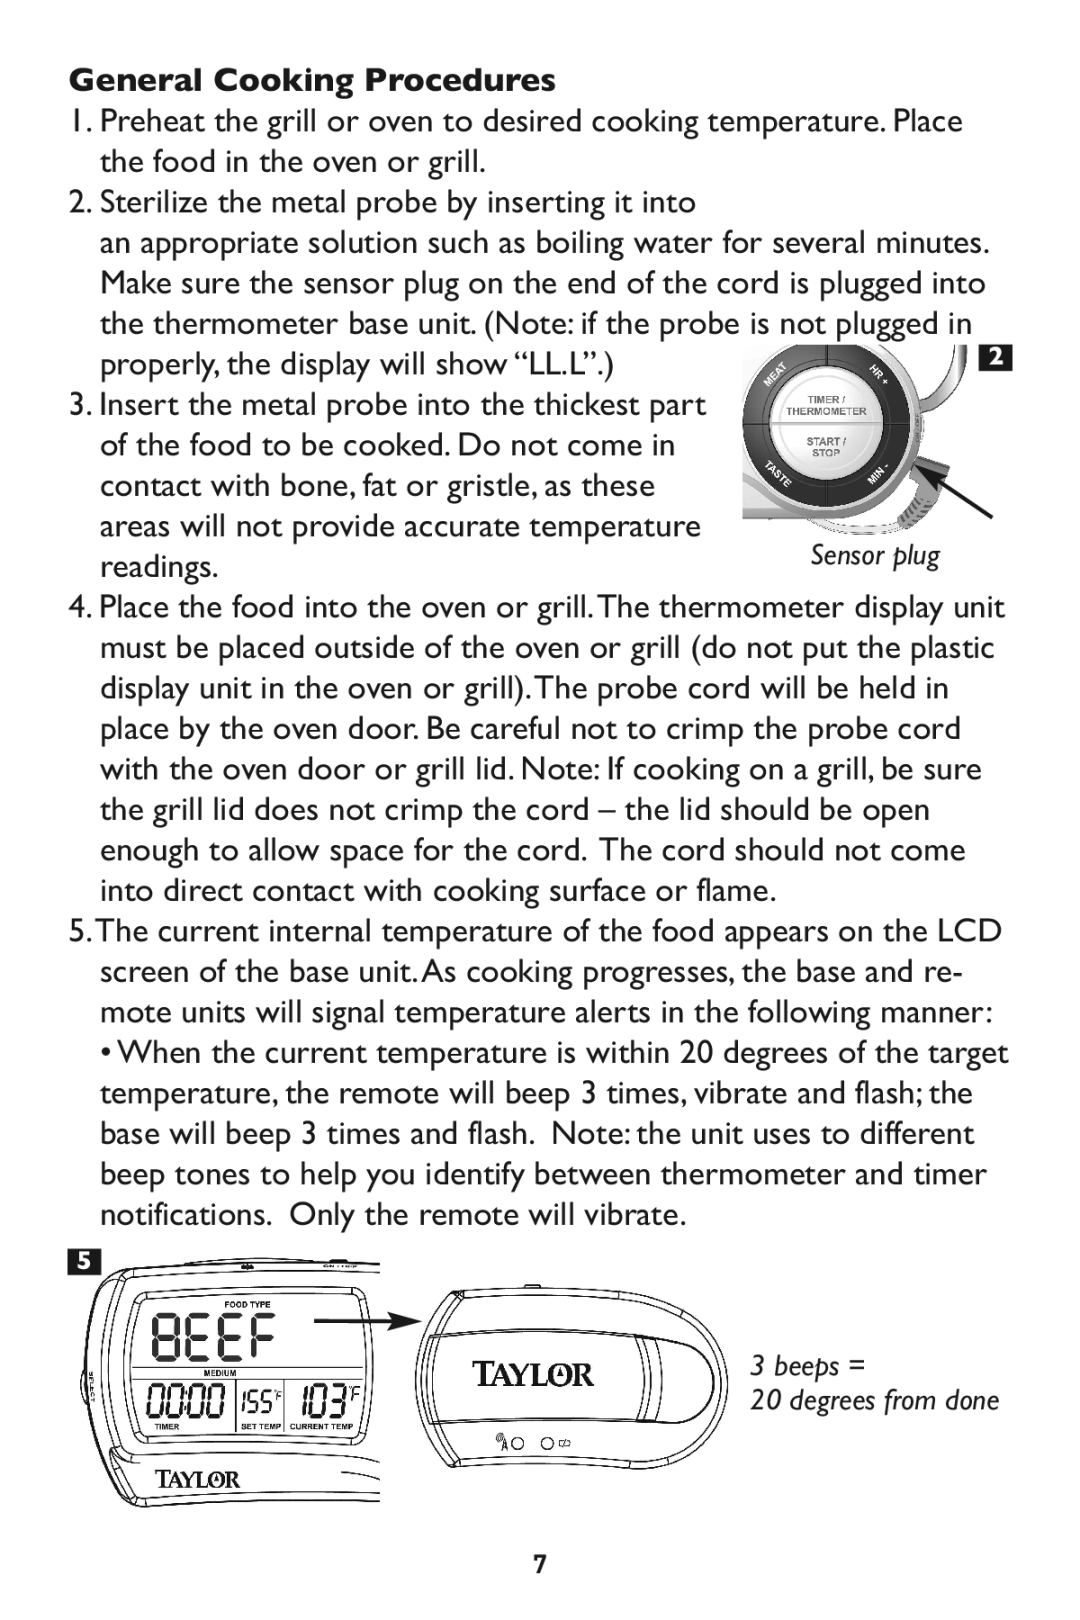
2. Sterilize the metal probe by inserting it into |
|
an appropriate solution such as boiling water for several minutes. | |
Make sure the sensor plug on the end of the cord is plugged into | |
the thermometer base unit. (Note: if the probe is not plugged in | |
properly,the display will show “LL.L”.) |
|
3. Insert the metal probe into the thickest part |
|
of the food to be cooked. Do not come in |
|
contact with bone, fat or gristle, as these |
|
areas will not provide accurate temperature | Sensor plug |
readings. | |
4. Place the food into the oven or grill.The thermometer display unit must be placed outside of the oven or grill (do not put the plastic display unit in the oven or grill).The probe cord will be held in place by the oven door.Be careful not to crimp the probe cord with the oven door or grill lid. Note:7 If cooking on a grill, be sure the grill lid does not crimp the cord – the lid should be open enough to allow space for the cord. The cord should not come into direct contact with cooking surface or flame.
5.The current internal temperature of the food appears on the LCD screen of the base unit.As cooking progresses, the base and re- mote units will signal temperature alerts in the following manner:
• When the current temperature is within 20 degrees of the target temperature, the remote will beep 3 times, vibrate and flash; the base will beep 3 times and flash. Note: the unit uses to different beep tones to help you identify between thermometer and timer notifications. Only the remote will vibrate.