Models/Modelos
CM9130
to reverse setting, move the Forward/Lock/Reverse switch until it is flat against the opposite side of the drill. Keeping the Forward/Lock/Reverse switch in the center position locks the drill and prevents unintentional use. It is recommended that the Drill is in the locked position when it is not in use or is being stored.
CAUTION: Always check the direction of the rotation before using the drill.
The speed of the drill is increased by the amount of pressure you place on the ON/OFF trigger switch.The less pressure you put on the trigger switch, the slower the drill will go.
Your drill comes with an automatic braking function that quickly stops the chuck from turning when the trigger switch is released.
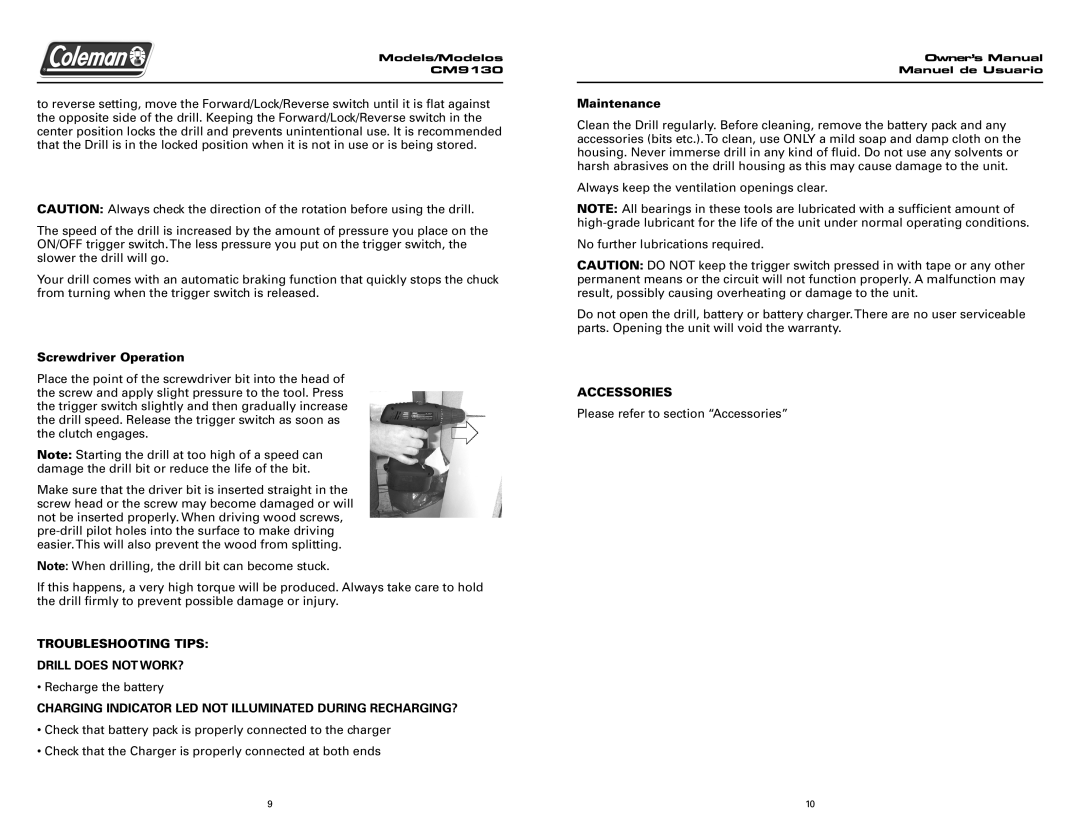
Screwdriver Operation
Place the point of the screwdriver bit into the head of the screw and apply slight pressure to the tool. Press the trigger switch slightly and then gradually increase the drill speed. Release the trigger switch as soon as the clutch engages.
Note: Starting the drill at too high of a speed can damage the drill bit or reduce the life of the bit.
Make sure that the driver bit is inserted straight in the screw head or the screw may become damaged or will not be inserted properly. When driving wood screws,
Note: When drilling, the drill bit can become stuck.
If this happens, a very high torque will be produced. Always take care to hold the drill firmly to prevent possible damage or injury.
TROUBLESHOOTING TIPS:
DRILL DOES NOT WORK?
• Recharge the battery
CHARGING INDICATOR LED NOT ILLUMINATED DURING RECHARGING?
•Check that battery pack is properly connected to the charger
•Check that the Charger is properly connected at both ends
Owner’s Manual
Manuel de Usuario
Maintenance
Clean the Drill regularly. Before cleaning, remove the battery pack and any accessories (bits etc.).To clean, use ONLY a mild soap and damp cloth on the housing. Never immerse drill in any kind of fluid. Do not use any solvents or harsh abrasives on the drill housing as this may cause damage to the unit.
Always keep the ventilation openings clear.
NOTE: All bearings in these tools are lubricated with a sufficient amount of
No further lubrications required.
CAUTION: DO NOT keep the trigger switch pressed in with tape or any other permanent means or the circuit will not function properly. A malfunction may result, possibly causing overheating or damage to the unit.
Do not open the drill, battery or battery charger.There are no user serviceable parts. Opening the unit will void the warranty.
ACCESSORIES
Please refer to section “Accessories”
9 | 10 |