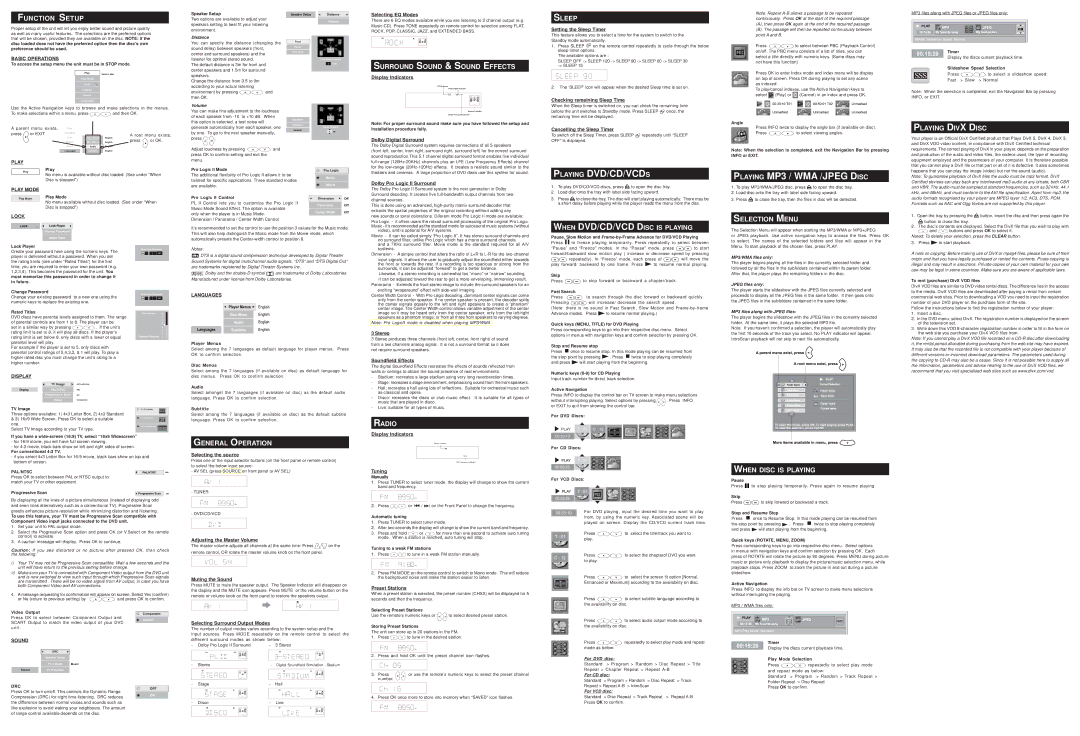
PLAY MODE
No menu available without disc loaded. (See under “When
Disc is stopped”)
LOCK
| Lock Player | Enter New Password |
| Create your password here using the numeric keys. The |
| OK |
| player is delivered without a password. When you set | |
| the rating limits (see under “Rated Titles”) for the first | |
| time, you are required to enter your own password (e.g. | |
| 1,2,3,4). This becomes the password for the unit. You | |
| must memorize this password in order to change it | |
| in future. | |
| Change Password | Enter New Password |
| Change your existing password to a new one using the | OK |
| numeric keys to replace the existing one. | |
Rated Titles
DVD discs have parental levels assigned to them. The range of parental controls are from 1 to 8. The player can be
set in a similar way by pressing 
 . If the unit’s rating limit is set to 8, it will play all discs. If the player’s rating limit is set below 8, only discs with a lower or equal parental level will play.
For example if the player is set to 5, only discs with parental control ratings of 5,4,3,2, & 1 will play. To play a higher rated disc you must change the unit’s rating to a higher number.
DISPLAY
| TV Image | 4x3 Letterbox |
Display | PAL/NTSC | PAL |
| Progressive Scan | Off |
| Video | Component |
Three options available: 1) 4x3 Letter Box, 2) 4x3 Standard
& 3) 16x9 Wide Screen. Press OK to select a suitable 4 x 3 Standard one.
| Pro Logic II Control | Dimension | Off |
| PL II Control lets you to customize the Pro Logic II | Panorama | Off |
| Music Mode Sound Effect. The option is available |
| | Off |
| Center Width |
| only when the player is in Music Mode. |
| | |
Dimension / Panorama / Center Width Control
It’s recommended to set the control to use the position 3 values for the Music mode. This will also help distinguish the Music mode from the Movie mode, which automatically presets the Center-width control to position 0.
Notes:
 DTS is a digital sound compression technique developed by Digital Theater Sound Systems for digital multichannel audio signals. “DTS” and “DTS Digital Out” are trademarks registered by Digital Theater Systems Inc.

 Dolby and the double-D symbol

 are trademarks of Dolby Laboratories. Manufactured under license from Dolby Laboratories.
LANGUAGES
Player Menus
Select among the 7 languages as default language for player menus. Press OK to confirm selection.
Disc Menus
Select among the 7 languages (if available on disc) as default language for disc menus. Press OK to confirm selection.
Audio
Select amongst the 7 languages (if available on disc) as the default audio language. Press OK to confirm selection.
Subtitle
Select among the 7 languages (if available on disc) as the default subtitle language. Press OK to confirm selection.
The Dolby Pro Logic II Surround system is the next generation in Dolby Surround decoding. It creates five full-bandwidth output channels from two- channel sources.
This is done using an advanced, high-purity matrix surround decoder that extracts the spatial properties of the original recording without adding any new sounds or tonal colorations. Diferent mode Pro Logic II mode are available:
Pro Logic - it offers users the robust surround processing of the original Pro Logic. Music - it’s recommended as the standard mode for autosound music systems (without
video), and is optional for A/V systems.
Movie - It can be called simply “Pro Logic II”. It has stereo surround channels and no surround filter, unlike Pro Logic which has a mono surround channels
and a 7KHz surround filter. Movie mode is the standard required for all A/V systems.
Dimension - A simple control that alters the ratio of L+R to L-R for the two-channel
input signals. It allows the user to gradually adjust the soundfield either towards the front or towards the rear. If a recording is too spacious or strong from the surrounds, it can be adjusted “forward” to get a better balance.
Likewise, if a stereo recording is somewhat too “mono” or “narrow” sounding, it can be adjusted toward the rear to get a more enveloping, immersing result.
Panorama - Extends the front stereo image to include the surround speakers for an exciting “wraparound” effect with side-wall imaging.
Center Width Control - With Pro Logic decoding, dominant center signals can come only from the center speaker. If no center speaker is present, the decoder splits the center signals equally to the left and right speakers to create a “phantom” center image. The Center Width control allows variable adjustment of the center image so it may be heard only from the center speaker; only from the left/right speakers as a phantom image; or from all three front speakers to varying degrees.
Note: Pro LogicII mode is disabled when playing MP3/WMA.
3 Stereo
3 Stereo produces three channels (front left, center, front right) of sound from a two channels analog signal. It is not a surround format so it does not require surround speakers.
Soundfield Effects
The digital Soundfield Effects recreates the effects of sounds reflected from walls or ceilings to obtain the sound presence of real environments.
-Stadium: recreates a large stadium using very long reverberation times.
-Stage: recreates a stage environment, emphasizing sound from the front speakers.
-Hall: recreates a hall using lots of reflections. Suitable for orchestral music such as classical and opera.
-Disco: recreates the disco or club music effect. It is suitable for all types of music that are played in disco.
-Live: suitable for all types of music.
RADIO
2. Load disc onto the tray with label side facing upward. |
3. Press to close the tray. The disc will start playing automatically. There may be a short delay before playing while the player reads the menu from the disc.
WHEN DVD/CD/VCD DISC IS PLAYING
Pause, Slow Motion and Frame-by-Frame Advance for DVD/VCD Playing
Press 
 to freeze playing temporarily. Press repeatedly to select between
“Pause” and “Freeze” modes. In the “Pause” mode, press 
 to start forward/backward slow motion play ( increase or decrease speed by pressing
 repeatedly). In “Freeze” mode, each press of
 will move the
play forward/ backward by one frame. Press  to resume normal playing.
Skip
Press 
 to skip forward or backward a chapter/track.
Fast Search
Press 
 to search through the disc forward or backward quickly.
Pressing 
 will increase/ decrease the search speed.
(Note: there is no sound in Fast Search, Slow Motion and Frame-by-frame
Advance modes. Press | to resume normal playing.) |
Quick keys (MENU, TITLE) for DVD Playing
Press corresponding keys to go into their respective disc menu. Select options in menus with navigation keys and confirm selection by pressing OK.
Stop and Resume stop
Press  once to resume stop. In this mode playing can be resumed from
the stop point by pressing  . Press
  twice to stop playing completely
and press  will start playing from the beginning.
Numeric keys (0-9) for CD Playing
Input track number for direct track selection.
Active Navigation
Press INFO to display the control bar on TV screen to make menu selections
without interrupting playing. Select options by pressing . Press INFO or EXIT to quit from showing the control bar.
For DVD Discs:
| | | |
1. To play MP3/WMA/JPEG disc, press | to open the disc tray. |
2. | Load disc onto the tray with label side facing upward. |
3. | Press | to close the tray, then the files in disc will be detected. |
SELECTION MENU
The Selection Menu will appear when starting the MP3/WMA or MP3+JPEG
or JPEG playback. Use active navigation keys to access the files. Press OK to select. The names of the selected folders and files will appear in the Menu. To start playback of the chosen files, press PLAY.
MP3/WMA files only:
The player begins playing all the files in the currently selected folder and followed by all the files in the subfolders contained within its parent folder. After that, the player plays the remaining folders in the disc.
JPEG files only:
The player starts the slideshow with the JPEG files currently selected and proceeds to display all the JPEG files in the same folder. It then goes onto the JPEG files in the subfolders contained in the same folder.
MP3 files along with JPEG files:
The player begins the slideshow with the JPEG files in the currently selected folder. At the same time, it plays the selected MP3 file.
Note: If you haven’t confirmed a selection, the player will automatically play the first 10 seconds of the track you select. No PLAY indicator will appear. IntroScan playback will not skip to next file automatically.
and VBR. The audio must be sampled at standard frequencies, such as 32 kHz, 44.1 kHz, and 48kHz, and must conform to the AVI file specification. Apart from mp3, the audio formats recognised by your player are MPEG layer 1/2, AC3, DTS, PCM.
Formats such as AAC and Ogg Vorbis are not supported by this player.
1.Open the tray by pressing the  button, insert the disc and then press again the
 button to close the tray.
2.The disc’s contents are displayed. Select the DivX file that you wish to play with  and
and 
 buttons and press OK to select it.
Noted: To delete your selection, press the CLEAR button.
3. Press  to start playback.
A note on copying: Before making use of DivX or mpeg4 files, please be sure of their origin and that you have legally purchased or rented the contents. Pirate copying is illegal and may result in sanctions. Private copies of your own material for your own use may be legal in some countries. Make sure you are aware of applicable laws.
To rent (purchase) DivX VOD files
DivX VOD files are similar to DVD video rental discs. The difference lies in the access to the media. DivX VOD files are downloaded after paying a rental from certain commercial web sites. Prior to downloading a VOD you need to input the registration number of your DVD player on the purchase form of the site.
Follow the instructions below to find the registration number of your player:
1.Insert a disc.
2.In the DVD menu, select DivX. The registration number is displayed on the screen of the television set.
3.Write down this VOD 8-character registration number in order to fill in the form on the web site you purchase your DivX VOD files from.
Note: If you cannot play a DivX VOD file recorded on a CD-R disc after downloading it, the rental period allocated during purchasing from the web site may have expired. It may also be that the recorded file is not compatible with your player because of different versions or incorrect download parameters. The parameters used during the copying to CD-R may also be a cause. Since it is not possible here to supply all the information, parameters and advice relating to the use of DivX VOD files, we recommend that you visit specialised web sites such as www.divx.com/vod.
If you have a wide-screen (16:9) TV, select “16x9 Widescreen”
-for 16:9 movie, you will have full screen viewing.
-for 4:3 movie, black bars show on left and right sides of screen.
For conventional 4:3 TV,
-if you select 4x3 Letter Box for 16:9 movie, black bars show on top and bottom of screen.
PAL/NTSC
Press OK to select between PAL or NTSC output to match your TV or other equipment.
Progressive Scan
By displaying all the lines of a picture simultaneous (instead of displaying odd and even lines alternatively such as a conventional TV), Progressive Scan greatly enhances picture resolution while minimizing distortion and flickering.
To use this feature, your TV must be Progressive Scan compatible with Component Video input jacks connected to the DVD unit.
1.Set your unit to PAL output mode.
2.Select the Progressive Scan option and press OK (or V.Select on the remote control) to activate.
3.A caution message will display. Press OK to continue.
Caution: If you see distorted or no picture after pressed OK, then check the following:
i)Your TV may not be Progressive Scan compatible. Wait a few seconds and the unit will have return to the previous setting before change.
ii)Make sure your TV is connected with Component Video output from the DVD unit and is now switched to view such input through which Progressive Scan signals are transmitted . There will be no video signal from AV output, in case you have both Component Video and AV connections.
4.A message requesting for confirmation will appear on screen. Select Yes (confirm)
or No (return to previous setting) by 
 and press OK to confirm.
Press OK to select between Component Output and
SCART
SCART Output to match the video output of your DVD unit .
SOUND
DRC
Speaker Setup
DRC
OFF
Press OK to turn on/off. This controls the Dynamic Range
Compression (DRC) for night time listening. DRC reduces | ON |
|
the difference between normal voices and sounds such as like explosion to avoid waking your neighbours. The amount of range control available depends on the disc.
GENERAL OPERATION
Selecting the source
Press one of the input selector buttons (on the front panel or remote control) to select the below input source:
-AV SEL (press SOURCE on front panel or AV SEL)
-TUNER
MHz
- DVD/CD/VCD
Adjusting the Master Volume
The master volume adjusts all channels at the same time: Press 

 on the remote control, OR rotate the master volume knob on the front panel.
Muting the Sound
Press MUTE to mute the speaker output. The Speaker Indicator will disappear on the display and the MUTE icon appears. Press MUTE or the volume button on the remote or volume knob on the front panel to restore the speakers output.
Selecting Surround Output Modes
The number of output modes varies according to the system setup and the
input sources. Press MODE repeatedly on the remote control to select the
different surround modes as shown below: | | | |
- Dolby Pro Logic II Surround | - | 3 Stereo | | | |
| CH | PL II | | | CH | | | |
| R | | | | | |
| VIDEO | L C | | | L | C | R |
| | LS SW | RS | | | | SW | |
- | Stereo | | | - | Digital Soundfield Simulation - Stadium |
| CH | L | R | | CH | PL | | R |
| | | | L | |
| | SW | | | | LS SW | RS |
- | Stage | | | - | Hall | | | |
| CH | PL | R | | CH | PL | | R |
| | L | | | L | |
| | LS SW | RS | | | LS SW | RS |
- | Disco | | | - | Live | | | |
| CH | PL | R | | CH | PL | | R |
| | L | | | L | |
| | LS SW | RS | | | LS | SW | RS |
Display Indicators
Stereo Indicator
ST
MHz
FM Frequency Indicator
Tuning
Manually
1.Press TUNER to select tuner mode, the display will change to show the current band and frequency.
MHz
2. Press 
 or
or 
 /
/ 
 on the Front Panel to change the frequency.
Automatic tuning
1.Press TUNER to select tuner mode.
2.After two seconds the display will change to show the current band and frequency.
3. Press and hold  or
or  for more than one second to activate auto tuning mode. When a station is reached, auto tuning will stop.
Tuning to a weak FM stations
1. Press 
 to tune in a weak FM station manually.
MHz
2.Press FM MODE on the remote control to switch to Mono mode. This will reduce the background noise and make the station easier to listen.
Preset Stations
When a preset station is selected, the preset number (CHXX) will be displayed for 5 seconds and then the frequency.
Selecting Preset Stations
Use the remote’s numeric keys or 
 to select desired preset station.
Storing Preset Stations
The unit can store up to 20 stations in the FM.
1. Press 
 to tune in the desired station.
| | MHz |
2. | Press and hold OK until the preset channel icon flashes. |
3. | Press | or use the remote’s numeric keys to select the preset channel |
| number. | |
4.Press OK once more to store into memory when “SAVED” icon flashes.
 MHz
MHz
00:33:10
For CD Discs:
For VCD Discs:
For DVD playing, input the desired time you want to play from, by using the numeric key. Associated scene will be played on screen. Display the CD/VCD current track time.
Press 
 to select the title/track you want to play.
Press 
 to select the chapterof DVD you want to play.
Press 
 to select the screen fit option [Normal,
Enhanced or Maximum] according to the availability on disc.
Press 
 to select subtitle language according to the availability on disc.
Press 
 to select audio output mode according to the availability on disc.
Press 
 repeatedly to select play mode and repeat mode as below:
For DVD disc:
Standard > Program > Random > Disc Repeat > Title Repeat > Chapter Repeat > Repeat A-B
For CD disc:
Standard > Program > Random > Disc Repeat > Track
Repeat > Repeat A-B > IntroScan
For VCD disc:
Standard > Disc Repeat > Track Repeat > Repeat A-B
Press OK to confirm.
WHEN DISC IS PLAYING
| | | |
Pause | to stop playing temporarily. Press again to resume playing. |
Press |
Skip | to skip forward or backward a track. |
Press |
Stop and Resume Stop | | |
Press | once to Resume Stop. In this mode playing can be resumed from |
the stop point by pressing | . Press | twice to stop playing completely |
and press | will start playing from the beginning. |
Quick keys (ROTATE, MENU, ZOOM)
Press corresponding keys to go into respective disc menu. Select options in menus with navigation keys and confirm selection by pressing OK. Each
press of ROTATE will rotate the picture by 90 degrees. Press MENU during picture music or picture only playback to display the picture/music selection menu, while playback stops. Press ZOOM to zoom the picture in and out during a picture slideshow.
Active Navigation
Press INFO to display the info bar on TV screen to make menu selections without interrupting the playing.
MP3 / WMA files only:
Timer
Display the discs current playback time.
Play Mode Selection
Press 
 repeatedly to select play mode and repeat mode as below:
Standard > Program > Random > Track Repeat > Folder Repeat > Disc Repeat
Press OK to confirm.


 RS
RS