PC Mode Menu System
See “Connecting the LCD TV to a PC” section for connecting a PC to the TV set.
For switching to PC source, press “![]() ” button on your remote control and select PC input. You can also use “Source” menu to switch to PC mode.
” button on your remote control and select PC input. You can also use “Source” menu to switch to PC mode.
Note that PC mode menu settings are available only while the TV is in PC source.
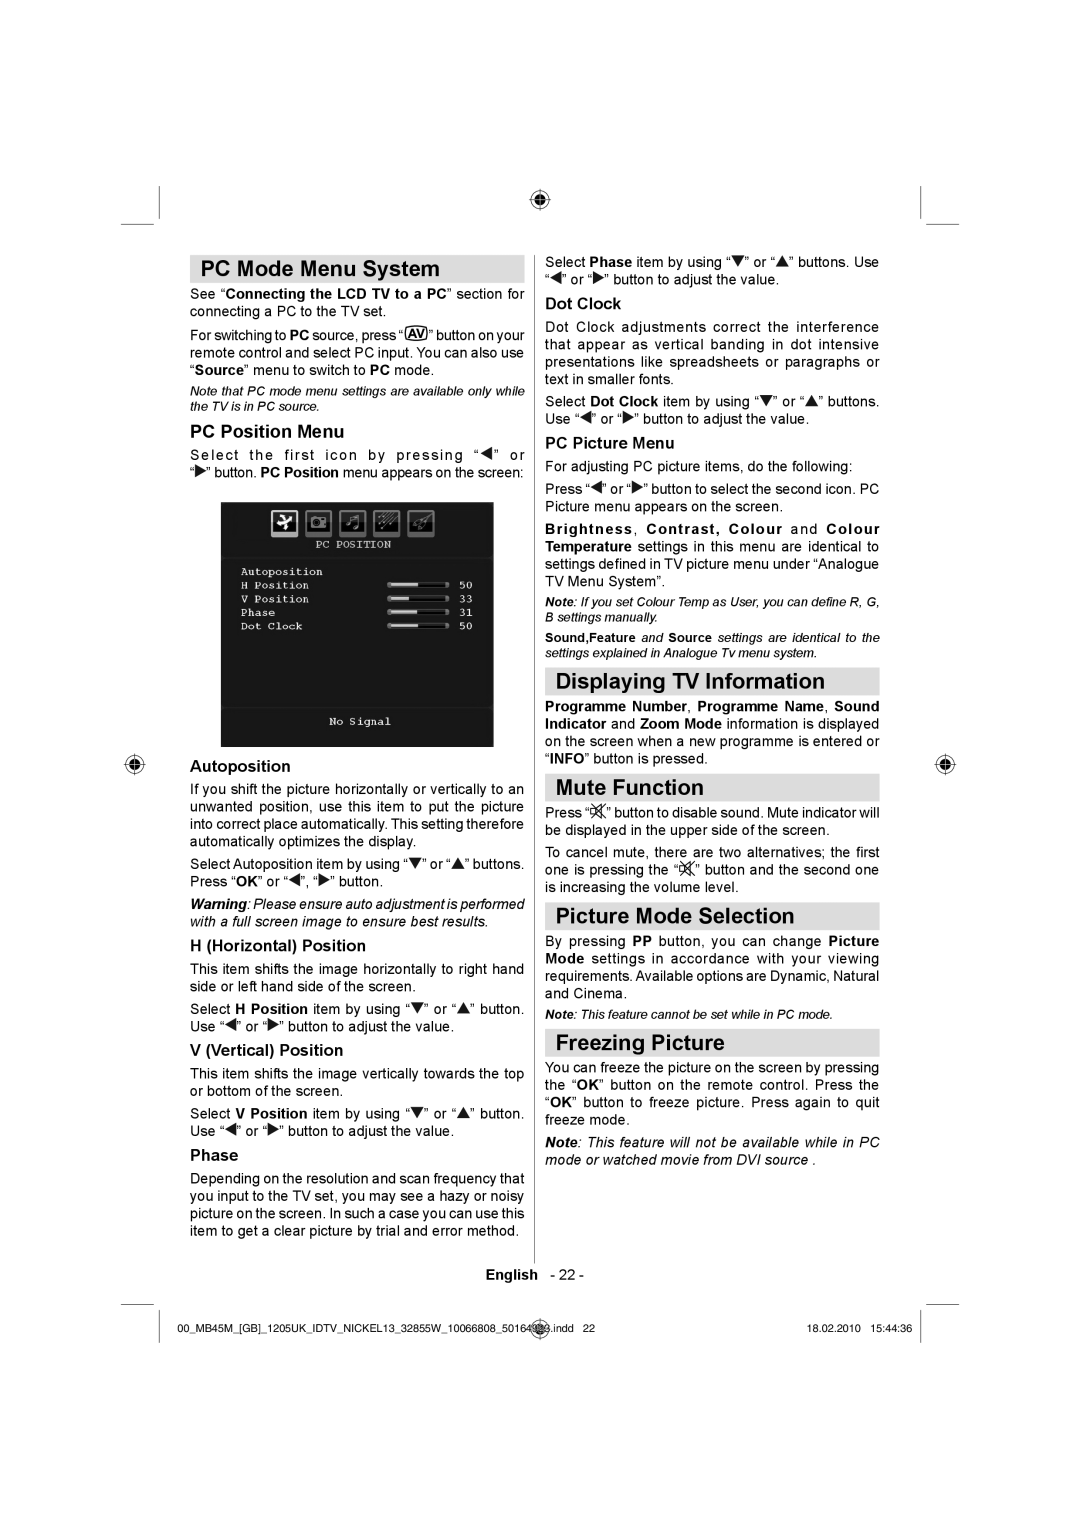
PC Position Menu
Select the first icon by pressing “![]() ” or “
” or “![]() ” button. PC Position menu appears on the screen:
” button. PC Position menu appears on the screen:
Autoposition
If you shift the picture horizontally or vertically to an unwanted position, use this item to put the picture into correct place automatically. This setting therefore automatically optimizes the display.
Select Autoposition item by using “![]() ” or “
” or “![]() ” buttons. Press “OK” or “
” buttons. Press “OK” or “![]() ”, “
”, “![]() ” button.
” button.
Warning: Please ensure auto adjustment is performed with a full screen image to ensure best results.
H (Horizontal) Position
This item shifts the image horizontally to right hand side or left hand side of the screen.
Select H Position item by using “![]() ” or “
” or “![]() ” button. Use “
” button. Use “![]() ” or “
” or “![]() ” button to adjust the value.
” button to adjust the value.
V (Vertical) Position
This item shifts the image vertically towards the top or bottom of the screen.
Select V Position item by using “![]() ” or “
” or “![]() ” button. Use “
” button. Use “![]() ” or “
” or “![]() ” button to adjust the value.
” button to adjust the value.
Phase
Depending on the resolution and scan frequency that you input to the TV set, you may see a hazy or noisy picture on the screen. In such a case you can use this item to get a clear picture by trial and error method.
Select Phase item by using “![]() ” or “
” or “![]() ” buttons. Use “
” buttons. Use “![]() ” or “
” or “![]() ” button to adjust the value.
” button to adjust the value.
Dot Clock
Dot Clock adjustments correct the interference that appear as vertical banding in dot intensive presentations like spreadsheets or paragraphs or text in smaller fonts.
Select Dot Clock item by using “![]() ” or “
” or “![]() ” buttons. Use “
” buttons. Use “![]() ” or “
” or “![]() ” button to adjust the value.
” button to adjust the value.
PC Picture Menu
For adjusting PC picture items, do the following:
Press “![]() ” or “
” or “![]() ” button to select the second icon. PC Picture menu appears on the screen.
” button to select the second icon. PC Picture menu appears on the screen.
Brightness, Contrast, Colour and Colour Temperature settings in this menu are identical to settings defined in TV picture menu under “Analogue TV Menu System”.
Note: If you set Colour Temp as User, you can define R, G, B settings manually.
Sound,Feature and Source settings are identical to the settings explained in Analogue Tv menu system.
Displaying TV Information
Programme Number, Programme Name, Sound Indicator and Zoom Mode information is displayed on the screen when a new programme is entered or “INFO” button is pressed.
Mute Function
Press “![]() ” button to disable sound. Mute indicator will be displayed in the upper side of the screen.
” button to disable sound. Mute indicator will be displayed in the upper side of the screen.
To cancel mute, there are two alternatives; the first one is pressing the “![]() ” button and the second one is increasing the volume level.
” button and the second one is increasing the volume level.
Picture Mode Selection
By pressing PP button, you can change Picture Mode settings in accordance with your viewing requirements. Available options are Dynamic, Natural and Cinema.
Note: This feature cannot be set while in PC mode.
Freezing Picture
You can freeze the picture on the screen by pressing the “OK” button on the remote control. Press the “OK” button to freeze picture. Press again to quit freeze mode.
Note: This feature will not be available while in PC mode or watched movie from DVI source .
English - 22 -
00_MB45M_[GB]_1205UK_IDTV_NICKEL13_32855W_10066808_50164923.indd 22 | 18.02.2010 15:44:36 |