MODEL OPTIONS
Select from the
INSTALLATION CONSIDERATIONS
The information in this design guide provides key features, product dimensions, cutouts and installation specifications. Before installing a Thermador Side-
The refrigerator can be recessed in an opening between cabinets or installed at the end of a cabinet run using a side panel to enclose the refrigerator.
CUSTOM PANELS
The custom panel series features
On the custom panel series, you can create a “frameless” look using
SIDE PANELS
Custom side panels may be needed when not enough space is available to have cabinets on both sides of the refrigerator or when the refrigerator is placed at the end of a cabinet run. For the stainless steel models, you may choose an Inset, Flush, or Recessed Inset panel installation. For the custom panel series, you may choose an Inset or Recessed Inset panel installation.
WARRANTY
Limited
Limited warranty on sealed refrigeration system**; parts and labor
Limited warranty on sealed refrigeration system; parts only
SIDE-BY-SIDE FEATURES & BENEFITS
ELECTRICAL SPECIFICATIONS
Before you move your refrigerator into its final location, it is important to make sure you have the proper electrical connection.
RECOMMENDED GROUNDING METHOD
A 115 Volt, 60 Hz., AC only, 15- or
Important: If this product is connected to a GFCI (Ground Fault Circuit Interrupter) protected outlet, nuisance tripping of the power supply may occur, resulting in loss of cooling. Food quality and flavor may be affected. If nuisance tripping has occurred, and if the condition of the food appears poor, dispose of it.
ELECTRICAL LOCATION
Be sure your appliance is properly installed and grounded by a qualified technician. Installation, electrical connections
and grounding must comply with all applicable local codes. ![]() 4"
4" ![]()
(10.2 cm)
A grounded 3 prong electrical outlet should be placed within 4" (10.2 cm) of the right side cabinets or end panel. The water
shutoff should be located in the base cabinet on either side of the refrigerator or some other easily accessible area. If the water shutoff valve is not in the cabinets, the plumbing for the water line can come through the floor or the back wall.
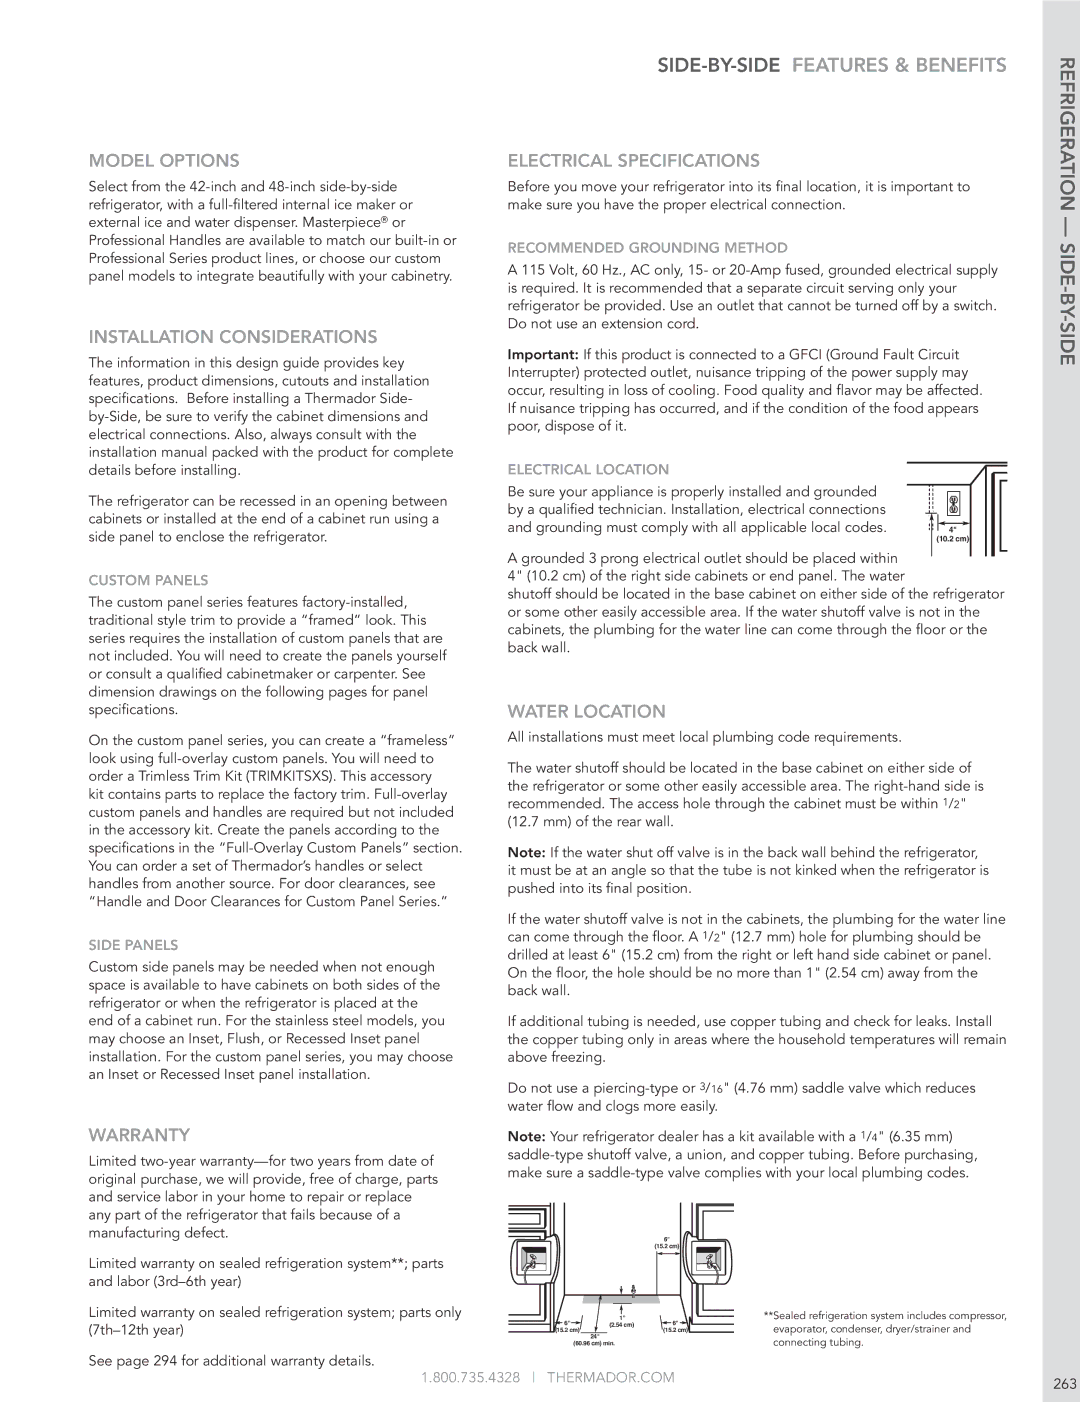
WATER LOCATION
All installations must meet local plumbing code requirements.
The water shutoff should be located in the base cabinet on either side of the refrigerator or some other easily accessible area. The
Note: If the water shut off valve is in the back wall behind the refrigerator, it must be at an angle so that the tube is not kinked when the refrigerator is pushed into its final position.
If the water shutoff valve is not in the cabinets, the plumbing for the water line can come through the floor. A 1/2" (12.7 mm) hole for plumbing should be drilled at least 6" (15.2 cm) from the right or left hand side cabinet or panel. On the floor, the hole should be no more than 1" (2.54 cm) away from the back wall.
If additional tubing is needed, use copper tubing and check for leaks. Install the copper tubing only in areas where the household temperatures will remain above freezing.
Do not use a
Note: Your refrigerator dealer has a kit available with a 1/4" (6.35 mm)
|
| 6" |
|
|
| (15.2 cm) |
|
6" | 1" | 6" | **Sealed refrigeration system includes compressor, |
(2.54 cm) | evaporator, condenser, dryer/strainer and | ||
(15.2 cm) | (15.2 cm) | ||
| 24" |
| connecting tubing. |
| (60.96 cm) min. |
| |
REFRIGERATION —
See page 294 for additional warranty details.
1.800.735.4328 THERMADOR.COM
263