CAUTION |
SPIDER ALERT!
If you notice that your grill is getting hard to light or that the flame isn’t as strong as it should be, take the time to check and clean the burner.
In some areas of the country, spiders or small insects have been known to create “flashback” problems. The spiders spin webs, build nests and lay eggs in the grill’s burner tube obstructing the flow of gas to the burner. The
To prevent flashbacks and ensure good performance the burner and burner tube should be removed from the grill and cleaned before use whenever the grill has been idle for an extended period.
IF YOU EXPERIENCE THE FOLLOWING:
1.Smell gas.
2.Burner will not light.
3.A small yellow flame from burner (should be blue).
4.Fire coming from around or behind control knob.
STOP!
IMMEDIATELY TURN OFF GAS AT LP CYLINDER!
1.Wait for grill to cool.
2.Use a 12” pipe cleaner to clean out the burner tube.
Lighting Instructions
Important! Remove or raise lid to open position.
Attempting to light burner with lid closed may cause an explosion. Do not expose any part of your body or clothing directly above cooking area when lighting.
1.From beneath the grill, place lighted wooden match up through lighter/ventilation hole in center of bottom.
2.While holding match in place, turn control knob to lighting position. Grill will ignite.
3.Observe burner flames through openings in heat distribution plate. Make sure burner ignites and stays lit on both sides.
4.Preheat grill for 6 minutes with lid closed. Using control knob on Regulator/Valve, adjust flame to desired height for cooking.
CAUTION
If ignition does NOT occur in 5 seconds, turn the burner control OFF, wait 5 minutes and repeat the lighting procedure. If the burner does not ignite with the valve open, gas will continue to flow out of the burner and could accidently ignite with risk of injury.
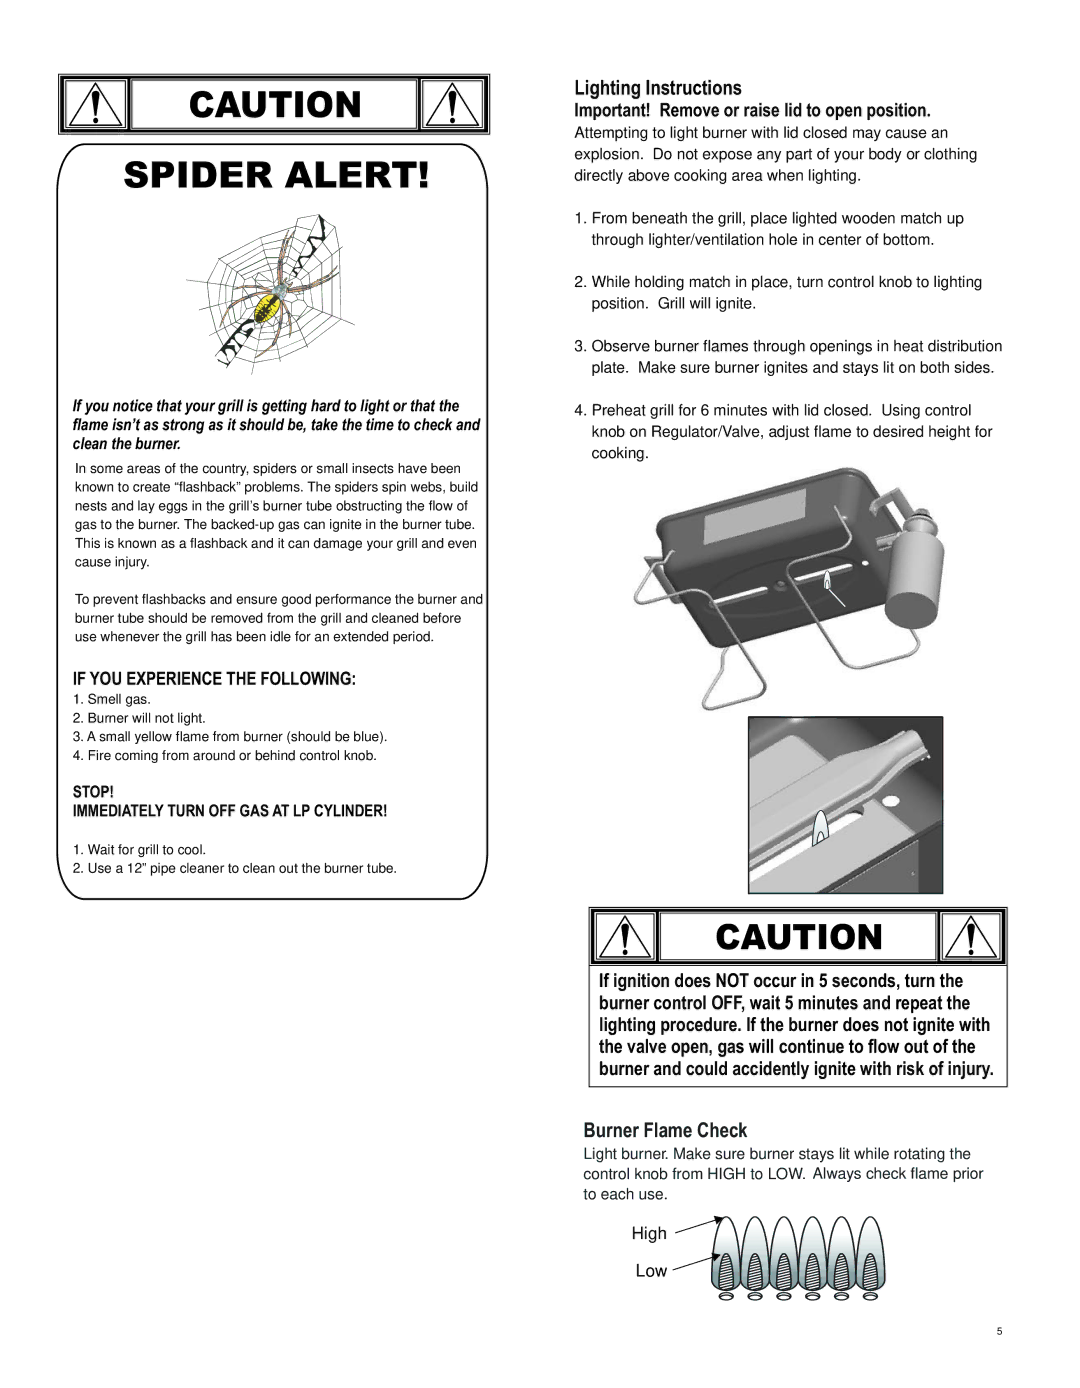
Burner Flame Check
Light burner. Make sure burner stays lit while rotating the control knob from HIGH to LOW. Always check flame prior to each use.
High
Low
5