MECHANICAL INSTALLATION 110SR
NEW / EXISTING CONSTRUCTION INSTALLATION PROCEDURES:
6)Leave some excess wire hanging through the opening in the
7)If you are inexperienced, but plan on doing this yourself, the job can be made easier by proceeding in two steps.
A)“Hog” out the major inside portion of the material (Fig. 5).
B)Carefully cut out the recess for attaching the subwoofer (Fig. 6).
8)A word about the Rotozip™ tool for cutting holes in wallboard: using the correct bit and accurately setting the cutting depth will greatly reduce any errors caused by the tool “getting away” or cutting into the
9)After the majority of the material has been removed from the center of the
10)After cleaning the remaining debris and dust from the opening, it should look like (Fig. 6). Take note of the location and color of the 11 “T” nuts are gold in color, to differentiate them from the remaining seven which are for securing the 110SR in place.
11)You must align the cutout on the 110SR with the same control access cutout (indicated with red paint) on the pre- installation ring, that will allow you to make adjustments to the system later. Orient the signal cable to the cutout and prepare to make the AC mains connection before completing the next step.
12)Put the subwoofer into place, resting it on an angle (Fig.7) on the secondary wooden installation “ledge” on the side of the sub; this will assist you in getting a hand free to operate the screw gun (Fig. 8). There are seven 3” Phillips- head, 8 - 32 black machine screws for securing the 110SR to the
13)The subwoofer is normally installed in place after painting is completed to keep the sub looking new (Fig.9). Installing the grille (Fig. 10) with the four remaining white 3”
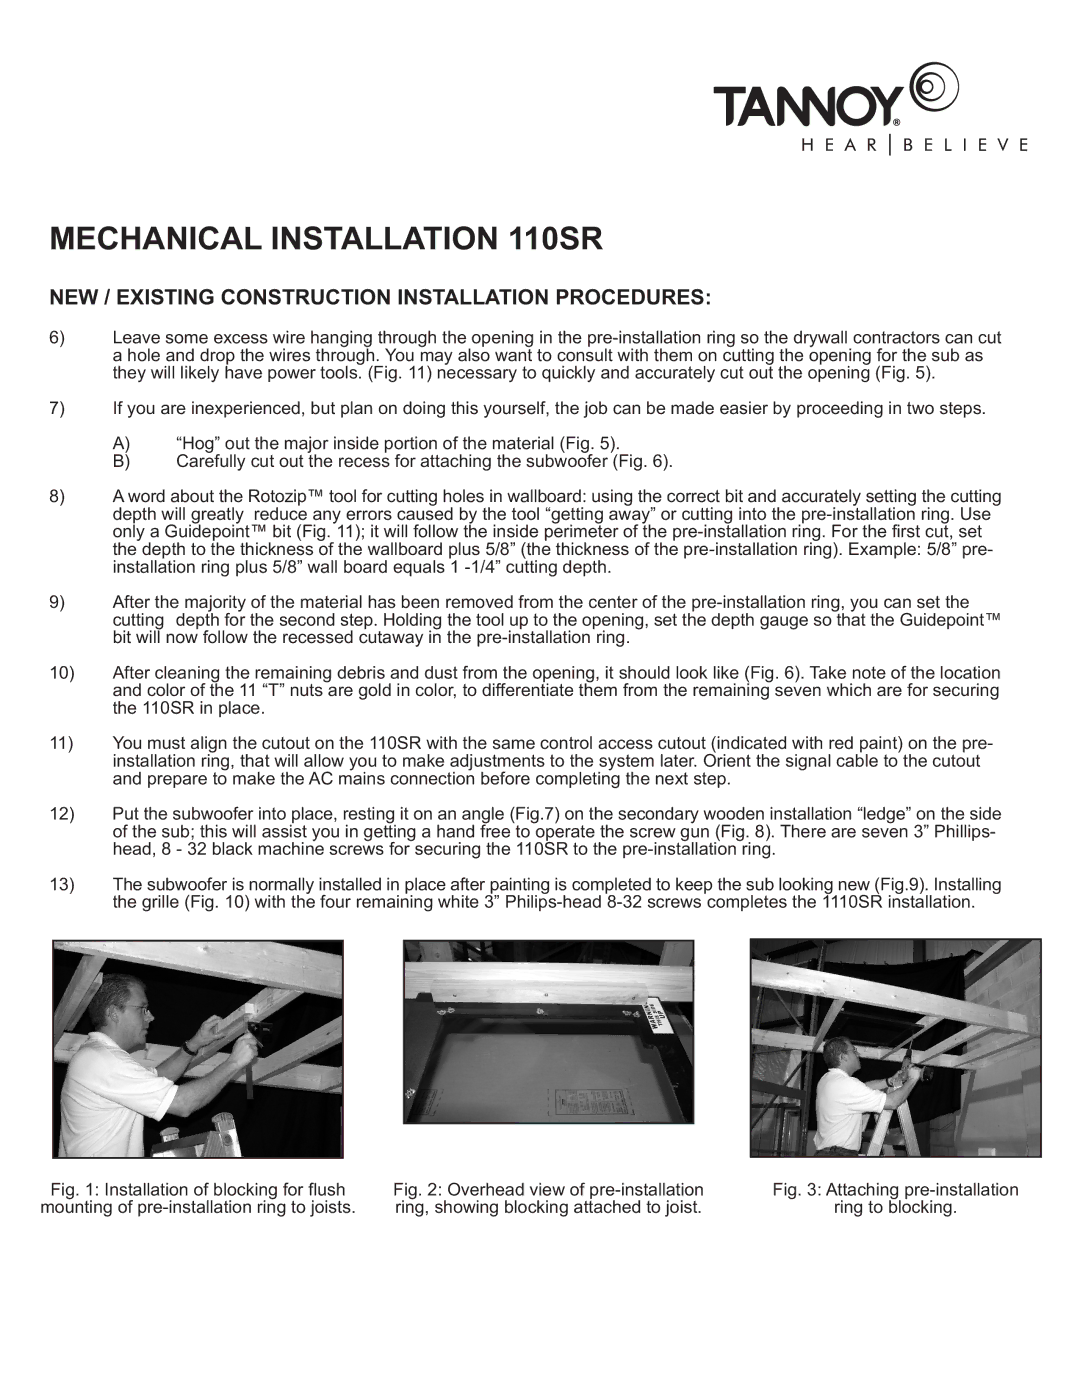
Fig. 1: Installation of blocking for flush mounting of pre-installation ring to joists.
Fig. 2: Overhead view of | Fig. 3: Attaching |
ring, showing blocking attached to joist. | ring to blocking. |