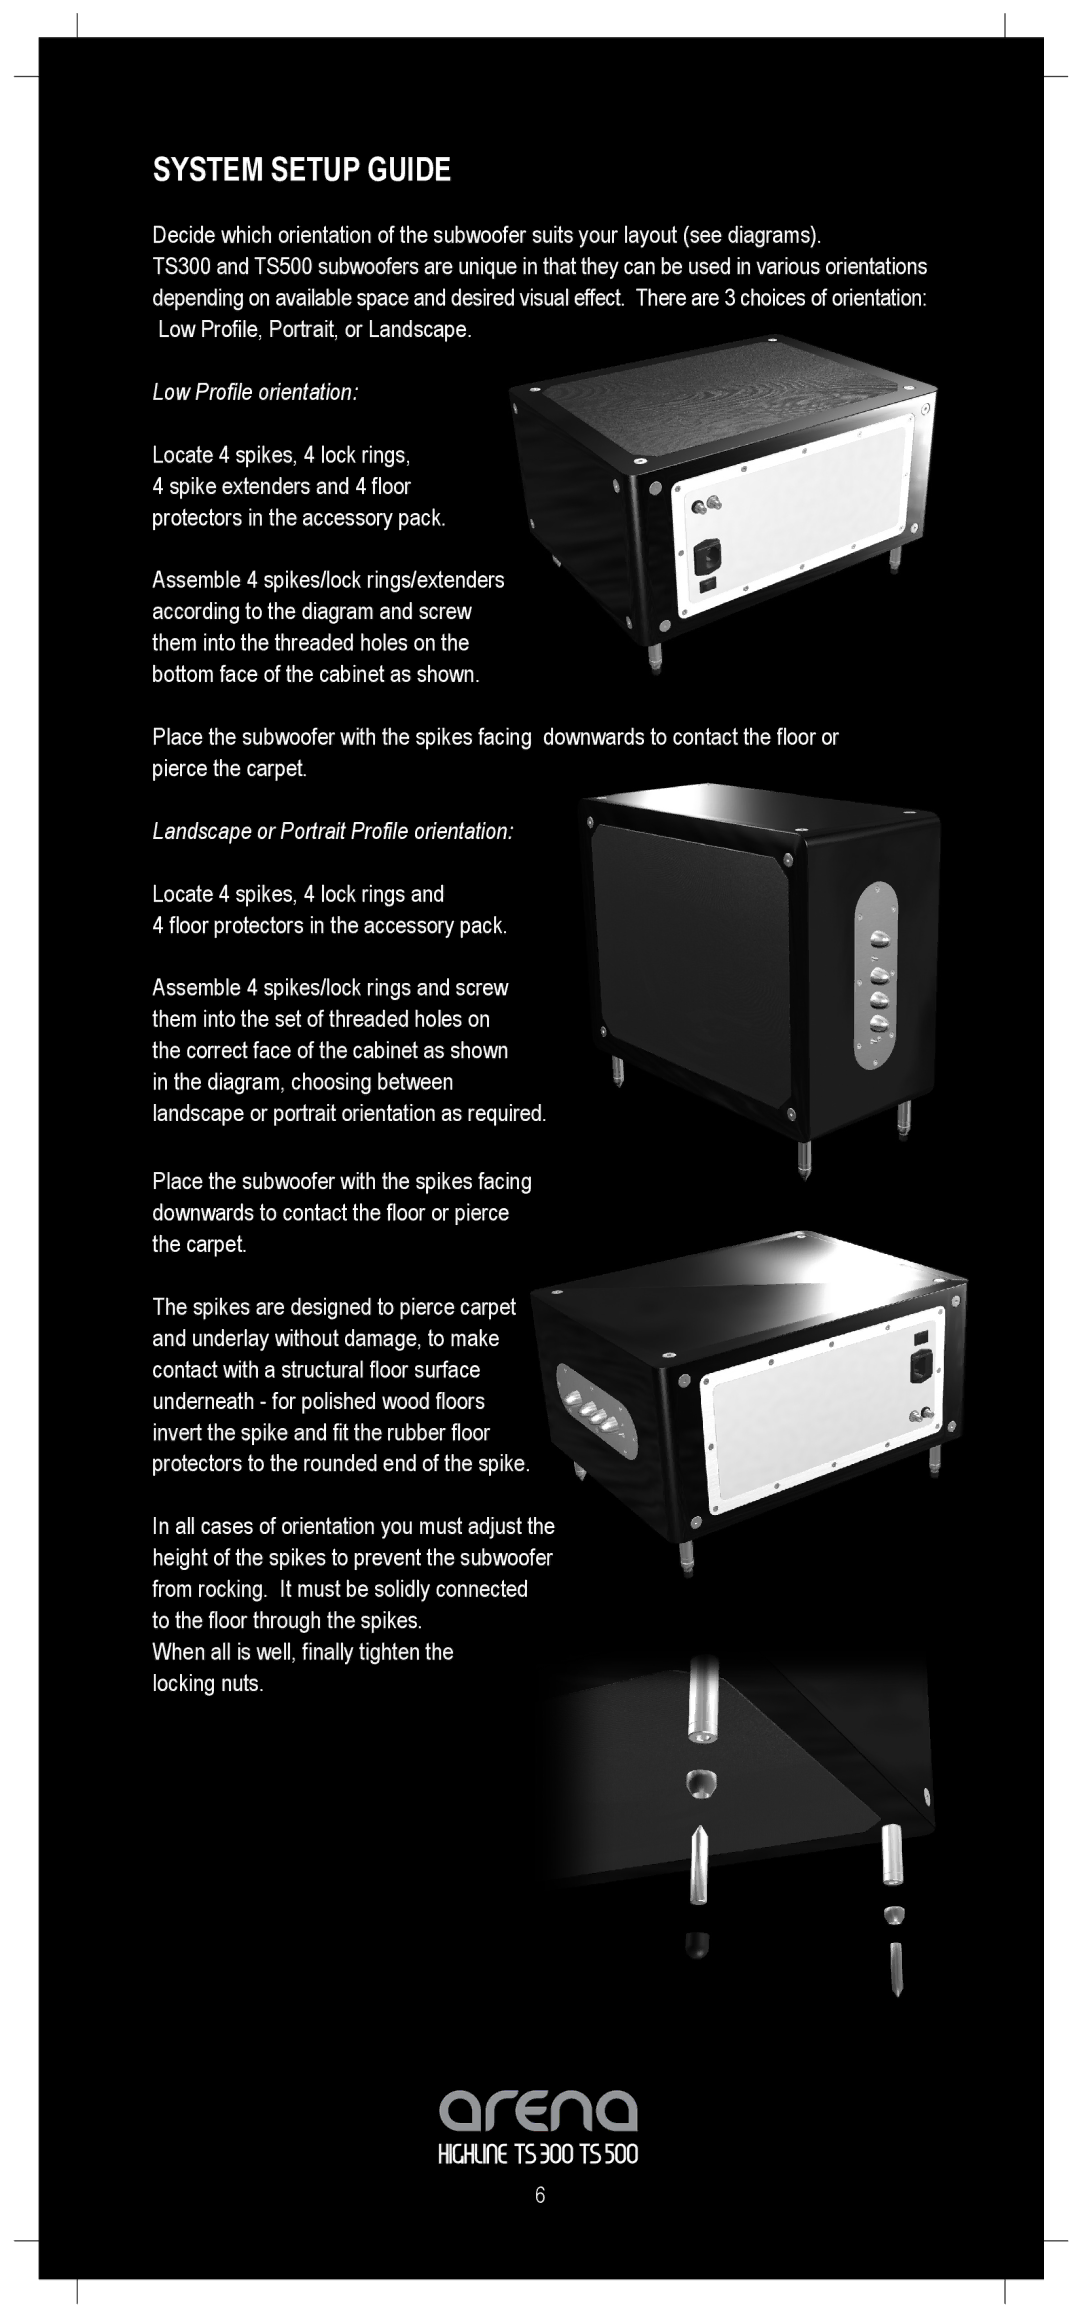
TS300 specifications
The TOA Electronics TS300 is a powerful and versatile speaker designed to meet the demands of various audio needs, whether in a commercial setting, educational environment, or public space. Known for its robust performance and exceptional sound clarity, the TS300 has become a popular choice among audio professionals and installers.A standout feature of the TS300 is its advanced sound technology. The speaker incorporates a high-efficiency driver that delivers clear and rich audio across a wide frequency range. This makes it particularly effective in environments where speech intelligibility is crucial, such as schools, conference rooms, and large venues. The speaker is designed to reproduce vocals with stunning clarity, ensuring that every word is heard distinctly, even in noisy environments.
The TS300 also boasts a versatile design, which allows it to adapt to a variety of installation scenarios. It is lightweight and compact, making it easy to mount in different configurations without compromising sound quality. This adaptability is further enhanced by the speaker's dual voltage capability, accommodating both low-voltage and line-level inputs, which simplifies integration within existing audio systems.
Another significant innovation found in the TOA TS300 is its rugged construction. Built to withstand the rigors of daily use, it features a durable enclosure that provides excellent protection against impact and environmental conditions. This resilience ensures reliable performance, even in high-traffic areas or outdoor settings.
The TS300 is equipped with advanced connectivity options, making it compatible with various audio sources. It can easily connect to microphones, mixers, and other sound equipment, enhancing its versatility for different applications. Additionally, the speaker supports both wired and wireless connections, affording users greater flexibility in their audio setup.
The user-friendly interface of the TS300 simplifies operation, allowing for easy adjustments and controls. This accessibility makes it an ideal choice for users with varying levels of technical expertise, from seasoned audio professionals to novices.
In summary, the TOA Electronics TS300 speaker is a comprehensive audio solution that combines advanced sound technology, robust design, and versatile connectivity options. Its clear sound reproduction, adaptability to different settings, and durable construction make it an excellent choice for a wide range of applications. Whether used for events, announcements, or educational purposes, the TS300 ensures high-quality audio performance that meets the needs of any audio environment.