
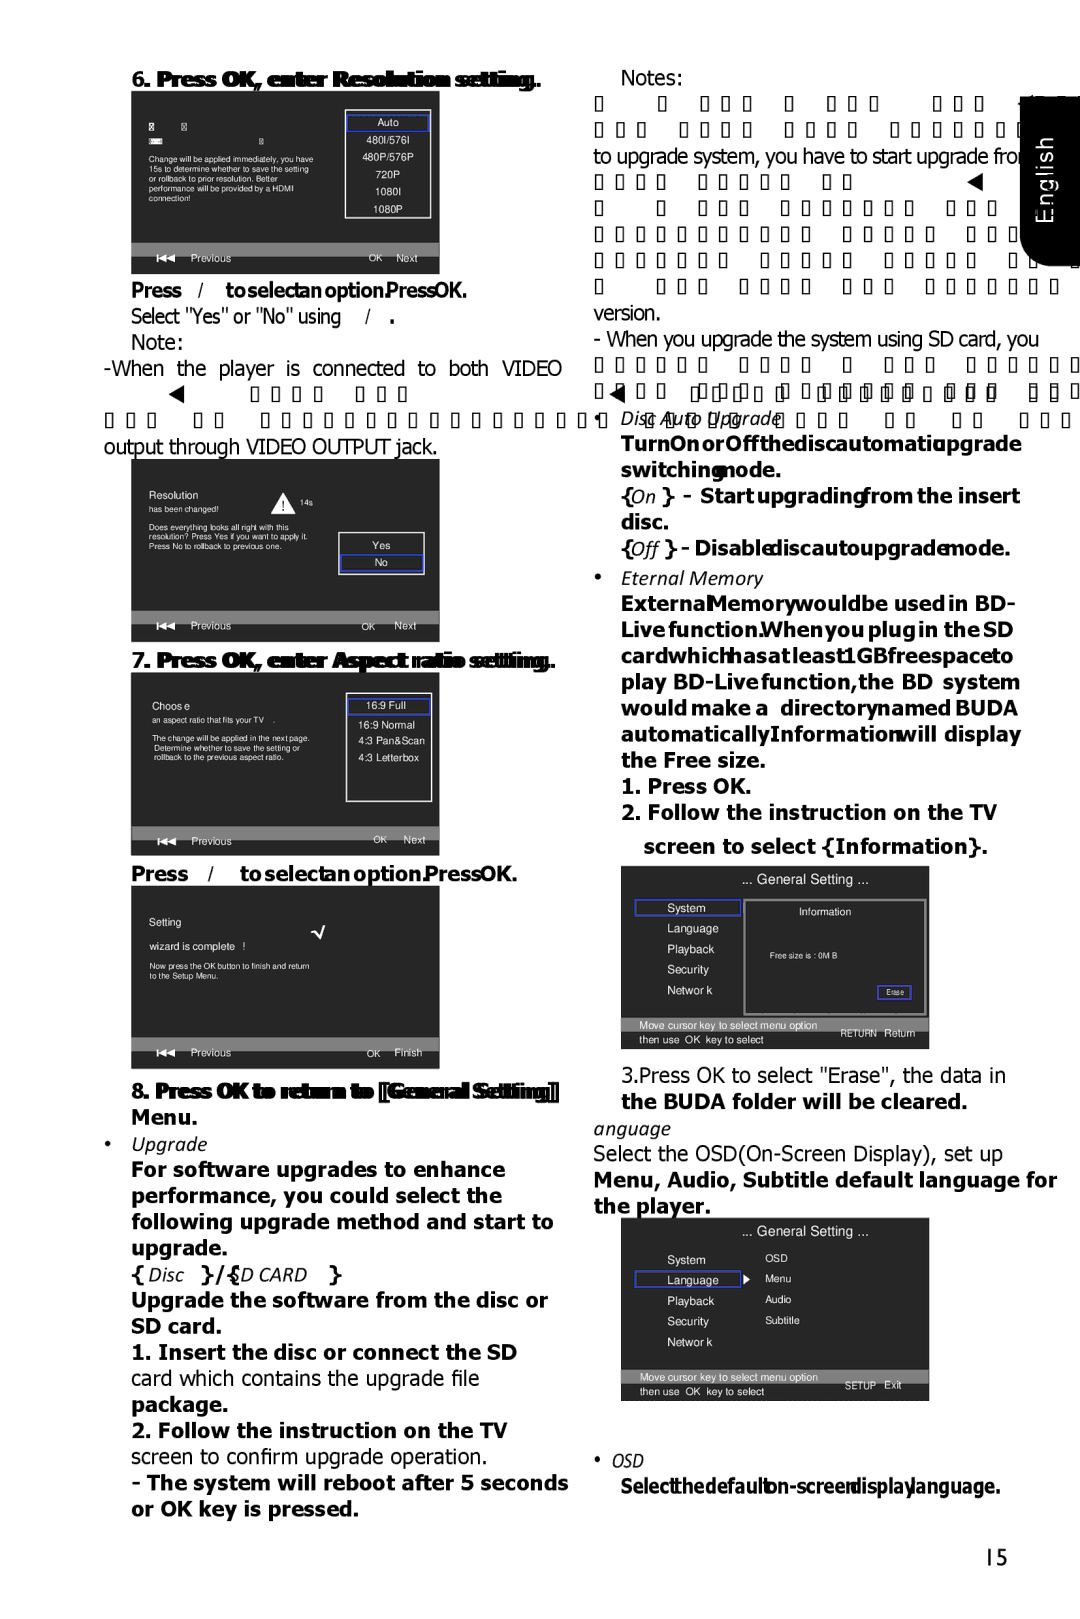
BDX1100KU specifications
The Toshiba BDX1100KU is a versatile Blu-ray Disc player that combines advanced technology and user-friendly features, providing an optimal viewing experience for movie enthusiasts. This device is designed for users who seek high-definition content without compromising on sound quality and functionality.One of the primary features of the Toshiba BDX1100KU is its ability to play a wide range of disc formats, including Blu-ray Discs, standard DVDs, and CDs. This versatility allows users to enjoy their entire collection without needing multiple devices. The player supports Full HD 1080p resolution, delivering stunning visual clarity and sharp details in every scene, making it an excellent choice for anyone who appreciates high-quality video.
In terms of connectivity, the BDX1100KU is equipped with HDMI output, which enables a simple connection to most modern HDTVs for the best possible picture quality. It also includes USB ports, allowing users to connect external storage devices. This functionality makes it easy to access and play a variety of media files, including videos and music, from USB drives. The player supports multiple formats, ensuring compatibility with diverse file types.
The Toshiba BDX1100KU stands out with its built-in BD Live capability, enabling users to access additional content and features when they connect the player to the internet. This feature enhances the viewing experience by providing extras such as downloadable content, exclusive scenes, and interactive options.
To cater to modern viewing habits, the BDX1100KU incorporates convenient features such as Fast Boot and Quick Start modes. These options significantly reduce loading times, allowing users to enjoy their favorite movies without delay. Additionally, the player includes advanced audio technologies such as Dolby TrueHD and DTS-HD Master Audio, delivering immersive sound that complements the high-definition visuals perfectly.
With its sleek design and user-friendly interface, the Toshiba BDX1100KU is suitable for any entertainment setup. It supports multiple language options, making it user-friendly for people from diverse backgrounds. Whether for casual viewing or an immersive movie night, this Blu-ray player promises a satisfying experience for all users. Overall, the Toshiba BDX1100KU is an outstanding choice for those seeking a quality Blu-ray player that delivers on performance, versatility, and ease of use.