Using software
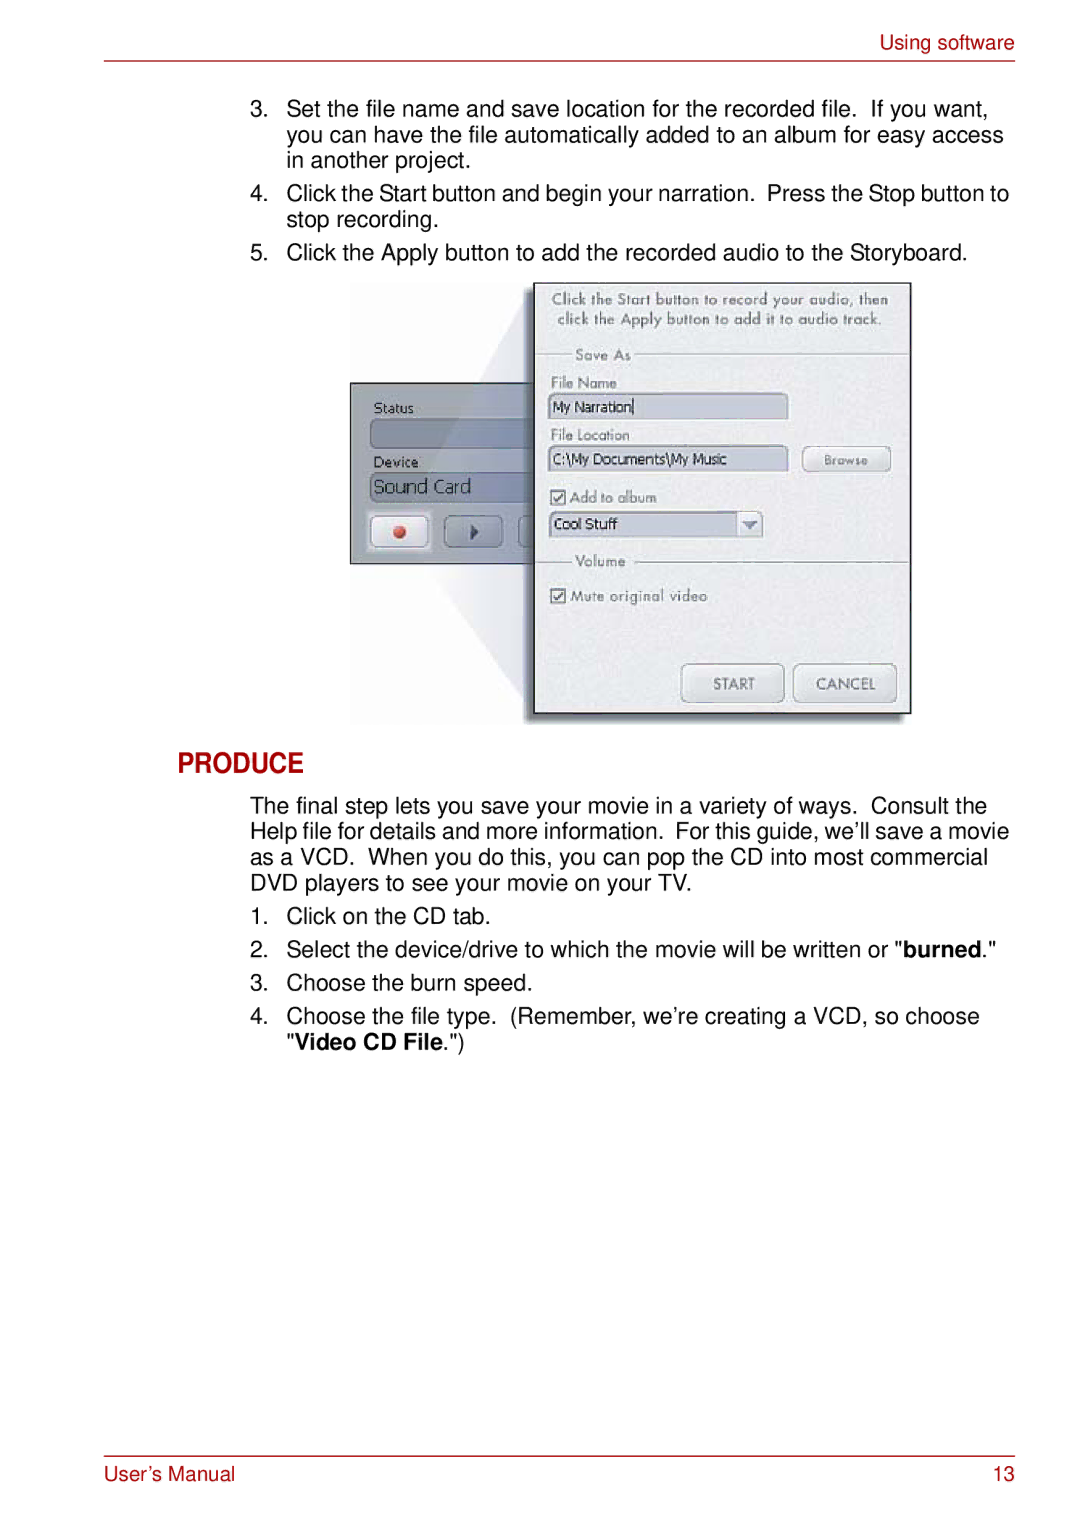
3.Set the file name and save location for the recorded file. If you want, you can have the file automatically added to an album for easy access in another project.
4.Click the Start button and begin your narration. Press the Stop button to stop recording.
5.Click the Apply button to add the recorded audio to the Storyboard.
PRODUCE
The final step lets you save your movie in a variety of ways. Consult the Help file for details and more information. For this guide, we’ll save a movie as a VCD. When you do this, you can pop the CD into most commercial DVD players to see your movie on your TV.
1.Click on the CD tab.
2.Select the device/drive to which the movie will be written or "burned."
3.Choose the burn speed.
4.Choose the file type. (Remember, we’re creating a VCD, so choose "Video CD File.")
User’s Manual | 13 |