PC settings – picture position, clock phase, sampling clock, reset, PC media windows
Picture position
The picture position may be adjusted to suit personal
preference.
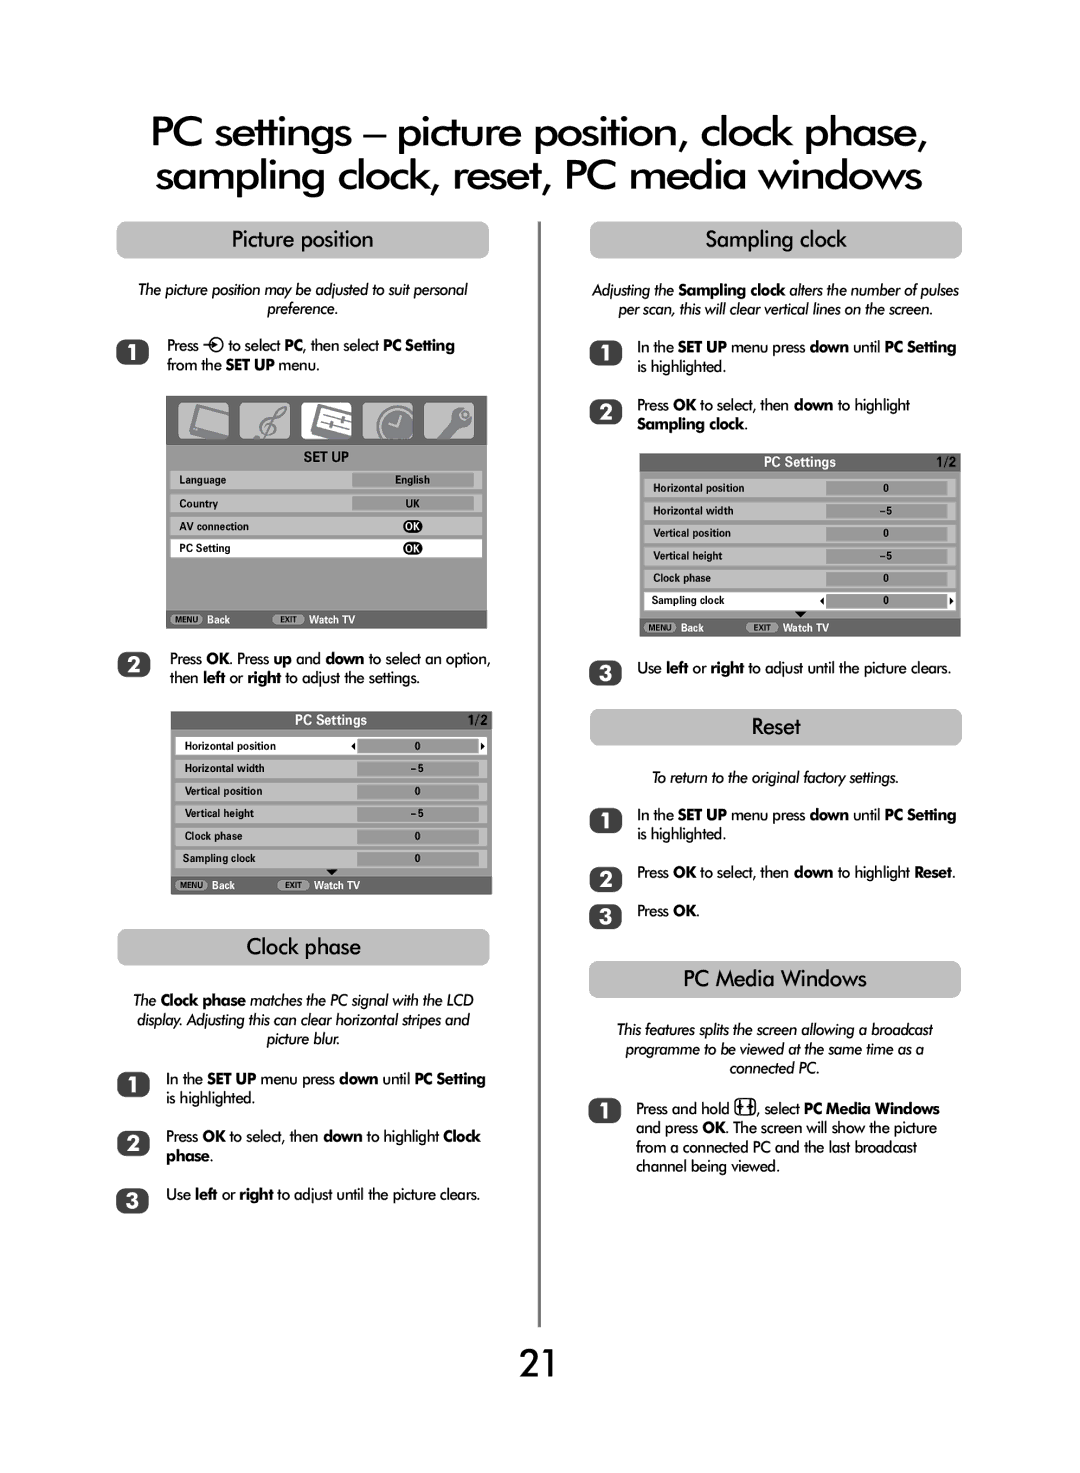
1Press Bto select PC, then select PC Setting from the SET UP menu.
|
|
|
|
| SET UP | ||
Language |
| English |
|
Country |
| UK |
|
AV connection |
| OK | |
PC Setting |
| OK | |
|
|
|
|
MENU Back | EXIT Watch TV | ||
2Press OK. Press up and down to select an option, then left or right to adjust the settings.
| PC Settings | 1/2 | ||
|
|
|
|
|
Horizontal position |
|
| 0 |
|
|
|
|
|
|
Horizontal width |
|
| – 5 |
|
Vertical position |
|
| 0 |
|
Vertical height |
|
| – 5 |
|
Clock phase |
|
| 0 |
|
Sampling clock |
|
| 0 |
|
|
|
|
|
|
MENU Back | EXIT Watch TV |
|
| |
Clock phase
The Clock phase matches the PC signal with the LCD display. Adjusting this can clear horizontal stripes and picture blur.
1In the SET UP menu press down until PC Setting is highlighted.
2Press OK to select, then down to highlight Clock phase.
3Use left or right to adjust until the picture clears.
Sampling clock
Adjusting the Sampling clock alters the number of pulses
per scan, this will clear vertical lines on the screen.
1In the SET UP menu press down until PC Setting is highlighted.
2Press OK to select, then down to highlight Sampling clock.
| PC Settings | 1/2 | ||
|
|
|
|
|
Horizontal position |
|
| 0 |
|
Horizontal width |
|
| – 5 |
|
Vertical position |
|
| 0 |
|
Vertical height |
|
| – 5 |
|
Clock phase |
|
| 0 |
|
Sampling clock |
|
| 0 |
|
|
|
|
|
|
|
|
|
|
|
MENU Back | EXIT Watch TV |
|
| |
3Use left or right to adjust until the picture clears.
Reset
To return to the original factory settings.
1In the SET UP menu press down until PC Setting is highlighted.
2Press OK to select, then down to highlight Reset.
3Press OK.
PC Media Windows
This features splits the screen allowing a broadcast programme to be viewed at the same time as a connected PC.
1Press and hold {, select PC Media Windows and press OK. The screen will show the picture from a connected PC and the last broadcast channel being viewed.
21