CPSMC0100-210
Installation
Installing a Slide-in-Module
CAUTION: Wear a grounding device and observe electrostatic discharge precautions when installing the media converter slide-in-module into the single-slot chassis. Failure to observe this caution could result in damage to, and subsequent failure of, the slide-in-module media converter.
Note: The maximum power capacity for the chassis slot is 12 Watts.
Note: The CPSMC0100-210 chassis is rated as “Class B” only when Class B compliant slide-in-module media converters are installed. The chassis will drop to a “Class A“ rating whenever a Class A slide-in-module media converter is installed.
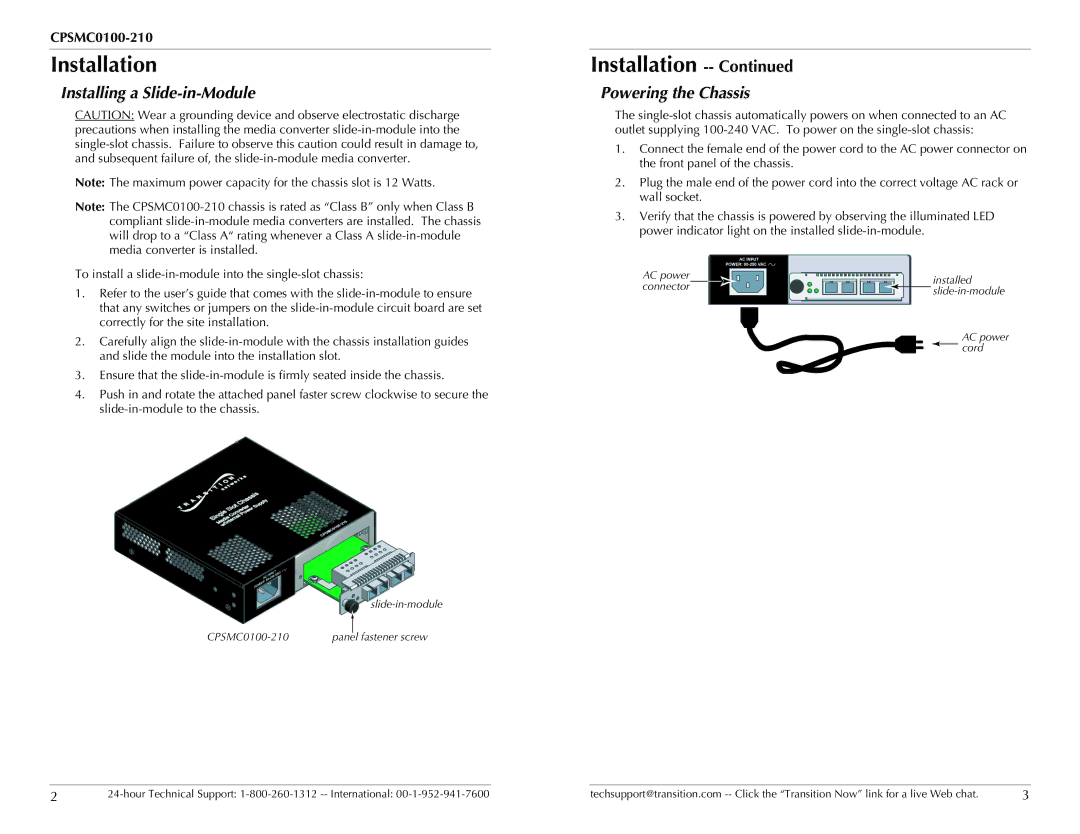
To install a slide-in-module into the single-slot chassis:
1.Refer to the user’s guide that comes with the slide-in-module to ensure that any switches or jumpers on the slide-in-module circuit board are set correctly for the site installation.
2.Carefully align the slide-in-module with the chassis installation guides and slide the module into the installation slot.
3.Ensure that the slide-in-module is firmly seated inside the chassis.
4.Push in and rotate the attached panel faster screw clockwise to secure the slide-in-module to the chassis.
| slide-in-module |
CPSMC0100-210 | panel fastener screw |
| |
Installation -- Continued
Powering the Chassis
The single-slot chassis automatically powers on when connected to an AC outlet supplying 100-240 VAC. To power on the single-slot chassis:
1.Connect the female end of the power cord to the AC power connector on the front panel of the chassis.
2.Plug the male end of the power cord into the correct voltage AC rack or wall socket.
3.Verify that the chassis is powered by observing the illuminated LED power indicator light on the installed slide-in-module.
AC power | | | | installed |
connector | |
| slide-in-module |
|
| | | |
AC power  cord
cord

![]() cord
cord