Configuration Utility
The HomePlug Configuration Utility for Windows OS enables the users to identify HomePlug devices on the power line network, measures data rate performance, ensures privacy and performs diagnostics by setting user defined secure power line networks.
Install Configuration Utility
Insert the Configuration Utility CD into your CD- ROM drive and the
Click the “Install Utility” on the menu to install the Configuration Utility, the install wizard will begin the software installation. Follow the install wizard instructions complete d the Configuration Utility install.
Using the Configuration Utility
To start the Configuration Utility, double click the icon on the desktop, the Configuration Utility will be executed.
The Configuration Utility was divided into four tabs, Main, Privacy, Diagnostics and About, for details instruction, follow the below section.
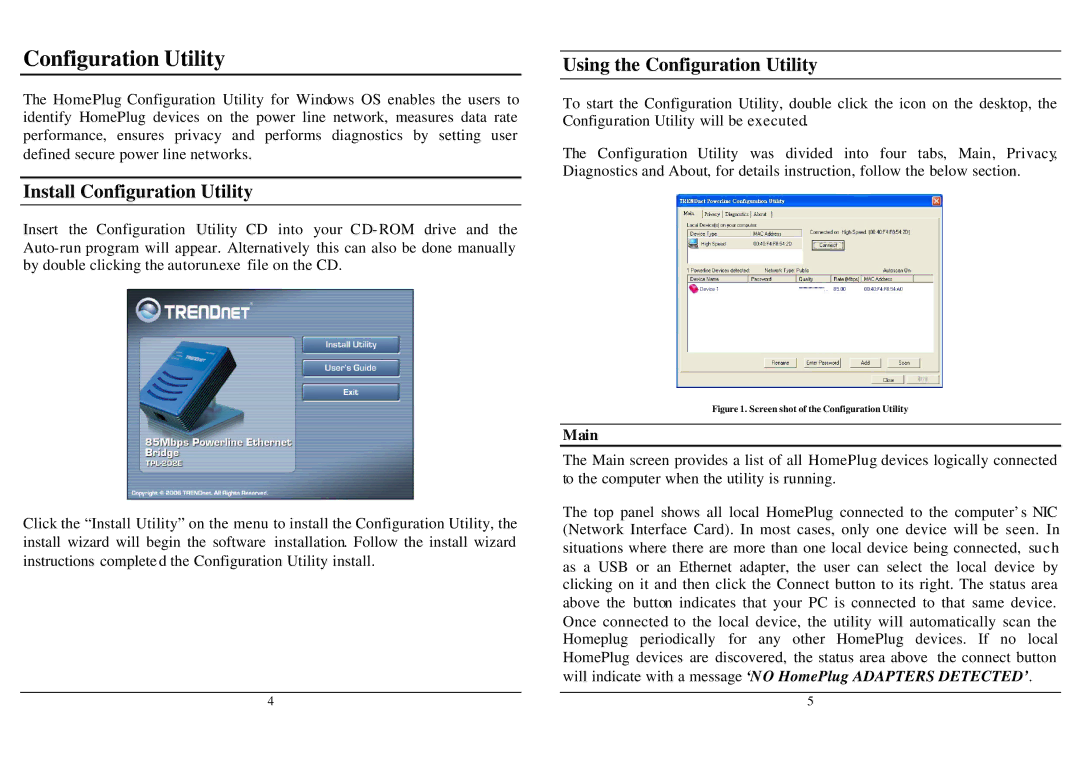
Figure 1. Screen shot of the Configuration Utility
Main
The Main screen provides a list of all HomePlug devices logically connected to the computer when the utility is running.
The top panel shows all local HomePlug connected to the computer’s NIC (Network Interface Card). In most cases, only one device will be seen. In situations where there are more than one local device being connected, such as a USB or an Ethernet adapter, the user can select the local device by clicking on it and then click the Connect button to its right. The status area above the button indicates that your PC is connected to that same device. Once connected to the local device, the utility will automatically scan the Homeplug periodically for any other HomePlug devices. If no local HomePlug devices are discovered, the status area above the connect button will indicate with a message ‘N O HomePlug ADAPTERS DETECTED’.
4 | 5 |
