
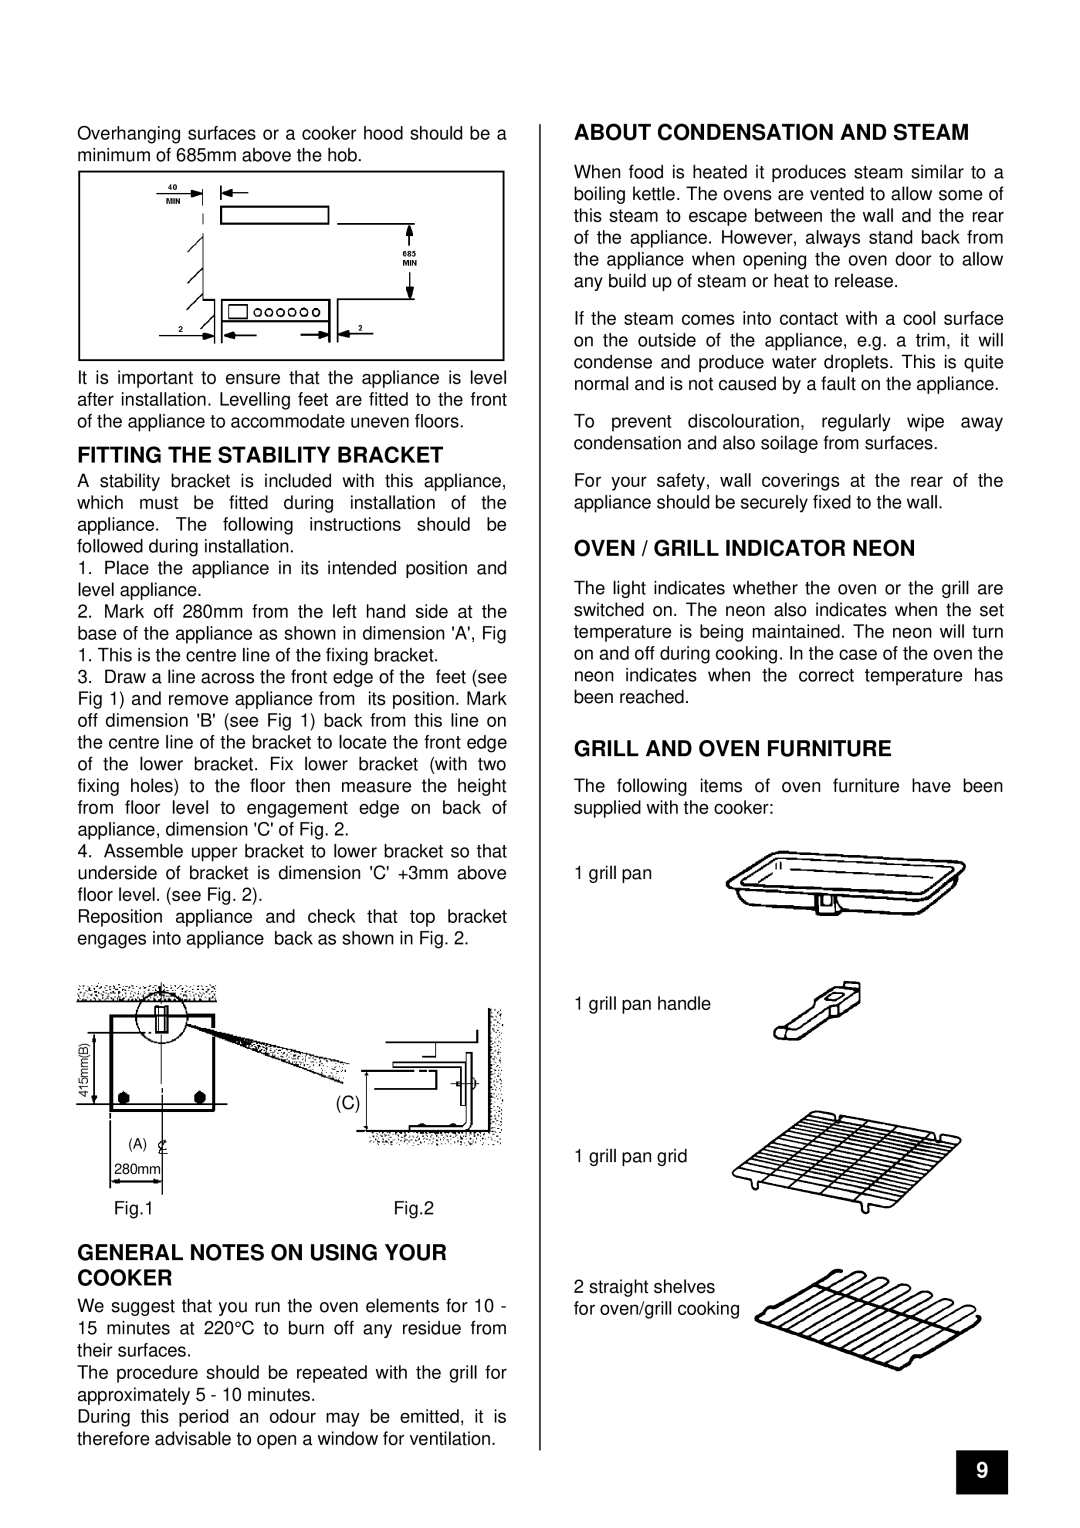
SI 251 specifications
The Tricity Bendix SI 251 is a modern appliance that represents the epitome of contemporary kitchen design and functionality. This sleek and stylish oven is engineered to provide an exceptional cooking experience, making it a popular choice among households looking for reliability and innovation.One of the standout features of the Tricity Bendix SI 251 is its impressive multi-functional cooking capabilities. It offers a variety of cooking programs, including convection baking, grill, and defrost settings, allowing users to prepare a wide range of dishes with utmost precision. The convection cooking feature is particularly noteworthy, as it ensures even heat distribution throughout the oven cavity, resulting in perfectly baked goods and evenly cooked meals.
In terms of design, the SI 251 boasts an elegant and modern aesthetic that can seamlessly integrate into any kitchen decor. The stainless steel finish not only enhances its visual appeal but also ensures durability and resistance to scratches and fingerprints. The sleek glass door provides a clear view of the cooking process while adding a touch of sophistication to the overall look.
Another key characteristic of the Tricity Bendix SI 251 is its user-friendly control panel. Equipped with intuitive dials and a digital display, the oven allows for easy temperature and time adjustments. The control panel also features pre-set cooking programs, making it simple for users to select their desired settings without any hassle.
Safety is also a prime concern in the design of the Tricity Bendix SI 251. The appliance is equipped with multiple safety features, including a child lock and an automatic shut-off function, providing peace of mind for busy households.
In terms of energy efficiency, the SI 251 is designed to consume less power without compromising on performance. This not only leads to cost savings on energy bills but also contributes to a more sustainable lifestyle.
Overall, the Tricity Bendix SI 251 is a brilliant blend of functionality and style. With its versatile cooking features, user-friendly controls, and modern design, it stands out as an excellent addition to any kitchen, catering to the needs of both amateur cooks and seasoned chefs alike. Its commitment to safety and energy efficiency further enhances its appeal, making it a trusted choice for families who value innovation in cooking appliances.