It is NOT necessary to add water to the meat tin when roasting. The water and the fat juices from the joint create excessive splattering during cooking - even at normal temperatures, as well
las causing condensation.
Covering joints during cooking will also prevent splashing onto the interior surfaces. Removing the covering for the last
CLEANING BETWEEN THE OUTER AND INNER DOOR GLASS
The outer door glass is removable for cleaning.
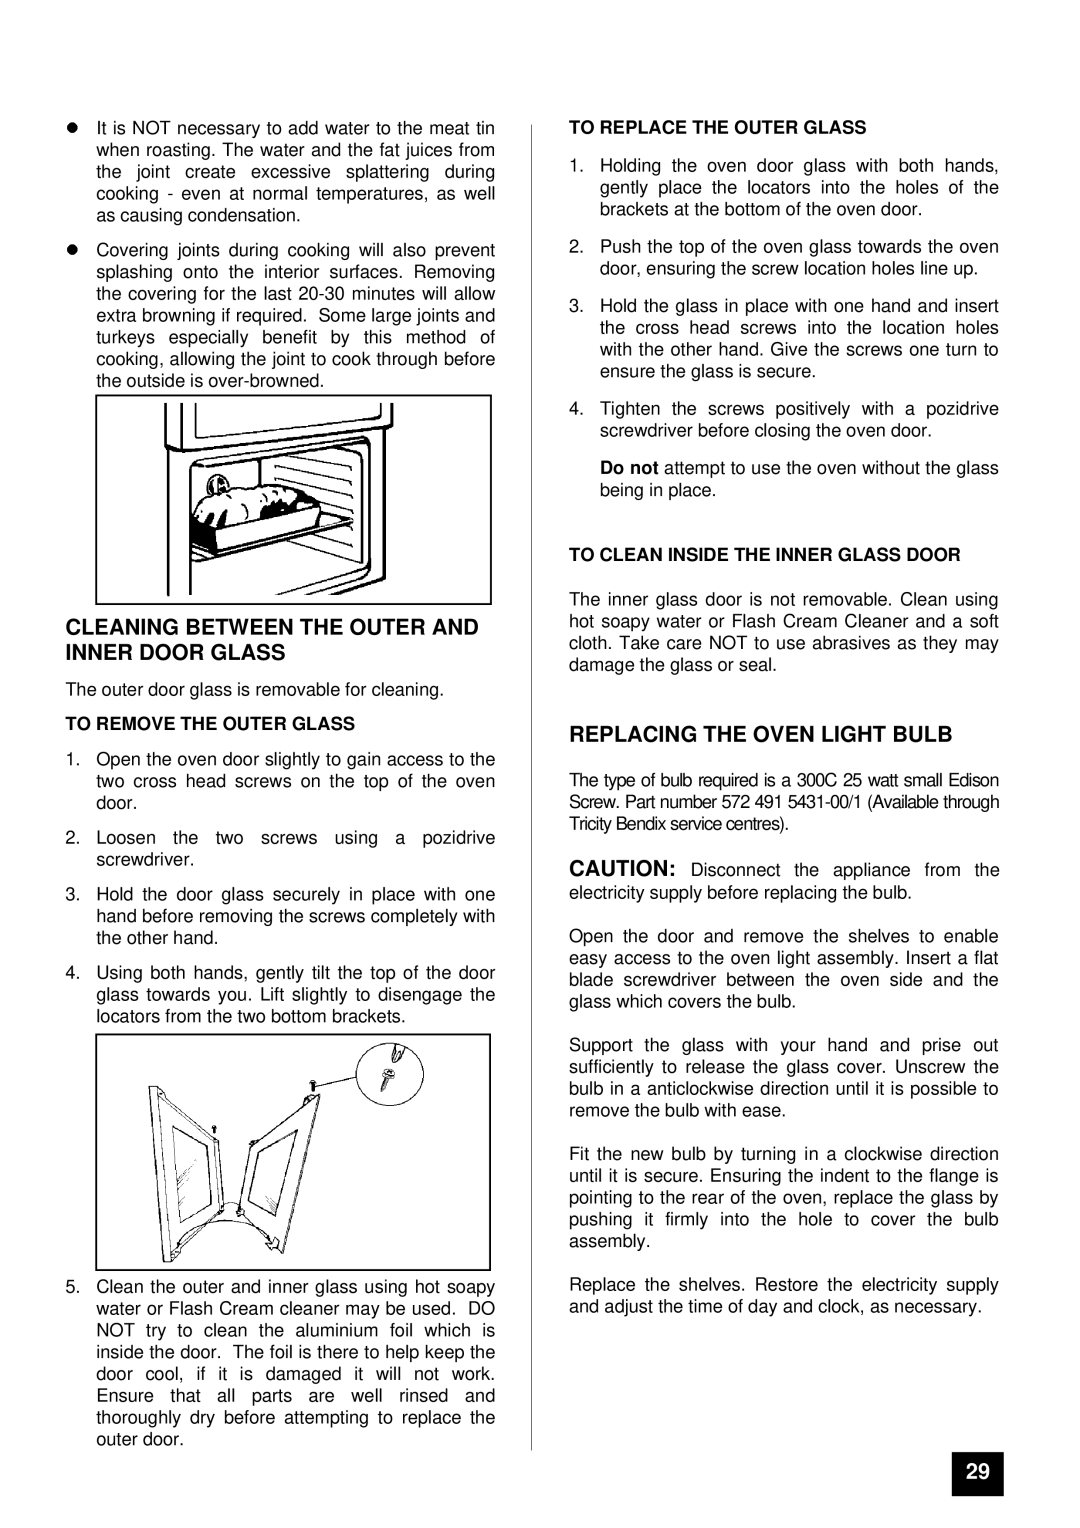
TO REMOVE THE OUTER GLASS
1.Open the oven door slightly to gain access to the two cross head screws on the top of the oven door.
2.Loosen the two screws using a pozidrive screwdriver.
3.Hold the door glass securely in place with one hand before removing the screws completely with the other hand.
4.Using both hands, gently tilt the top of the door glass towards you. Lift slightly to disengage the locators from the two bottom brackets.
5.Clean the outer and inner glass using hot soapy water or Flash Cream cleaner may be used. DO NOT try to clean the aluminium foil which is inside the door. The foil is there to help keep the door cool, if it is damaged it will not work. Ensure that all parts are well rinsed and thoroughly dry before attempting to replace the outer door.
TO REPLACE THE OUTER GLASS
1.Holding the oven door glass with both hands, gently place the locators into the holes of the brackets at the bottom of the oven door.
2.Push the top of the oven glass towards the oven door, ensuring the screw location holes line up.
3.Hold the glass in place with one hand and insert the cross head screws into the location holes with the other hand. Give the screws one turn to ensure the glass is secure.
4.Tighten the screws positively with a pozidrive screwdriver before closing the oven door.
Do not attempt to use the oven without the glass being in place.
TO CLEAN INSIDE THE INNER GLASS DOOR
The inner glass door is not removable. Clean using hot soapy water or Flash Cream Cleaner and a soft cloth. Take care NOT to use abrasives as they may damage the glass or seal.
REPLACING THE OVEN LIGHT BULB
The type of bulb required is a 300C 25 watt small Edison Screw. Part number 572 491
CAUTION: Disconnect the appliance from the electricity supply before replacing the bulb.
Open the door and remove the shelves to enable easy access to the oven light assembly. Insert a flat blade screwdriver between the oven side and the glass which covers the bulb.
Support the glass with your hand and prise out sufficiently to release the glass cover. Unscrew the bulb in a anticlockwise direction until it is possible to remove the bulb with ease.
Fit the new bulb by turning in a clockwise direction until it is secure. Ensuring the indent to the flange is pointing to the rear of the oven, replace the glass by pushing it firmly into the hole to cover the bulb assembly.
Replace the shelves. Restore the electricity supply and adjust the time of day and clock, as necessary.
29
