Installation
Input Connection
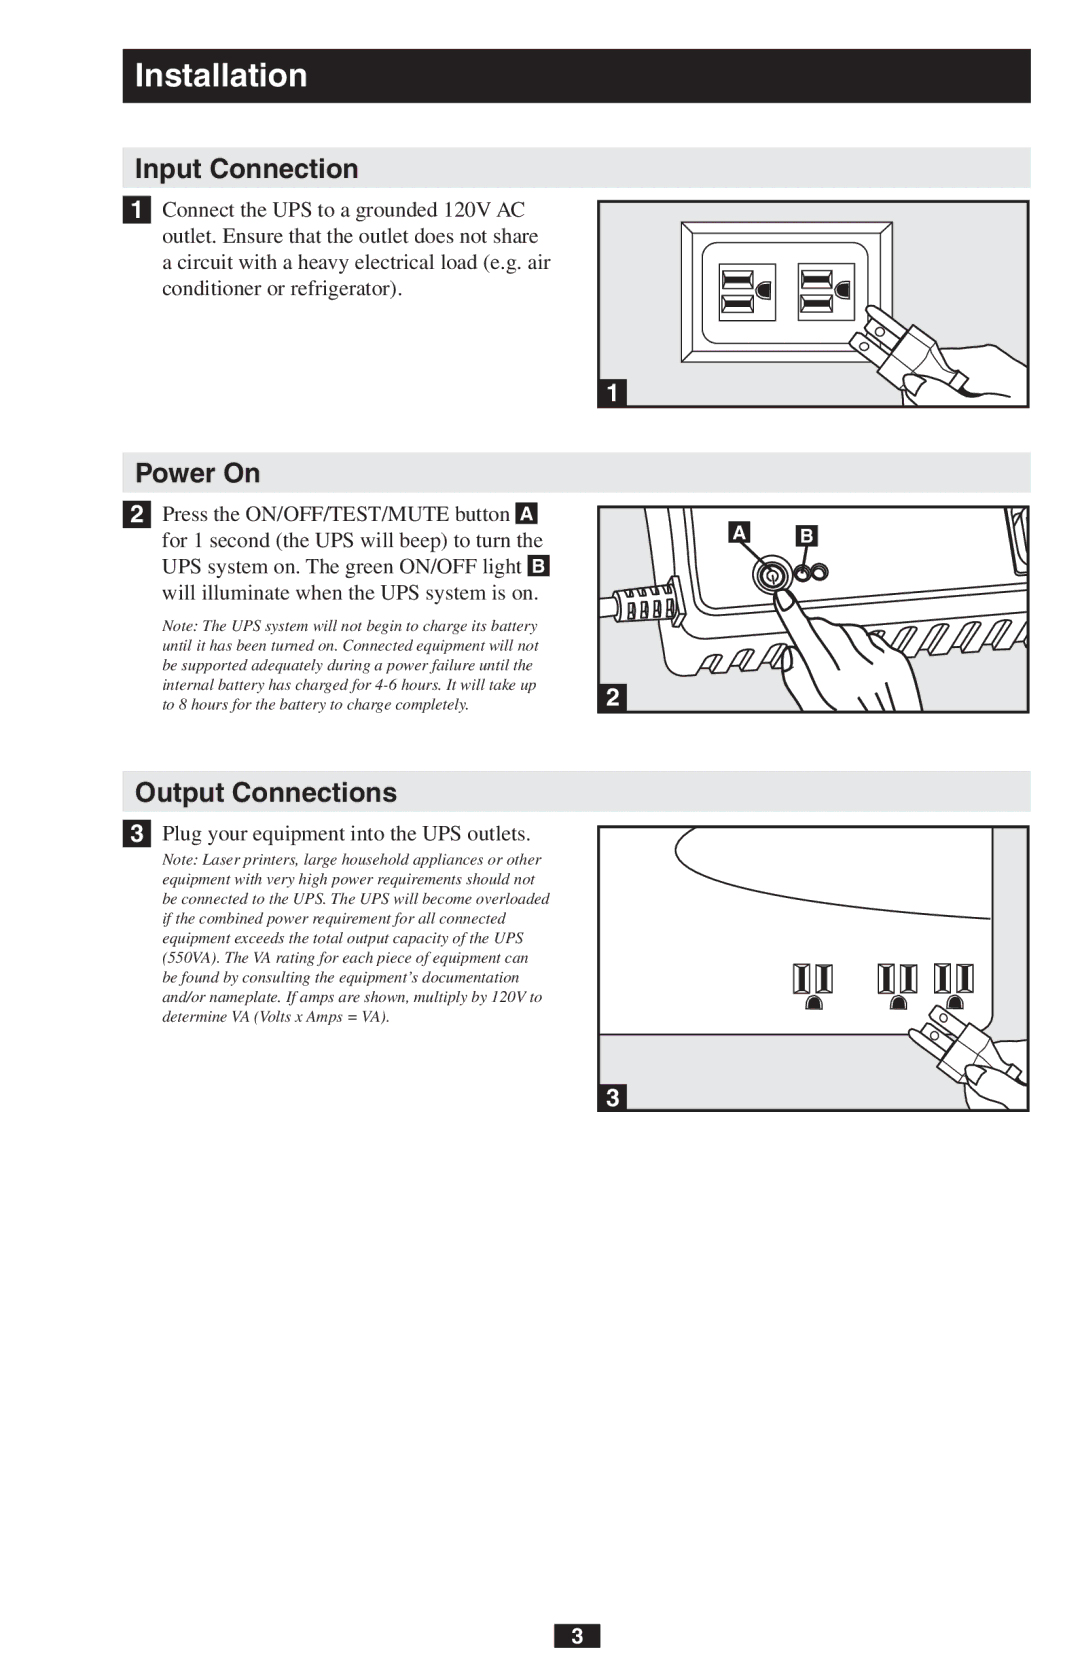
1Connect the UPS to a grounded 120V AC outlet. Ensure that the outlet does not share a circuit with a heavy electrical load (e.g. air conditioner or refrigerator).
1 |
Power On
2Press the ON/OFF/TEST/MUTE button A for 1 second (the UPS will beep) to turn the UPS system on. The green ON/OFF light B will illuminate when the UPS system is on.
Note: The UPS system will not begin to charge its battery until it has been turned on. Connected equipment will not be supported adequately during a power failure until the internal battery has charged for
A | B |
2 |
|
Output Connections
3 Plug your equipment into the UPS outlets.
Note: Laser printers, large household appliances or other equipment with very high power requirements should not be connected to the UPS. The UPS will become overloaded if the combined power requirement for all connected equipment exceeds the total output capacity of the UPS (550VA). The VA rating for each piece of equipment can be found by consulting the equipment’s documentation and/or nameplate. If amps are shown, multiply by 120V to determine VA (Volts x Amps = VA).
3
3