Section 2: Assembly

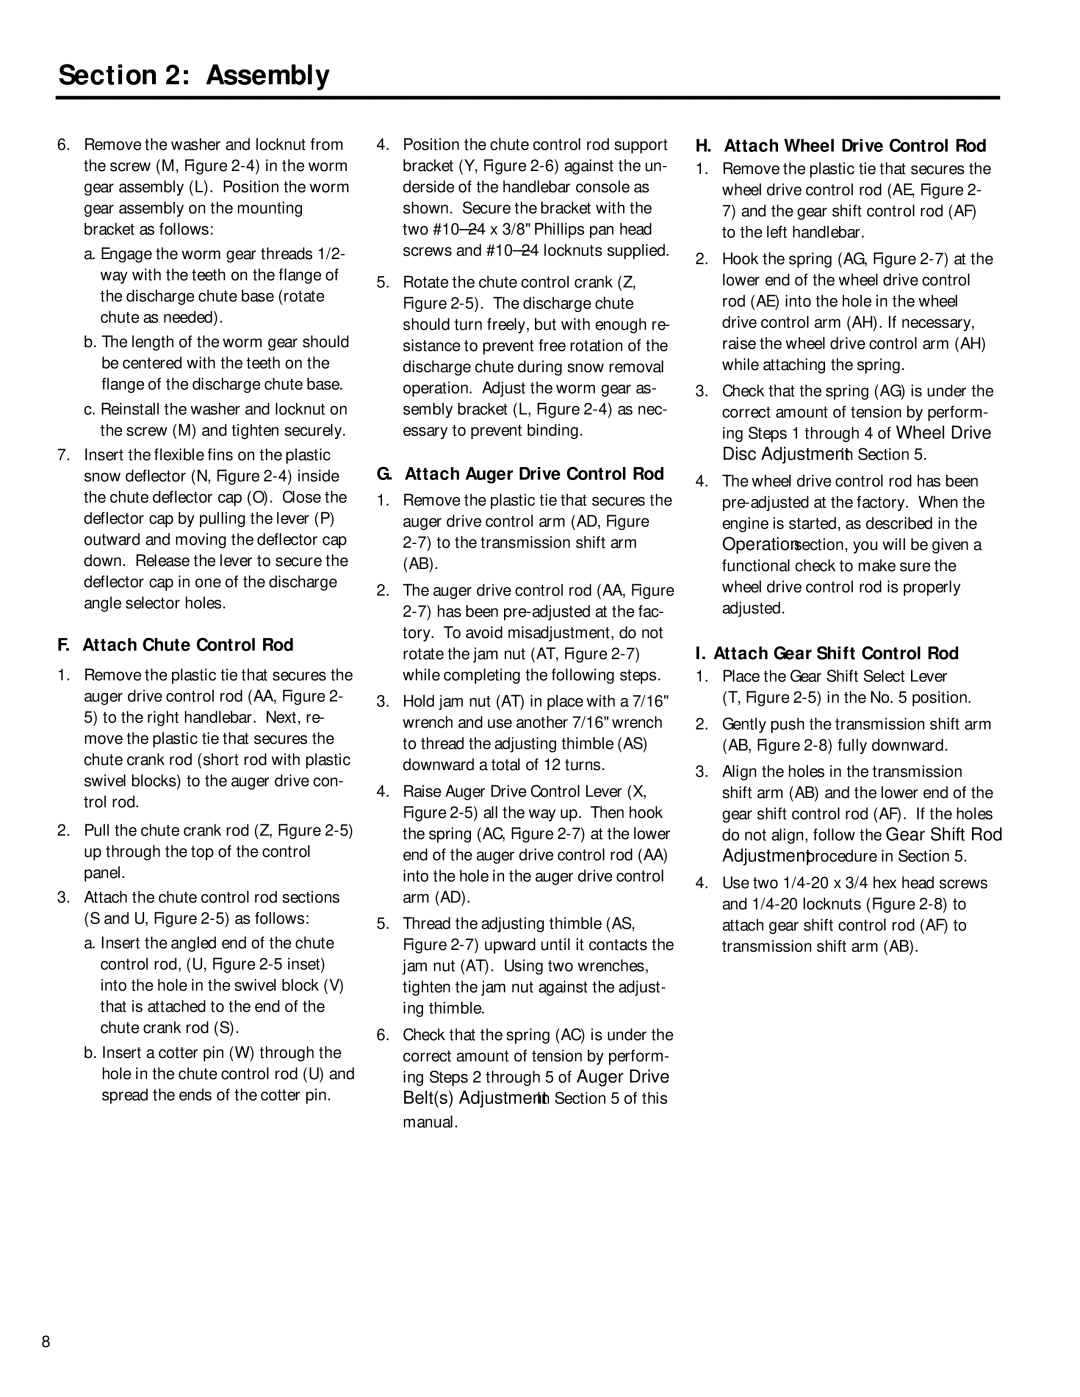
6.Remove the washer and locknut from the screw (M, Figure 2-4) in the worm gear assembly (L). Position the worm gear assembly on the mounting bracket as follows:

a.Engage the worm gear threads 1/2- way with the teeth on the flange of the discharge chute base (rotate chute as needed).

b.The length of the worm gear should be centered with the teeth on the flange of the discharge chute base.

c.Reinstall the washer and locknut on the screw (M) and tighten securely.

7.Insert the flexible fins on the plastic snow deflector (N, Figure 2-4) inside the chute deflector cap (O). Close the deflector cap by pulling the lever (P) outward and moving the deflector cap down. Release the lever to secure the deflector cap in one of the discharge angle selector holes.

F. Attach Chute Control Rod

1.Remove the plastic tie that secures the auger drive control rod (AA, Figure 2- 5) to the right handlebar. Next, re- move the plastic tie that secures the chute crank rod (short rod with plastic swivel blocks) to the auger drive con- trol rod.

2.Pull the chute crank rod (Z, Figure 2-5) up through the top of the control panel.

3.Attach the chute control rod sections (S and U, Figure 2-5) as follows:

a. Insert the angled end of the chute control rod, (U, Figure 2-5 inset) into the hole in the swivel block (V) that is attached to the end of the chute crank rod (S).

b. Insert a cotter pin (W) through the hole in the chute control rod (U) and spread the ends of the cotter pin.

4.Position the chute control rod support bracket (Y, Figure 2-6) against the un- derside of the handlebar console as shown. Secure the bracket with the two #10–24 x 3/8" Phillips pan head screws and #10–24 locknuts supplied.

5.Rotate the chute control crank (Z, Figure 2-5). The discharge chute should turn freely, but with enough re- sistance to prevent free rotation of the discharge chute during snow removal operation. Adjust the worm gear as- sembly bracket (L, Figure 2-4) as nec- essary to prevent binding.

G. Attach Auger Drive Control Rod

1.Remove the plastic tie that secures the auger drive control arm (AD, Figure 2-7) to the transmission shift arm (AB).

2.The auger drive control rod (AA, Figure 2-7) has been pre-adjusted at the fac- tory. To avoid misadjustment, do not rotate the jam nut (AT, Figure 2-7) while completing the following steps.

3.Hold jam nut (AT) in place with a 7/16" wrench and use another 7/16" wrench to thread the adjusting thimble (AS) downward a total of 12 turns.

4.Raise Auger Drive Control Lever (X, Figure 2-5) all the way up. Then hook the spring (AC, Figure 2-7) at the lower end of the auger drive control rod (AA) into the hole in the auger drive control arm (AD).

5.Thread the adjusting thimble (AS, Figure 2-7) upward until it contacts the jam nut (AT). Using two wrenches, tighten the jam nut against the adjust- ing thimble.

6.Check that the spring (AC) is under the correct amount of tension by perform- ing Steps 2 through 5 of Auger Drive Belt(s) Adjustment in Section 5 of this manual.

H. Attach Wheel Drive Control Rod

1.Remove the plastic tie that secures the wheel drive control rod (AE, Figure 2- 7) and the gear shift control rod (AF) to the left handlebar.

2.Hook the spring (AG, Figure 2-7) at the lower end of the wheel drive control rod (AE) into the hole in the wheel drive control arm (AH). If necessary, raise the wheel drive control arm (AH) while attaching the spring.

3.Check that the spring (AG) is under the correct amount of tension by perform- ing Steps 1 through 4 of Wheel Drive Disc Adjustment in Section 5.

4.The wheel drive control rod has been pre-adjusted at the factory. When the engine is started, as described in the Operation section, you will be given a functional check to make sure the wheel drive control rod is properly adjusted.

I. Attach Gear Shift Control Rod

1.Place the Gear Shift Select Lever (T, Figure 2-5) in the No. 5 position.

2.Gently push the transmission shift arm (AB, Figure 2-8) fully downward.

3.Align the holes in the transmission shift arm (AB) and the lower end of the gear shift control rod (AF). If the holes do not align, follow the Gear Shift Rod Adjustment procedure in Section 5.

4.Use two 1/4-20 x 3/4 hex head screws and 1/4-20 locknuts (Figure 2-8) to attach gear shift control rod (AF) to transmission shift arm (AB).

8

Page 8
Image 8
Troy-Bilt 42052, 42051 owner manual Attach Chute Control Rod, Attach Wheel Drive Control Rod, Attach Gear Shift Control Rod

42051, 42052 specifications

Troy-Bilt has long been a trusted name in outdoor power equipment, and the models 42051 and 42052 continue this tradition with their robust features and reliable performance. Designed for residential lawn care and landscaping tasks, these models are primarily known for their powerful engine, ease of use, and innovative technology that cater to both novice and experienced users.

At the heart of the Troy-Bilt 42051 and 42052 is a reliable 420cc engine that delivers exceptional power for tackling various yard tasks, whether it's mowing, mulching, or bagging. The engine’s design emphasizes efficiency and ease of starting, ensuring that users can get right to work without any hassle. This engine has been engineered to minimize vibrations, which adds to the overall comfort during prolonged use.

One standout feature of both models is their adjustable cutting height. With multiple positions, users can easily customize the cutting height to suit their lawn's needs, giving them the versatility to achieve the perfect cut no matter the grass type or terrain.

Equipped with a heavy-duty steel deck, the 42051 and 42052 are designed for durability and longevity. This robust construction not only withstands rough conditions and impacts but also facilitates a smooth cutting experience, ensuring consistent results with each pass.

Another notable technology found in these mowers is the TriAction cutting system. This innovative design combines a specially designed blade with a rake that lifts grass for an even, clean cut. The system enhances bagging capability by ensuring that more clippings are efficiently collected, keeping lawns tidy and reducing the need for additional clean-up.

Both models also feature a rear bagging attachment, making it easier to collect clippings and debris as you mow. This capability is particularly advantageous for those looking to maintain a neat and well-kept lawn without the mess that often accompanies traditional mowing.

Moreover, the user-friendly controls make these mowers easy to operate. With intuitive levers and simple starting mechanisms, even those who are new to lawn care can gain confidence quickly.

Overall, the Troy-Bilt 42051 and 42052 embody the brand’s commitment to quality, performance, and user satisfaction, making them excellent choices for homeowners seeking a reliable solution for their lawn care needs. Whether tackling vast yards or smaller spaces, these mowers demonstrate power, innovation, and ease of use, fulfilling the diverse requirements of modern landscaping.