Blade Care

WARNING: When removing the cutting blade for sharpening or replacement, protect your hands with a pair of heavy gloves or use a heavy rag

to hold the blade.

Periodically inspect the blade adapter for cracks, especially if you strike a foreign object. Replace when necessary. Follow the steps below for blade service.

1.Disconnect spark plug wire from spark plug. Turn mower on its side making sure that the air filter and the carburetor are up.

2.Remove the bolt and the bell washer which hold the blade and the blade adapter to the engine crankshaft. See Figure 5-2.

3.Remove blade and adapter from the crankshaft.

4.The blade can be sharpened with a file or on a grind- ing wheel. Do not attempt to sharpen the blade while it is still on the mower. When sharpening the blade, follow the original angle of grind and grind each cut- ting edge equally to keep the blade balanced. Balance the blade on a round shaft screwdriver. Remove metal from the heavy side until it balances evenly.

WARNING: An unbalanced blade will cause excessive vibration when rotating at high

speeds. It may cause damage to mower, and could break causing personal injury.

Blade

Blade


Adapter


Bell

Hex Bolt

Washer

Figure 5-2: Remove blade and hardware.

5

Maintaining

Your Lawn

Mower

WARNING

When removing the cutting blade for sharpening or replacement, protect your hands with a pair of heavy gloves or use a heavy rag to

5.Lubricate the engine crankshaft and slide the blade adapter onto the engine crankshaft.

6.Place the blade on the adapter such that the side of the blade marked “Bottom” (or with part number) faces the ground when the mower is in the operating position. Make sure that the blade is aligned and seated on the blade adapter flanges.

7.Place bell washer on the blade. Align notches on the blade bell support with small holes in blade.

8.Replace hex bolt and tighten hex bolt to torque: 450 in. lbs. min., 600 in. lbs. max.

To ensure safe operation of your mower, periodically check the blade bolt for correct torque.

Replacing Rear Flap

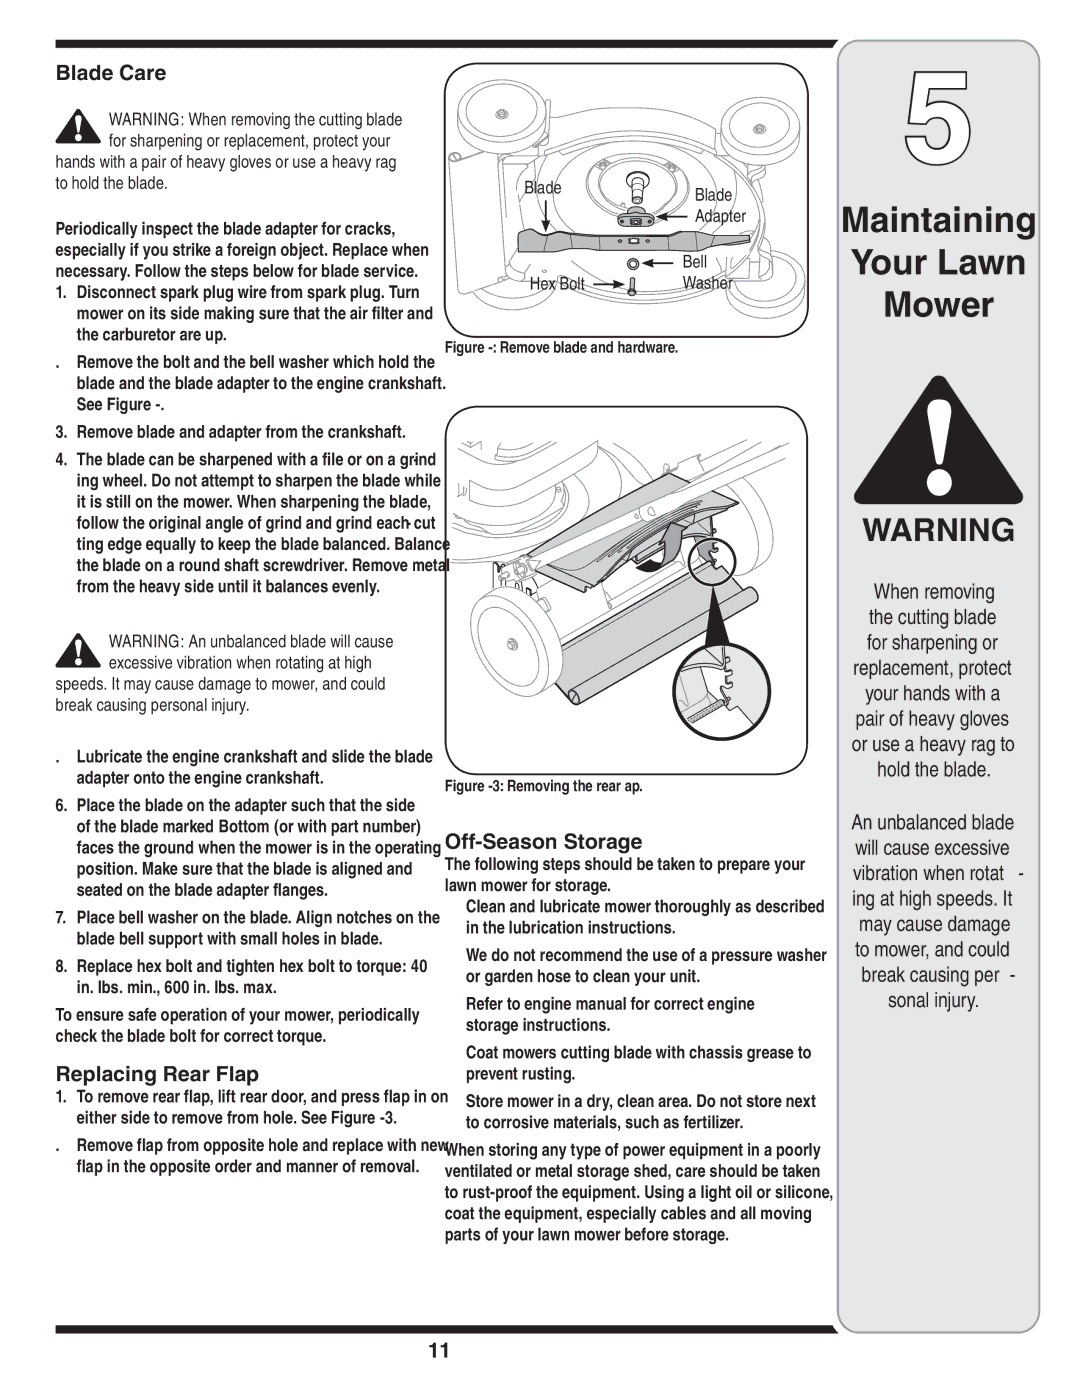
1.To remove rear flap, lift rear door, and press flap in on either side to remove from hole. See Figure 5-3.

2.Remove flap from opposite hole and replace with new flap in the opposite order and manner of removal.

Figure 5-3: Removing the rear flap.

Off-Season Storage

The following steps should be taken to prepare your lawn mower for storage.

Clean and lubricate mower thoroughly as described in the lubrication instructions.

We do not recommend the use of a pressure washer or garden hose to clean your unit.

Refer to engine manual for correct engine storage instructions.

Coat mower’s cutting blade with chassis grease to prevent rusting.

Store mower in a dry, clean area. Do not store next to corrosive materials, such as fertilizer.

When storing any type of power equipment in a poorly ventilated or metal storage shed, care should be taken to rust-proof the equipment. Using a light oil or silicone, coat the equipment, especially cables and all moving parts of your lawn mower before storage.

hold the blade.

An unbalanced blade will cause excessive vibration when rotat- ing at high speeds. It may cause damage to mower, and could break causing per-

sonal injury.

11

Page 11
Image 11
Troy-Bilt 420 warranty Blade Care, Replacing Rear Flap, Off-Season Storage, Hold the blade, Sonal injury

420 specifications

The Troy-Bilt 420 is an impressive addition to the lineup of outdoor power equipment, specifically designed for homeowners seeking exceptional performance in lawn care and maintenance. This Troy-Bilt product stands out due to its robust features, advanced technologies, and user-friendly characteristics, making it a reliable choice for gardening enthusiasts.

One of the main features of the Troy-Bilt 420 is its powerful engine. Equipped with a 420cc engine, it delivers ample power for a variety of tasks, including tilling, mowing, and snow removal. This high-performance engine is designed to provide optimal torque and efficiency, ensuring that you can tackle even the toughest jobs with ease.

Another key characteristic of the Troy-Bilt 420 is its innovative tilling capability. The tiller boasts a wide tilling width of 24 inches, enabling you to cover larger areas in a shorter amount of time. Additionally, it features adjustable tilling depths, allowing users to customize their tilling experience based on the specific needs of their soil and garden. This versatility is essential for achieving effective soil aeration and preparation for planting.

In terms of technology, the Troy-Bilt 420 features a cushioned grip handle for enhanced comfort during extended use. This ergonomic design reduces muscle fatigue and allows for better control of the tiller, ensuring precision in your gardening tasks. The tiller also incorporates a self-propelled drive system, which not only enhances ease of use but also boosts productivity. This means you can focus on your gardening without having to struggle to push or pull the equipment.

The durability of the Troy-Bilt 420 is evident in its construction. Built with high-quality materials, it is designed to withstand the rigors of outdoor use, providing longevity and reliability. Its sturdy design ensures stability during operation, while the heavy-duty tines offer efficient tilling performance.

Finally, maintenance of the Troy-Bilt 420 is straightforward, thanks to accessible components and clear instructions. This design consideration allows homeowners to easily perform routine checks and servicing, which is crucial to keep the equipment running at peak performance.

Overall, the Troy-Bilt 420 combines power, versatility, and user-friendly features, making it an ideal choice for anyone looking to enhance their lawn care routine. Whether you're an experienced gardener or a novice, the Troy-Bilt 420 proves to be a dependable tool that can help you achieve a thriving garden and a well-maintained landscape.