O W N E R ' S M A N U A L • E 6 R
LOWER FRAME
Slide the retaining plate located underneath the seat frame to the front of the bar. Fasten the lower frame to the seat frame using the shorter M8 screw
(A)in the front and longer M8 screw (B) in the back. Place the shorter screw (A) into the frame hole from the end of the lower frame and the longer screw (B) through the frame. Pass the screws through the holes in the lower frame so that they match the threads in the retaining plate. Make sure the screws are tightly fastened.
FEET
Secure the rear foot with two M10 bolts (C) and washers (D). At this point tighten the bolts only with your fingers. Lift the cycle on the floor and turn it right side up. Fasten the front foot with the transportation wheels to the front frame the same way.
JOINING THE FRAMES
Join the front frame and seat frame by pushing one tube inside the other so that the screw holes in the tubes match together. Fasten the frames with two M8 screws (E) and washers (F). Tighten the rear and front foot screws and push the plastic caps over the screw heads.
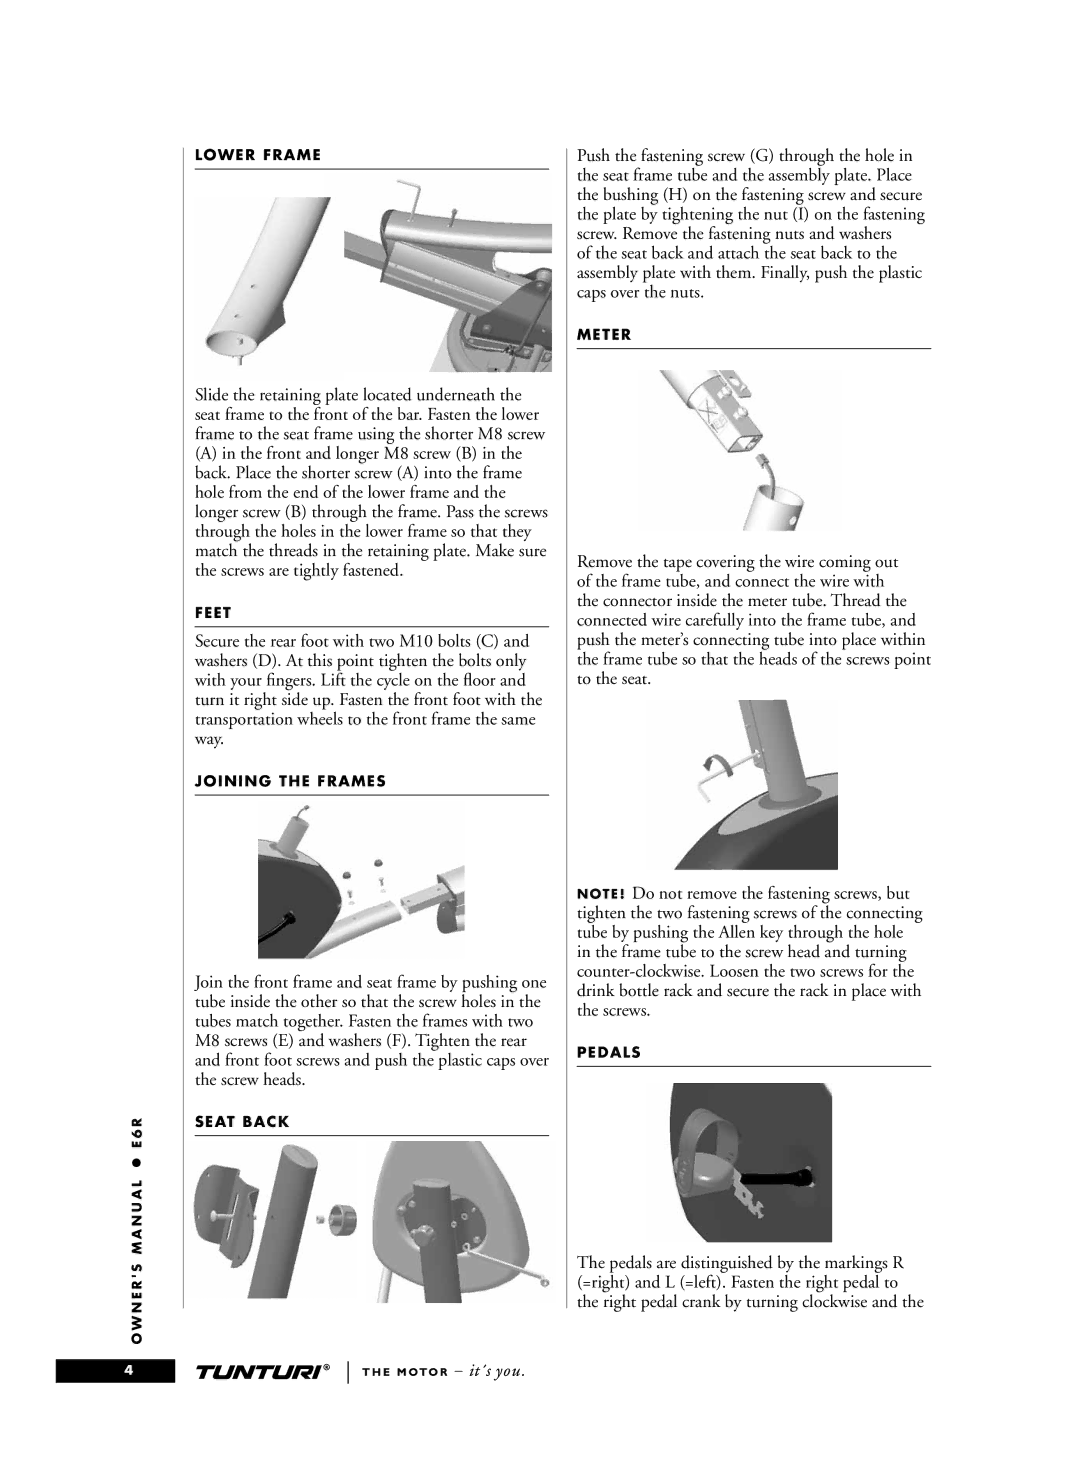
SEAT BACK
Push the fastening screw (G) through the hole in the seat frame tube and the assembly plate. Place the bushing (H) on the fastening screw and secure the plate by tightening the nut (I) on the fastening screw. Remove the fastening nuts and washers
of the seat back and attach the seat back to the assembly plate with them. Finally, push the plastic caps over the nuts.
METER
Remove the tape covering the wire coming out of the frame tube, and connect the wire with the connector inside the meter tube. Thread the connected wire carefully into the frame tube, and push the meter’s connecting tube into place within the frame tube so that the heads of the screws point to the seat.
NOTE! Do not remove the fastening screws, but tighten the two fastening screws of the connecting tube by pushing the Allen key through the hole in the frame tube to the screw head and turning
PEDALS
The pedals are distinguished by the markings R (=right) and L (=left). Fasten the right pedal to the right pedal crank by turning clockwise and the
4