OWNER’S MANUAL

INSTALLATION

Continued

THERMOSTAT SENSING BULB

The thermostat sensing bulb has been placed inside the heater for protection during shipping.

Locating Thermostat Sensing Bulb

1.Remove front panel of heater (see Fig- ure 2, page 3).

2.Locate thermostat sensing bulb just under burner assembly.

IMPORTANT: Attach thermostat sensing bulb to back of heater for proper operation.

Attaching Thermostat Sensing Bulb

1.Remove thermostat sensing bulb from holders inside heater. Route through slot opening in bottom of heater.

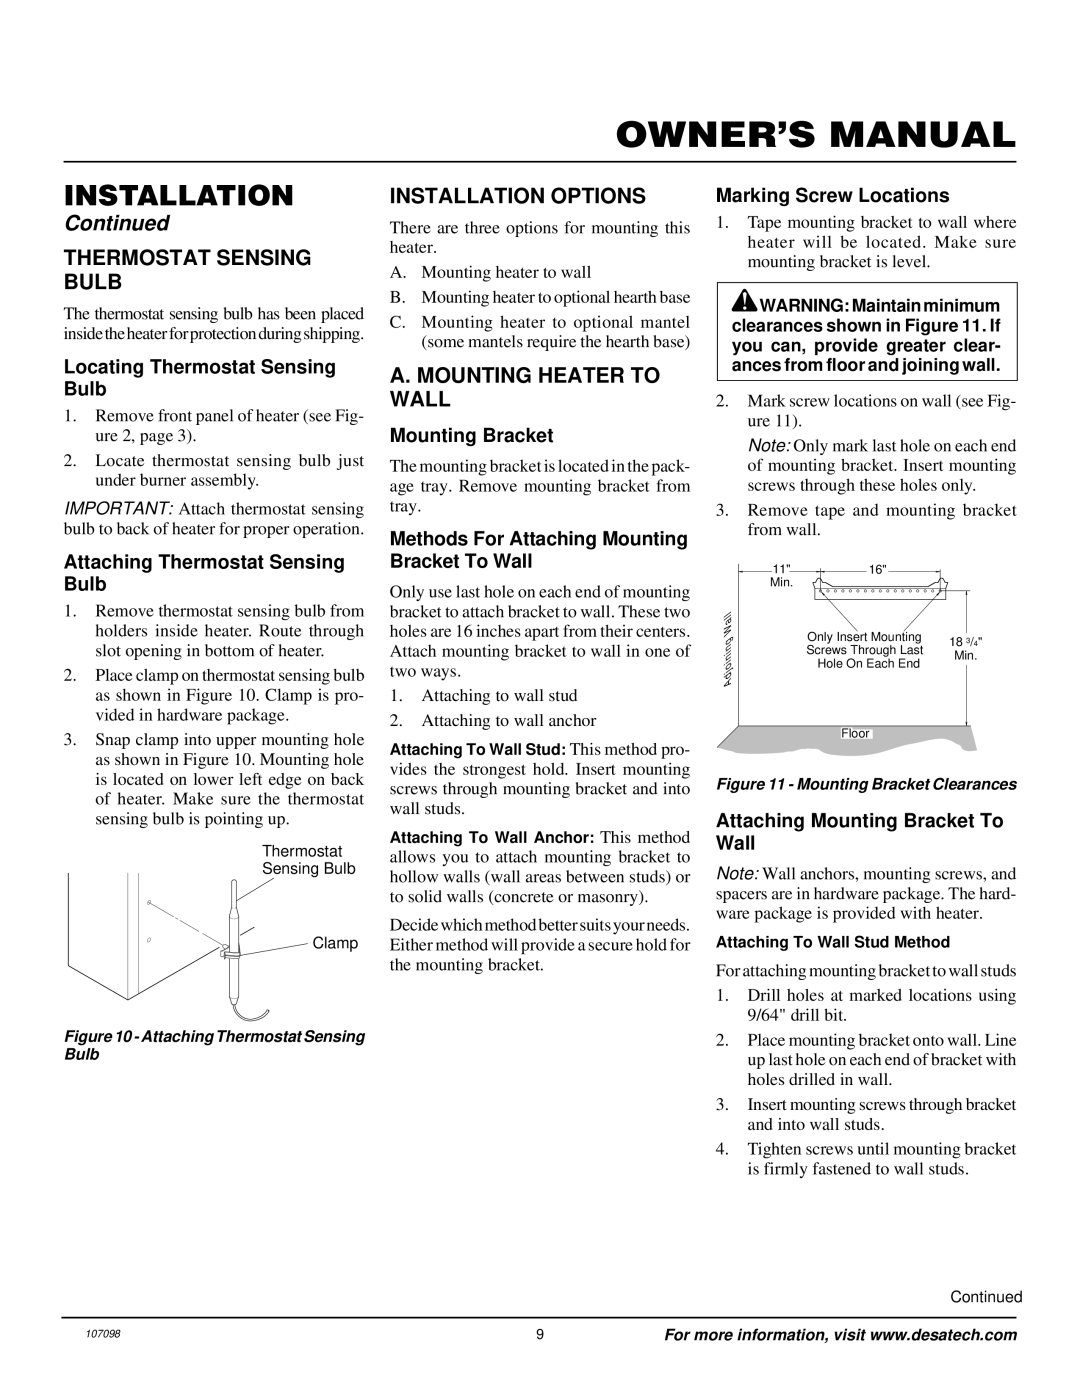
2.Place clamp on thermostat sensing bulb as shown in Figure 10. Clamp is pro- vided in hardware package.

3.Snap clamp into upper mounting hole as shown in Figure 10. Mounting hole is located on lower left edge on back of heater. Make sure the thermostat sensing bulb is pointing up.

Thermostat

Sensing Bulb

Clamp

Figure 10 - Attaching Thermostat Sensing Bulb

INSTALLATION OPTIONS

There are three options for mounting this heater.

A.Mounting heater to wall

B.Mounting heater to optional hearth base

C.Mounting heater to optional mantel (some mantels require the hearth base)

A. MOUNTING HEATER TO WALL

Mounting Bracket

The mounting bracket is located in the pack- age tray. Remove mounting bracket from tray.

Methods For Attaching Mounting Bracket To Wall

Only use last hole on each end of mounting bracket to attach bracket to wall. These two holes are 16 inches apart from their centers. Attach mounting bracket to wall in one of two ways.

1.Attaching to wall stud

2.Attaching to wall anchor

Attaching To Wall Stud: This method pro- vides the strongest hold. Insert mounting screws through mounting bracket and into wall studs.

Attaching To Wall Anchor: This method allows you to attach mounting bracket to hollow walls (wall areas between studs) or to solid walls (concrete or masonry).

Decide which method better suits your needs. Either method will provide a secure hold for the mounting bracket.

Marking Screw Locations

1.Tape mounting bracket to wall where heater will be located. Make sure mounting bracket is level.

WARNING: Maintain minimum clearances shown in Figure 11. If you can, provide greater clear- ances from floor and joining wall.

2.Mark screw locations on wall (see Fig- ure 11).

Note: Only mark last hole on each end of mounting bracket. Insert mounting screws through these holes only.

3.Remove tape and mounting bracket from wall.

11"

16"

Min.


AdjoiningWall


Only Insert Mounting

18 3/4"

Screws Through Last

Min.

Hole On Each End


Floor

Figure 11 - Mounting Bracket Clearances

Attaching Mounting Bracket To Wall

Note: Wall anchors, mounting screws, and spacers are in hardware package. The hard- ware package is provided with heater.

Attaching To Wall Stud Method

For attaching mounting bracket to wall studs

1.Drill holes at marked locations using 9/64" drill bit.

2.Place mounting bracket onto wall. Line up last hole on each end of bracket with holes drilled in wall.

3.Insert mounting screws through bracket and into wall studs.

4.Tighten screws until mounting bracket is firmly fastened to wall studs.

Continued

107098

9

For more information, visit www.desatech.com

Page 9
Image 9
Vanguard Heating VMH3000TPA installation manual Thermostat Sensing Bulb, Installation Options, Mounting Heater to Wall

VMH3000TPA specifications

The Vanguard Heating VMH3000TPA is a cutting-edge heating solution designed to provide efficient warmth to both residential and commercial spaces. This model combines advanced technology with robust construction to ensure reliable performance throughout the heating season.

One of the main features of the VMH3000TPA is its high-output heating capability. With a powerful performance of up to 3000 watts, it effectively heats large areas, making it an ideal choice for open floor plans and larger rooms. The unit is designed for effortless installation and can be easily mounted on walls or placed in various settings, providing flexible placement options.

Energy efficiency is a hallmark of the VMH3000TPA. It incorporates a smart thermostatic controller that allows users to set desired temperatures accurately and maintain them with minimal power consumption. This not only ensures comfort but also helps in reducing energy bills, making it an economically sound choice.

The VMH3000TPA utilizes advanced ceramic heating technology, which heats up quickly and provides uniform warmth. The ceramic plates within the unit warm up rapidly, ensuring that the surrounding area is heated efficiently and evenly. This technology also contributes to longer-lasting performance, reducing wear and tear over time.

User convenience is further enhanced through an integrated digital display that makes it easy to monitor and adjust settings. The unit also features a remote control, allowing users to operate the heater from a distance without needing to get up, which adds a layer of convenience, especially in larger spaces.

Safety is a crucial aspect of the design of the VMH3000TPA. It is equipped with multiple safety features, including overheat protection and tip-over switches, which automatically shut off the heater if it is tipped over or if it exceeds safe temperature levels. These safety mechanisms provide peace of mind for users, knowing that the heater operates within safe parameters.

In terms of aesthetic appeal, the VMH3000TPA sports a modern and sleek design that seamlessly integrates into various interior styles, enhancing the overall ambiance of the space it occupies. The lightweight construction ensures ease of mobility, allowing users to move it from room to room as needed.

Overall, the Vanguard Heating VMH3000TPA stands out in the market for its powerful heating capabilities, energy efficiency, advanced safety features, and user-friendly design, making it a top choice for individuals seeking reliable heating solutions for diverse environments.