
NST-260U2-RD specifications
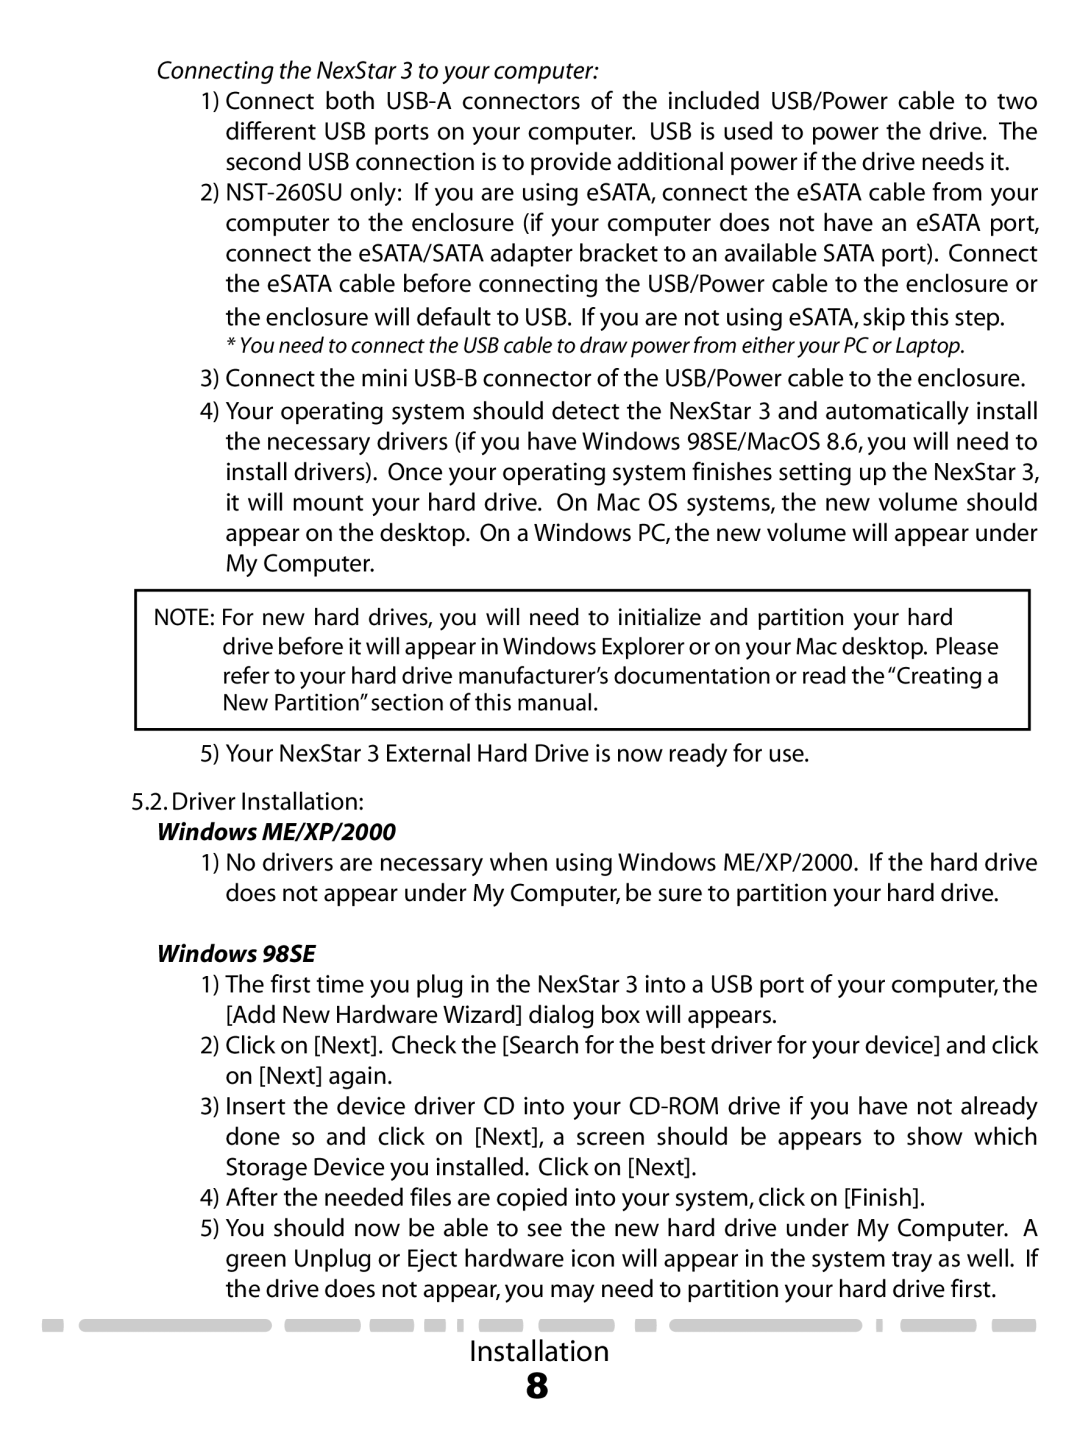
The Vantec NST-260U2-RD is an external hard drive enclosure that stands out for its combination of functionality, style, and performance. Designed to accommodate 2.5-inch SATA hard drives and solid-state drives (SSDs), this product is an excellent choice for users looking to expand their storage capabilities while maintaining portability.One of the main features of the Vantec NST-260U2-RD is its USB 2.0 interface, which ensures quick and efficient data transfer between the enclosure and various devices. Despite being an older standard, USB 2.0 is still compatible with a wide range of computers and laptops, making it convenient for users who may not have upgraded to newer technologies yet. The product also supports plug-and-play functionality, simplifying the setup process for users who may be less technically inclined.
The design of the NST-260U2-RD is another notable characteristic. With a sleek and lightweight body, this enclosure is perfect for on-the-go professionals and students alike. Its compact nature does not compromise durability, as the casing is designed to protect the internal drive from everyday wear and tear. The red finish adds an aesthetically pleasing touch, making it a stylish addition to any tech setup.
Cooling is an essential aspect in any storage device, and the Vantec NST-260U2-RD addresses this concern effectively. The enclosure features an open-air design that facilitates adequate airflow, preventing overheating during prolonged use. This thoughtful design choice enhances the longevity of the internal drive and ensures stable performance.
Another significant technology integrated into the Vantec NST-260U2-RD is its support for various operating systems including Windows and Mac OS. This versatility promotes greater usability, as users can easily switch between devices without compatibility issues.
Lastly, the NST-260U2-RD is an environmentally friendly option, as it consumes minimal power during operation, making it efficient for users intent on reducing their carbon footprint.
In summary, the Vantec NST-260U2-RD external enclosure combines robust performance with user-friendly design elements and compatibility features. It is a reliable option for those seeking to enhance their storage capacities while enjoying portability and sleek aesthetics.