Installing the hard drive in the NexStar 2:
1)Remove the top cover of the NexStar 2 (the side with the logo and text).
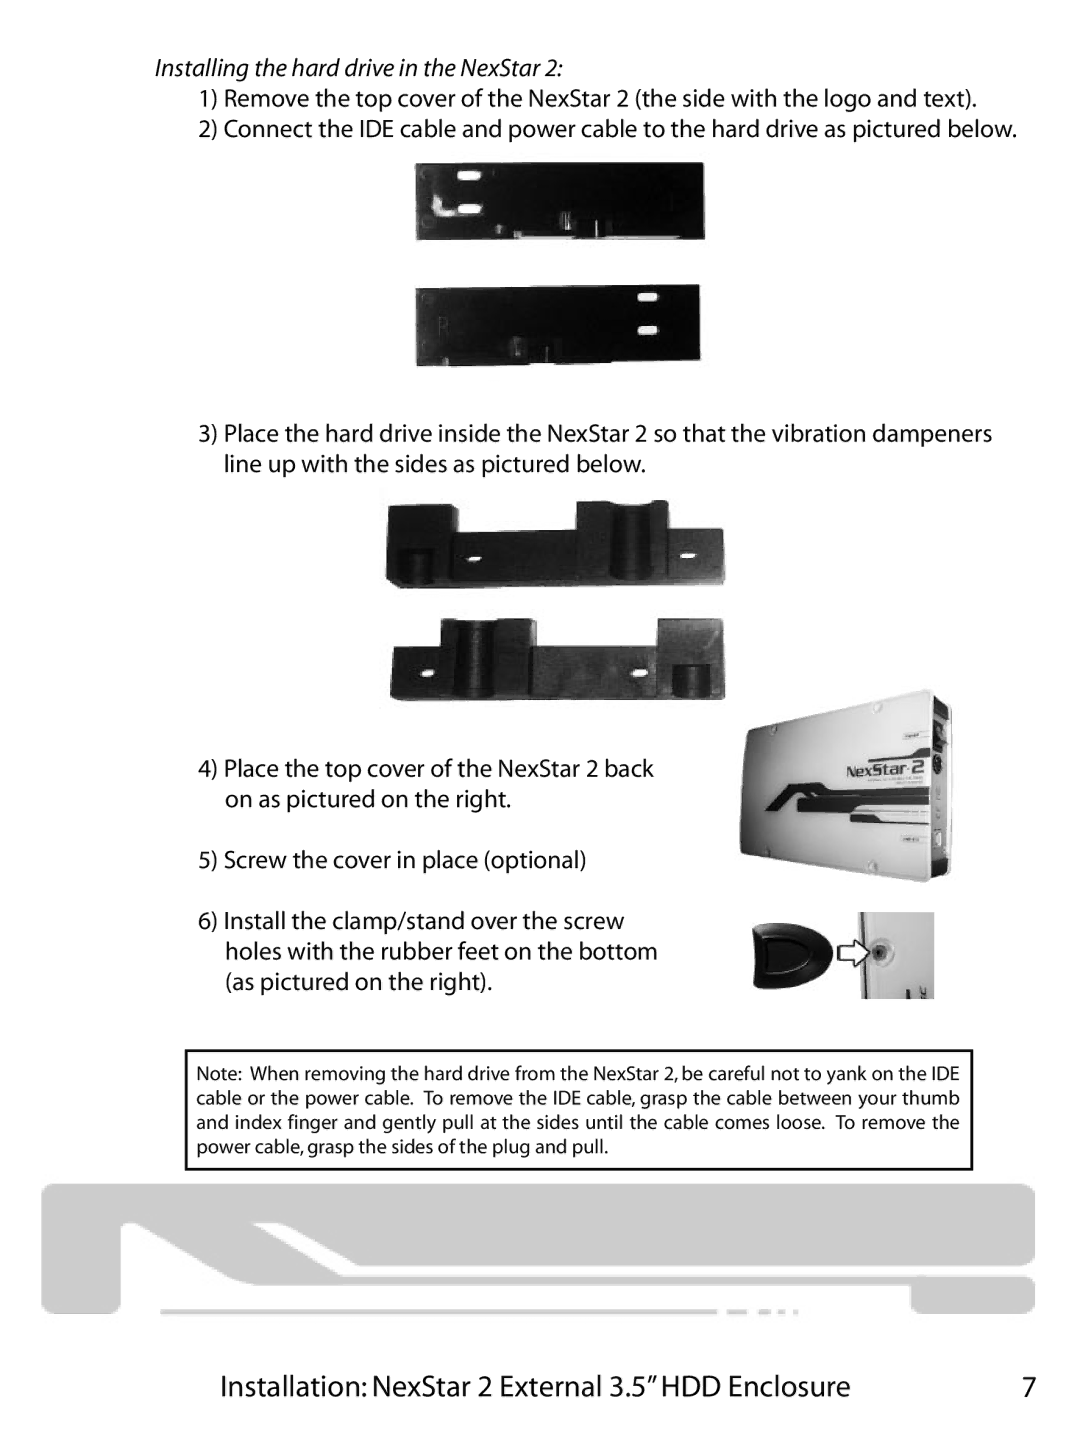
2)Connect the IDE cable and power cable to the hard drive as pictured below.
3)Place the hard drive inside the NexStar 2 so that the vibration dampeners line up with the sides as pictured below.
4)Place the top cover of the NexStar 2 back on as pictured on the right.
5)Screw the cover in place (optional)
6)Install the clamp/stand over the screw holes with the rubber feet on the bottom (as pictured on the right).
Note: When removing the hard drive from the NexStar 2, be careful not to yank on the IDE cable or the power cable. To remove the IDE cable, grasp the cable between your thumb and index finger and gently pull at the sides until the cable comes loose. To remove the power cable, grasp the sides of the plug and pull.
Installation: NexStar 2 External 3.5” HDD Enclosure | 7 |