2.ADDITIONAL KEY FEATURES
•Trigger Switch with lock to allow hands free operation
•Corded
•Battery Pack includes
•Requires no maintenance (other than recharging and cleaning) for optimum operation
•Supplied 110 volt AC charger is Underwriter Laboratories (UL) safety tested and listed
•Battery Charging LED on battery automatically activated during
AC recharge
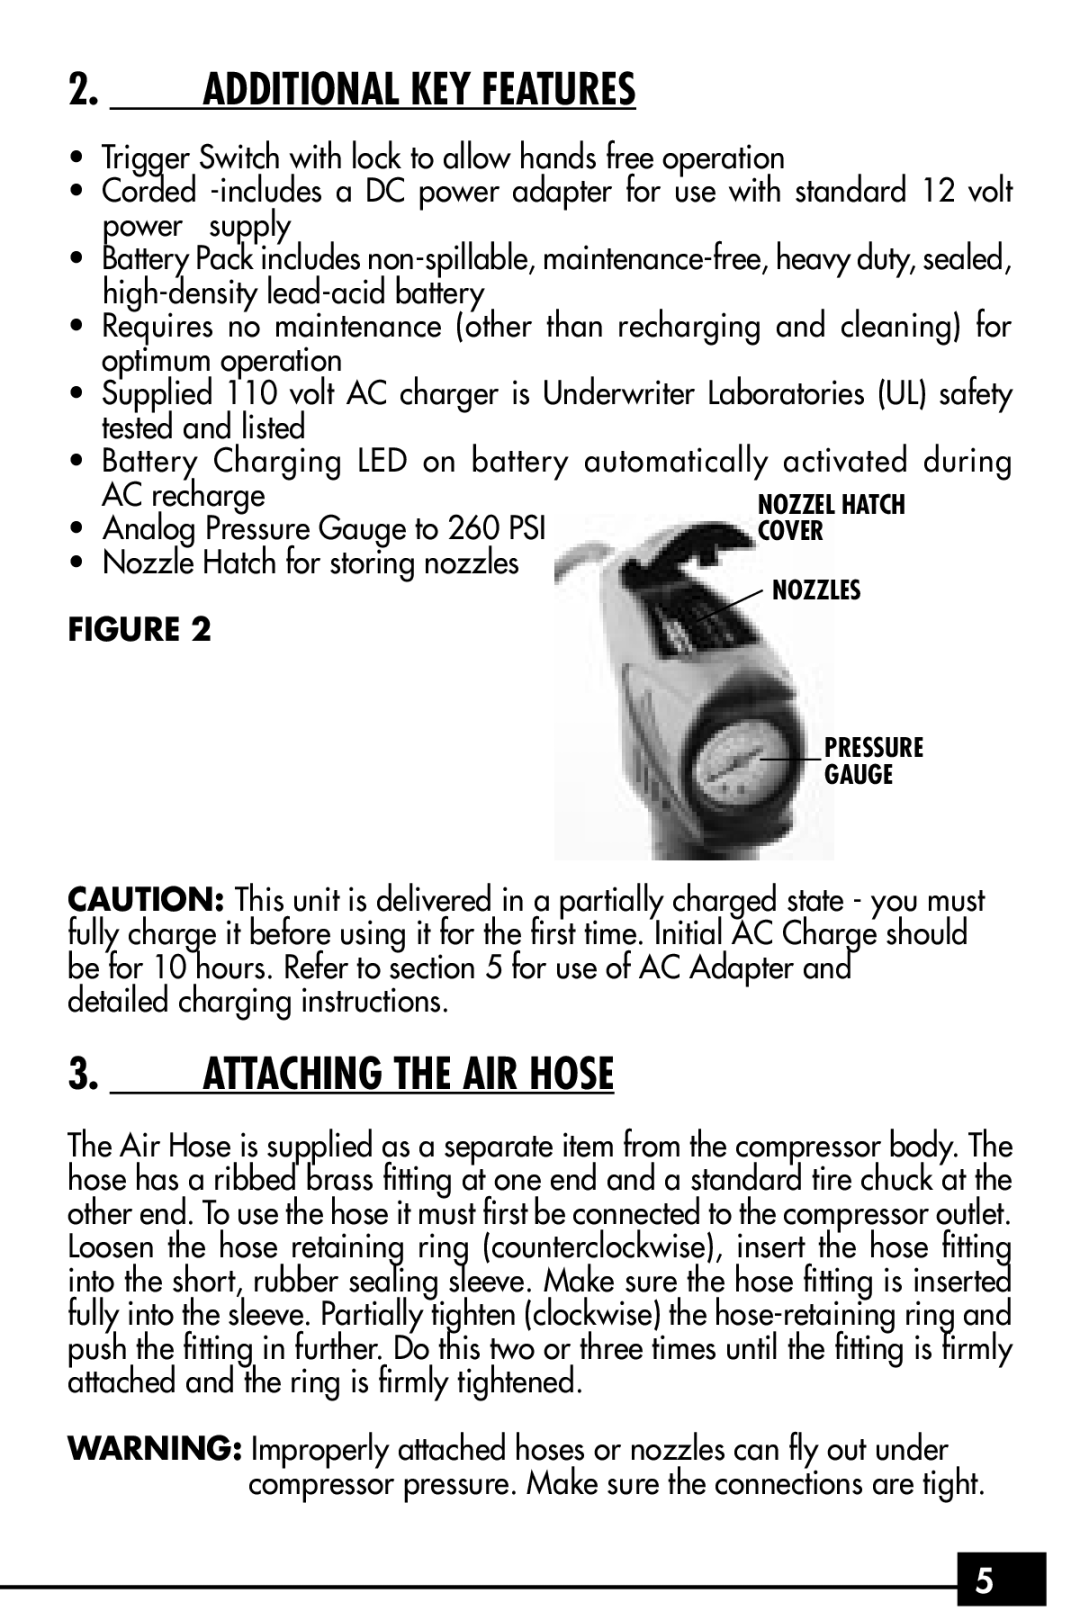
• Analog Pressure Gauge to 260 PSI
• Nozzle Hatch for storing nozzles
FIGURE 2
PRESSURE
GAUGE
CAUTION: This unit is delivered in a partially charged state - you must fully charge it before using it for the first time. Initial AC Charge should be for 10 hours. Refer to section 5 for use of AC Adapter and detailed charging instructions.
3.ATTACHING THE AIR HOSE
The Air Hose is supplied as a separate item from the compressor body. The hose has a ribbed brass fitting at one end and a standard tire chuck at the other end. To use the hose it must first be connected to the compressor outlet. Loosen the hose retaining ring (counterclockwise), insert the hose fitting into the short, rubber sealing sleeve. Make sure the hose fitting is inserted fully into the sleeve. Partially tighten (clockwise) the
WARNING: Improperly attached hoses or nozzles can fly out under compressor pressure. Make sure the connections are tight.
5