VIEWING PHOTOS
1.Insert a SD, xD or MS Pro card into the card slot on the right side of the unit.
2.Slide the OFF / ON switch on the back of the unit to ON position, the unit will start loading and playing the photos stored on the memory card one by one.
•Press the ![]() button to pause the playback. (“
button to pause the playback. (“![]() ” appears on the screen.)
” appears on the screen.)
•Press the ![]() button again to resume playback. (“
button again to resume playback. (“ ![]() ” appears on the screen.)
” appears on the screen.)
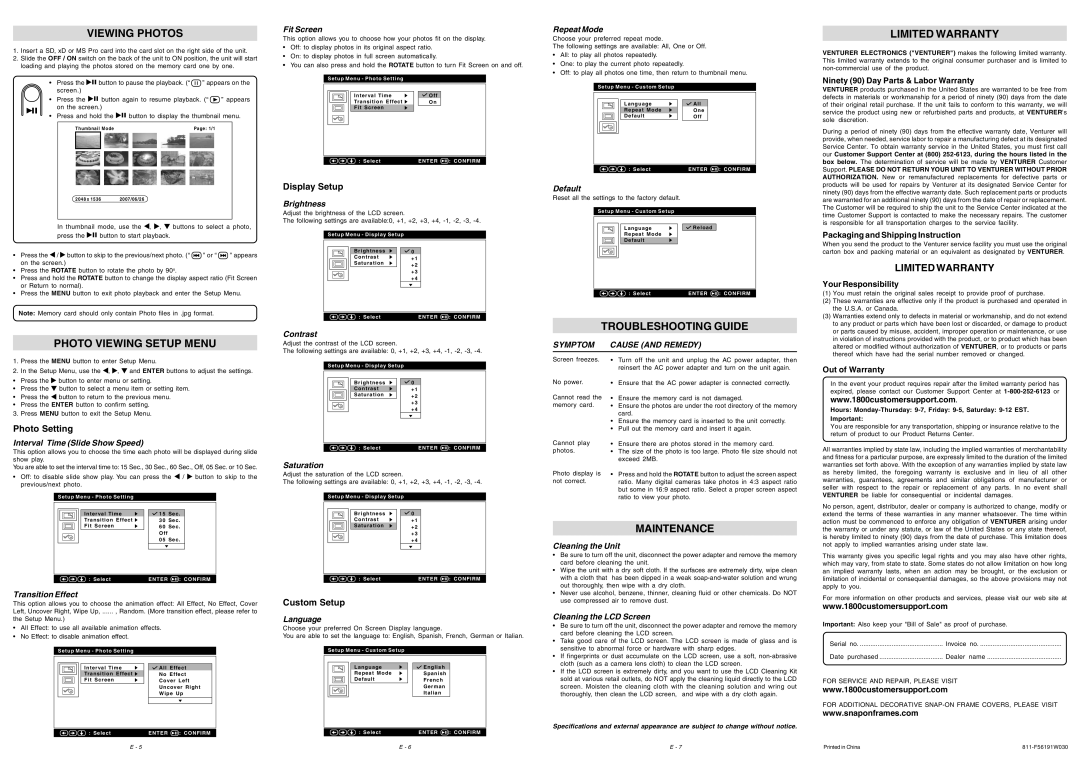
•Press and hold the ![]() button to display the thumbnail menu.
button to display the thumbnail menu.
Thumbnail Mode | Page: 1/1 | |
|
|
|
2048 x 1536 2007/06/26
In thumbnail mode, use the , , | buttons to select a photo, | |||||
press the | button to start playback. |
|
|
|
|
|
• Press the / button to skip to the previous/next photo. (“ |
| ” or “ |
| ” appears | ||
|
| |||||
on the screen.) |
|
|
|
|
|
|
•Press the ROTATE button to rotate the photo by 90o.
•Press and hold the ROTATE button to change the display aspect ratio (Fit Screen or Return to normal).
•Press the MENU button to exit photo playback and enter the Setup Menu.
Note: Memory card should only contain Photo files in .jpg format.
PHOTO VIEWING SETUP MENU
Fit Screen
This option allows you to choose how your photos fit on the display.
•Off: to display photos in its original aspect ratio.
•On: to display photos in full screen automatically.
•You can also press and hold the ROTATE button to turn Fit Screen on and off.
Setup Menu - Photo Setting
Interval Time |
| Off |
| ||
Transition Effect |
| On |
Fit Screen |
|
|
: Select | ENTER : CONFIRM |
Display Setup
Brightness
Adjust the brightness of the LCD screen.
The following settings are available:0, +1, +2, +3, +4,
Setup Menu - Display Setup
Brightness | 0 |
|
Contrast | +1 |
|
Saturation | +2 |
|
|
| |
| +3 |
|
| +4 |
|
: Select | ENTER | : CONFIRM |
Contrast
Adjust the contrast of the LCD screen.
The following settings are available: 0, +1, +2, +3, +4,
Repeat Mode
Choose your preferred repeat mode.
The following settings are available: All, One or Off.
•All: to play all photos repeatedly.
•One: to play the current photo repeatedly.
•Off: to play all photos one time, then return to thumbnail menu.
Setup Menu - Custom Setup
Language |
| All |
Repeat Mode |
| One |
Default |
| Off |
|
|
|
: Select | ENTER : CONFIRM |
Default
Reset all the settings to the factory default.
Setup Menu - Custom Setup
Language |
| Reload |
Repeat Mode |
|
|
Default |
|
|
![]()
![]()
![]() : SelectENTER
: SelectENTER ![]() : CONFIRM
: CONFIRM
TROUBLESHOOTING GUIDE
SYMPTOM CAUSE (AND REMEDY)
LIMITED WARRANTY
VENTURER ELECTRONICS ("VENTURER") makes the following limited warranty. This limited warranty extends to the original consumer purchaser and is limited to
Ninety (90) Day Parts & Labor Warranty
VENTURER products purchased in the United States are warranted to be free from defects in materials or workmanship for a period of ninety (90) days from the date of their original retail purchase. If the unit fails to conform to this warranty, we will service the product using new or refurbished parts and products, at VENTURER's sole discretion.
During a period of ninety (90) days from the effective warranty date, Venturer will provide, when needed, service labor to repair a manufacturing defect at its designated Service Center. To obtain warranty service in the United States, you must first call our Customer Support Center at (800)
Packaging and Shipping Instruction
When you send the product to the Venturer service facility you must use the original carton box and packing material or an equivalent as designated by VENTURER.
LIMITED WARRANTY
Your Responsibility
(1)You must retain the original sales receipt to provide proof of purchase.
(2)These warranties are effective only if the product is purchased and operated in the U.S.A. or Canada.
(3)Warranties extend only to defects in material or workmanship, and do not extend to any product or parts which have been lost or discarded, or damage to product or parts caused by misuse, accident, improper operation or maintenance, or use in violation of instructions provided with the product, or to product which has been altered or modified without authorization of VENTURER, or to products or parts thereof which have had the serial number removed or changed.
1.Press the MENU button to enter Setup Menu.
2.In the Setup Menu, use the ![]() ,
, ![]() ,
, ![]() and ENTER buttons to adjust the settings.
and ENTER buttons to adjust the settings.
• | Press the | button to enter menu or setting. |
• | Press the | button to select a menu item or setting item. |
•Press the ![]() button to return to the previous menu.
button to return to the previous menu.
•Press the ENTER button to confirm setting.
3. Press MENU button to exit the Setup Menu.
Photo Setting
Setup Menu - Display Setup
Brightness |
| 0 |
| ||
|
|
|
Contrast |
| +1 |
Saturation |
| +2 |
|
| +3 |
|
| +4 |
|
|
|
Screen freezes.
No power.
Cannot read the memory card.
•Turn off the unit and unplug the AC power adapter, then reinsert the AC power adapter and turn on the unit again.
•Ensure that the AC power adapter is connected correctly.
•Ensure the memory card is not damaged.
•Ensure the photos are under the root directory of the memory card.
•Ensure the memory card is inserted to the unit correctly.
•Pull out the memory card and insert it again.
Out of Warranty
In the event your product requires repair after the limited warranty period has expired, please contact our Customer Support Center at
www.1800customersupport.com.
Hours:
You are responsible for any transportation, shipping or insurance relative to the return of product to our Product Returns Center.
Interval Time (Slide Show Speed)
This option allows you to choose the time each photo will be displayed during slide show play.
You are able to set the interval time to: 15 Sec., 30 Sec., 60 Sec., Off, 05 Sec. or 10 Sec.
•Off: to disable slide show play. You can press the ![]() /
/ ![]() button to skip to the previous/next photo.
button to skip to the previous/next photo.
Setup Menu - Photo Setting
|
|
|
|
|
|
|
|
|
|
|
|
|
|
| Interval Time |
| 15 | Sec. |
|
|
|
|
|
| Transition Effect |
| 30 | Sec. |
|
|
|
|
|
|
|
| |||
|
|
|
|
| Fit Screen |
| 60 | Sec. |
|
|
|
|
|
|
|
| Off |
|
|
|
|
|
|
|
|
| 05 | Sec. |
|
|
|
|
|
|
|
|
|
|
|
|
|
|
|
|
|
|
|
| |
|
|
|
|
|
|
|
|
| |
|
|
|
|
| : Select |
| ENTER | : CONFIRM | |
Transition Effect
This option allows you to choose the animation effect: All Effect, No Effect, Cover Left, Uncover Right, Wipe Up, ...... , Random. (More transition effect, please refer to
the Setup Menu.)
•All Effect: to use all available animation effects.
•No Effect: to disable animation effect.
Setup Menu - Photo Setting
Interval Time | All Effect |
Transition Effect | No Effect |
Fit Screen | Cover Left |
| Uncover Right |
| Wipe Up |
: Select | ENTER : CONFIRM |
E - 5
: Select | ENTER : CONFIRM |
Saturation
Adjust the saturation of the LCD screen.
The following settings are available: 0, +1, +2, +3, +4,
Setup Menu - Display Setup
Brightness | 0 |
|
Contrast | +1 |
|
Saturation | +2 |
|
| +3 |
|
| +4 |
|
: Select | ENTER | : CONFIRM |
Custom Setup
Language
Choose your preferred On Screen Display language.
You are able to set the language to: English, Spanish, French, German or Italian.
Setup Menu - Custom Setup
Language | English |
|
Repeat Mode | Spanish |
|
Default | French |
|
| German |
|
| Italian |
|
: Select | ENTER | : CONFIRM |
E - 6
Cannot play | • Ensure there are photos stored in the memory card. |
photos. | • The size of the photo is too large. Photo file size should not |
| exceed 2MB. |
Photo display is | • Press and hold the ROTATE button to adjust the screen aspect |
not correct. | ratio. Many digital cameras take photos in 4:3 aspect ratio |
| but some in 16:9 aspect ratio. Select a proper screen aspect |
| ratio to view your photo. |
MAINTENANCE
Cleaning the Unit
•Be sure to turn off the unit, disconnect the power adapter and remove the memory card before cleaning the unit.
•Wipe the unit with a dry soft cloth. If the surfaces are extremely dirty, wipe clean with a cloth that has been dipped in a weak
•Never use alcohol, benzene, thinner, cleaning fluid or other chemicals. Do NOT use compressed air to remove dust.
Cleaning the LCD Screen
•Be sure to turn off the unit, disconnect the power adapter and remove the memory card before cleaning the LCD screen.
•Take good care of the LCD screen. The LCD screen is made of glass and is sensitive to abnormal force or hardware with sharp edges.
•If fingerprints or dust accumulate on the LCD screen, use a soft,
•If the LCD screen is extremely dirty, and you want to use the LCD Cleaning Kit sold at various retail outlets, do NOT apply the cleaning liquid directly to the LCD screen. Moisten the cleaning cloth with the cleaning solution and wring out thoroughly, then clean the LCD screen, and wipe with a dry cloth again.
Specifications and external appearance are subject to change without notice.
E - 7
All warranties implied by state law, including the implied warranties of merchantability and fitness for a particular purpose, are expressly limited to the duration of the limited warranties set forth above. With the exception of any warranties implied by state law as hereby limited, the foregoing warranty is exclusive and in lieu of all other warranties, guarantees, agreements and similar obligations of manufacturer or seller with respect to the repair or replacement of any parts. In no event shall VENTURER be liable for consequential or incidental damages.
No person, agent, distributor, dealer or company is authorized to change, modify or extend the terms of these warranties in any manner whatsoever. The time within action must be commenced to enforce any obligation of VENTURER arising under the warranty or under any statute, or law of the United States or any state thereof, is hereby limited to ninety (90) days from the date of purchase. This limitation does not apply to implied warranties arising under state law.
This warranty gives you specific legal rights and you may also have other rights, which may vary, from state to state. Some states do not allow limitation on how long an implied warranty lasts, when an action may be brought, or the exclusion or limitation of incidental or consequential damages, so the above provisions may not apply to you.
For more information on other products and services, please visit our web site at
www.1800customersupport.com
Important: Also keep your "Bill of Sale" as proof of purchase.
Serial no | Invoice no |
Date purchased | Dealer name |
FOR SERVICE AND REPAIR, PLEASE VISIT
www.1800customersupport.com
FOR ADDITIONAL DECORATIVE
www.snaponframes.com
Printed in China |