Replacing the UV-C Bulb
Before replacing the bulb, make sure the vacuum cleaner is switched off and unplugged from the power outlet.
The life span of the
Caution: Use only Verilux® bulbs. Use of an incorrect bulb can result in damage. To order a replacement bulb, use the Component Reorder form included with this product, or call Verilux Customer Service at
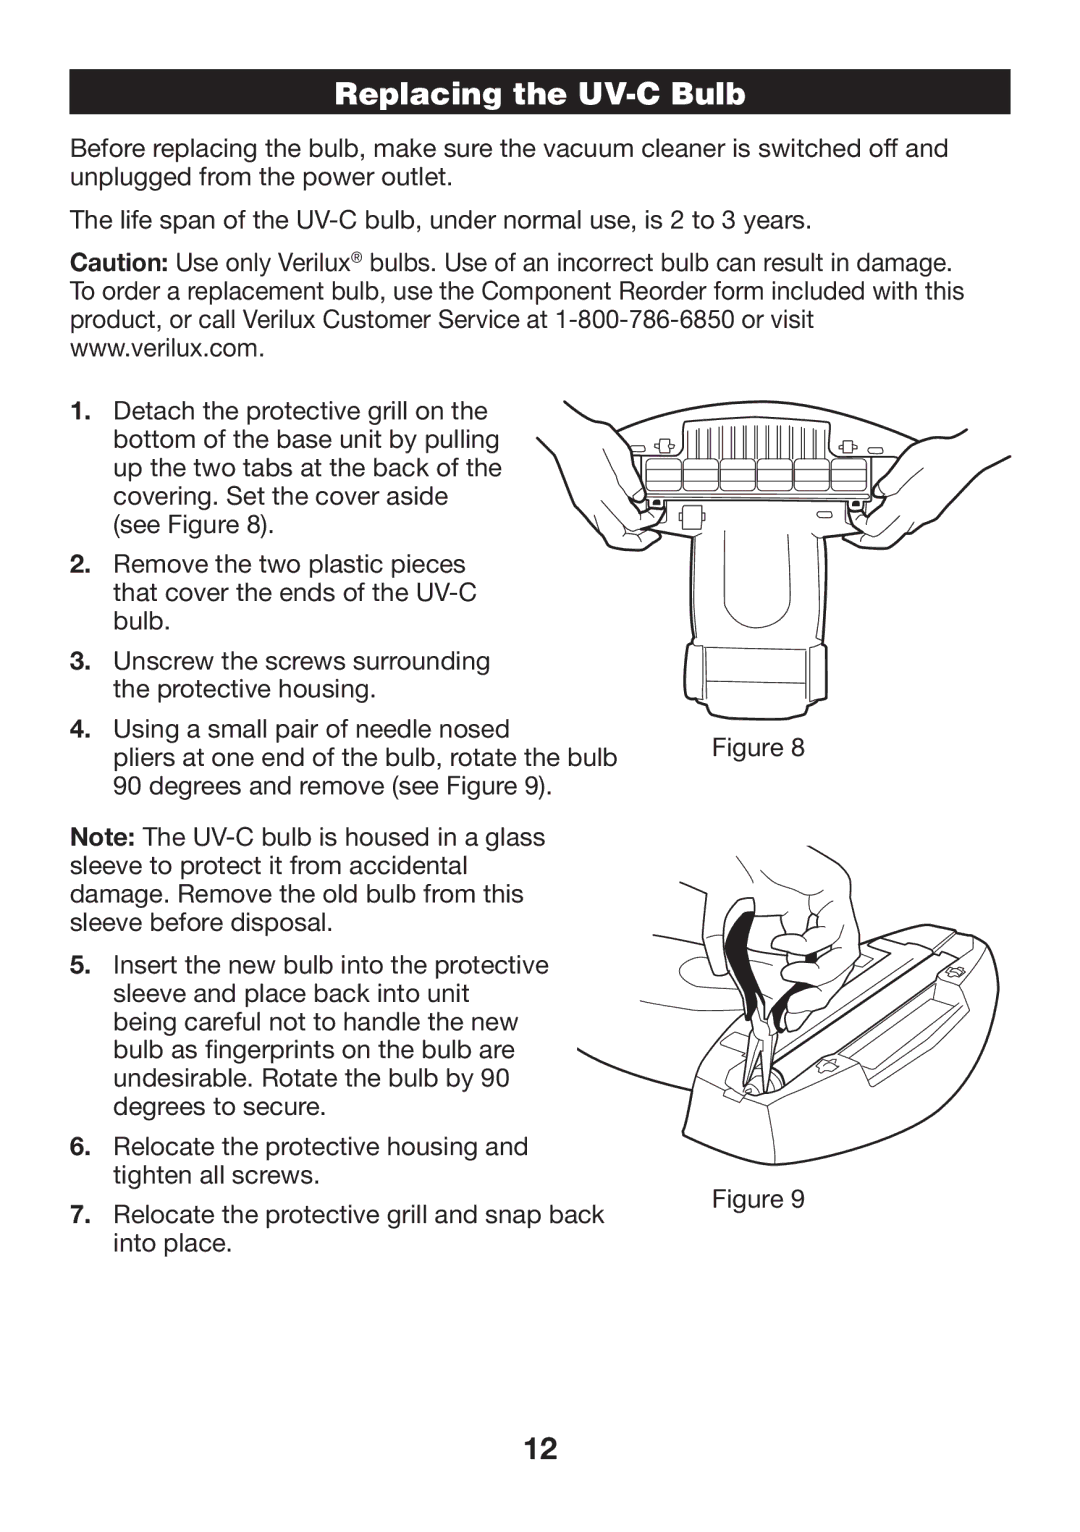
1.Detach the protective grill on the bottom of the base unit by pulling up the two tabs at the back of the covering. Set the cover aside (see Figure 8).
2.Remove the two plastic pieces that cover the ends of the
3.Unscrew the screws surrounding the protective housing.
4.Using a small pair of needle nosed
pliers at one end of the bulb, rotate the bulb 90 degrees and remove (see Figure 9).
Note: The
5.Insert the new bulb into the protective sleeve and place back into unit being careful not to handle the new bulb as fingerprints on the bulb are undesirable. Rotate the bulb by 90 degrees to secure.
6.Relocate the protective housing and tighten all screws.
7.Relocate the protective grill and snap back into place.
Figure 8
Figure 9
12