Changing the Direction of the Input Switch
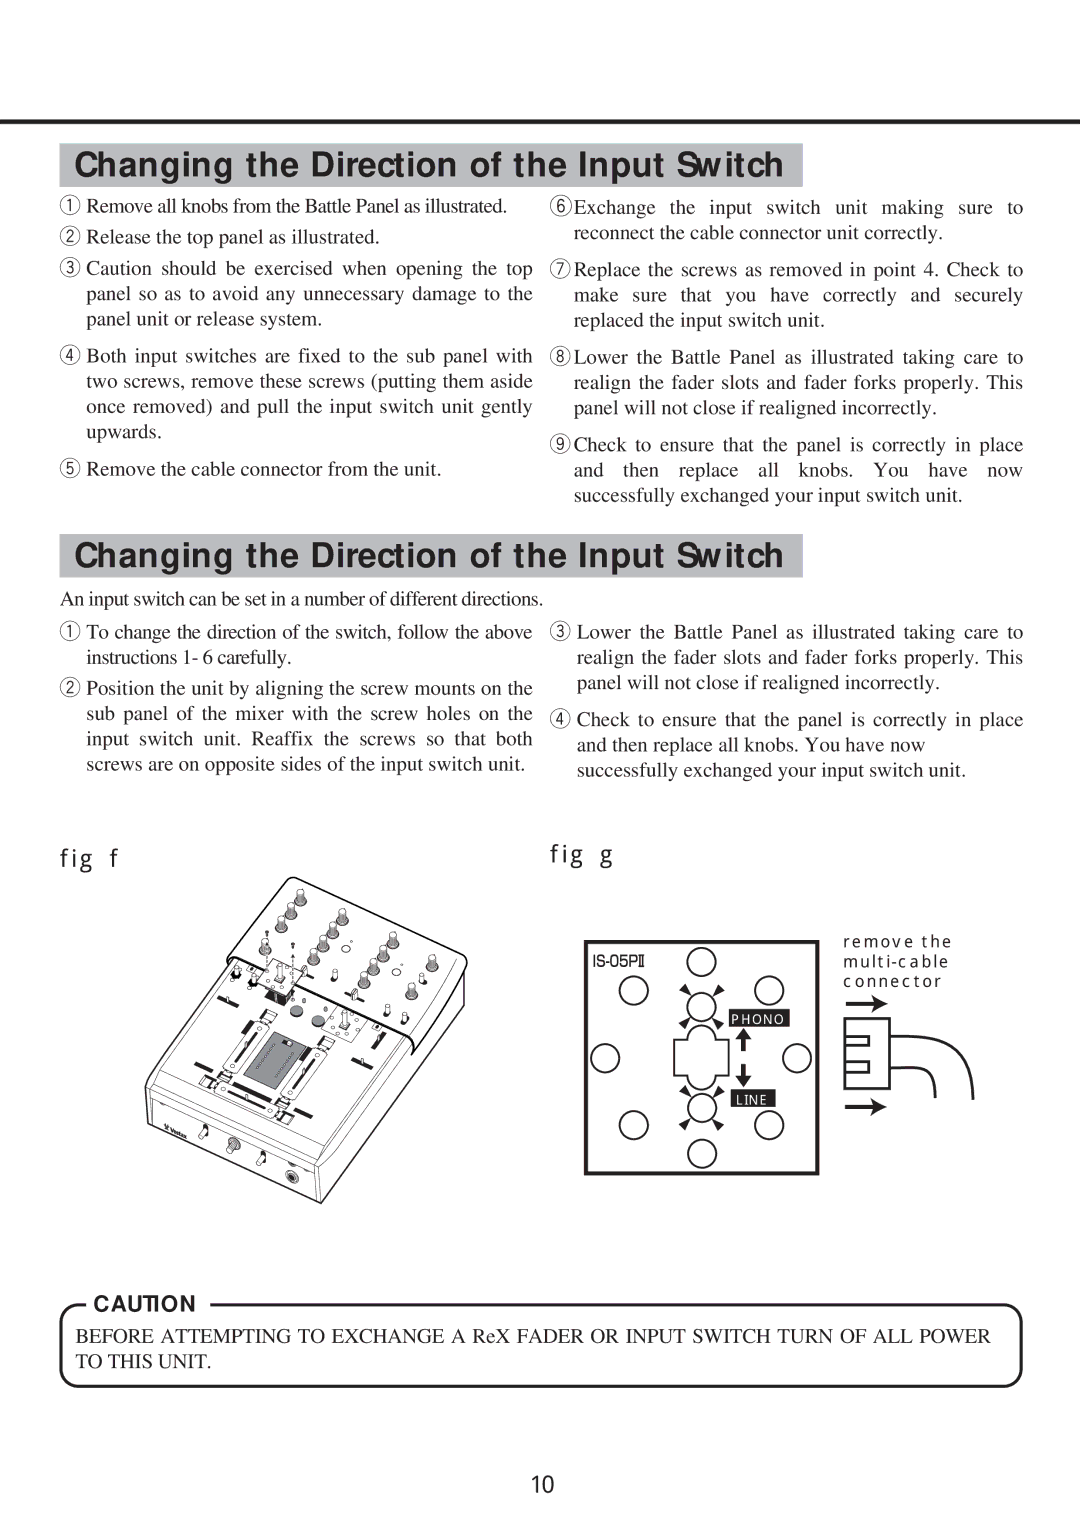
qRemove all knobs from the Battle Panel as illustrated.
wRelease the top panel as illustrated.
eCaution should be exercised when opening the top panel so as to avoid any unnecessary damage to the panel unit or release system.
rBoth input switches are fixed to the sub panel with two screws, remove these screws (putting them aside once removed) and pull the input switch unit gently upwards.
tRemove the cable connector from the unit.
yExchange the input switch unit making sure to reconnect the cable connector unit correctly.
uReplace the screws as removed in point 4. Check to make sure that you have correctly and securely replaced the input switch unit.
iLower the Battle Panel as illustrated taking care to realign the fader slots and fader forks properly. This panel will not close if realigned incorrectly.
oCheck to ensure that the panel is correctly in place and then replace all knobs. You have now successfully exchanged your input switch unit.
Changing the Direction of the Input Switch
An input switch can be set in a number of different directions.
qTo change the direction of the switch, follow the above instructions 1- 6 carefully.
wPosition the unit by aligning the screw mounts on the sub panel of the mixer with the screw holes on the input switch unit. Reaffix the screws so that both screws are on opposite sides of the input switch unit.
eLower the Battle Panel as illustrated taking care to realign the fader slots and fader forks properly. This panel will not close if realigned incorrectly.
rCheck to ensure that the panel is correctly in place and then replace all knobs. You have now successfully exchanged your input switch unit.
fig f | fig g |
![]()
![]()
![]() PHONO
PHONO
![]()
![]() LINE
LINE
remove the
CAUTION
BEFORE ATTEMPTING TO EXCHANGE A ReX FADER OR INPUT SWITCH TURN OF ALL POWER TO THIS UNIT.
10