Operation
Starting up the projector
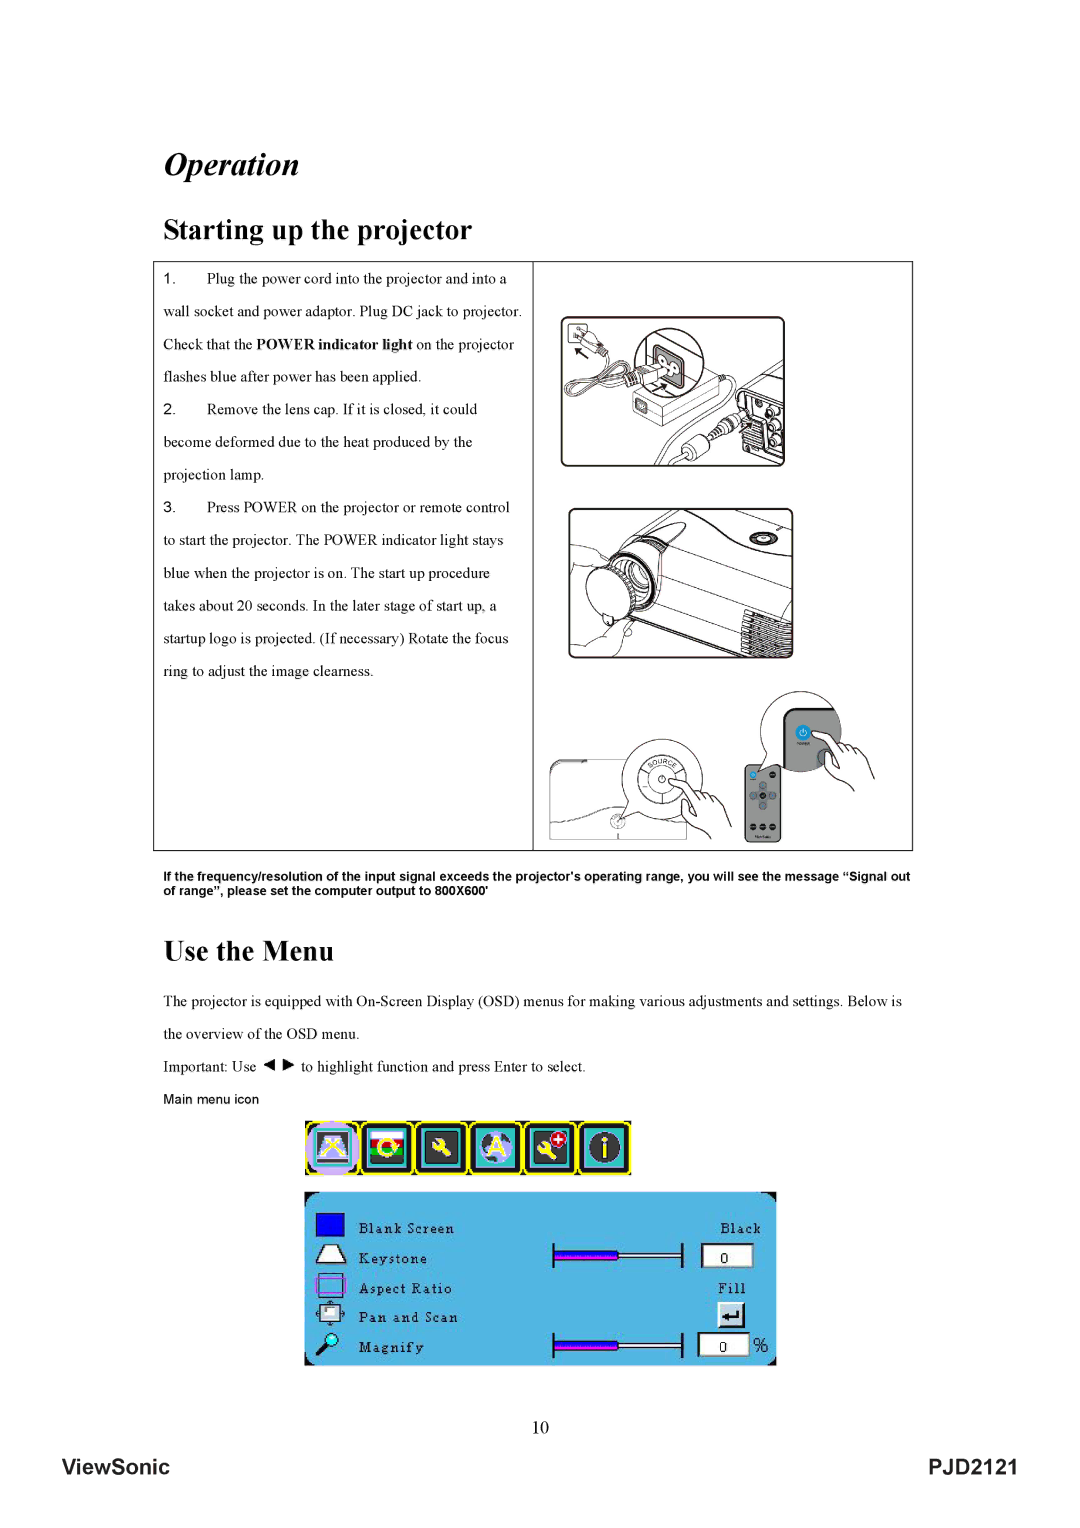
1.Plug the power cord into the projector and into a wall socket and power adaptor. Plug DC jack to projector. Check that the POWER indicator light on the projector flashes blue after power has been applied.
2.Remove the lens cap. If it is closed, it could become deformed due to the heat produced by the projection lamp.
3.Press POWER on the projector or remote control to start the projector. The POWER indicator light stays blue when the projector is on. The start up procedure takes about 20 seconds. In the later stage of start up, a startup logo is projected. (If necessary) Rotate the focus ring to adjust the image clearness.
If the frequency/resolution of the input signal exceeds the projector's operating range, you will see the message “Signal out of range”, please set the computer output to 800X600'
Use the Menu
The projector is equipped with
Important: Use ![]()
![]() to highlight function and press Enter to select.
to highlight function and press Enter to select.
Main menu icon
10
ViewSonic | PJD2121 |