Visor Installation
1.Disconnect the vehicle’s negative battery terminal. (Black wire)
2.Please see Visor Removal Instructions to remove the passenger side visor.
3.Remove the ‘A’ pillar trim and kick panel on the passenger side and route the Video Cable and Ground Wire around the front edge of the headliner and across to the ‘A’.
4.Install the visor monitor and mounting brackets to the headliner by reversing the Visor Removal Instructions.
5.Route the Video Cable and Ground Wire down the ‘A’ pillar. Use a wire fish to pull the cable straight down past the edge of the vehicle’s dash to the kick panel.
6.From behind the kick panel, route the Ground Wire, under the front edge of the carpet, across the vehicle to the Parking Brake. Use the supplied connector to attach the Ground Wire to the vehicle wire for the Parking Brake Switch.
7.Continue routing the Video Cable under the door sill and carpet and connect the video control box.
Vizualogic® Visor System Diagram
- See diagram insert or go to www.vizualogic.com.
Copyright © 2003 TMI Products, Inc.
All Rights Reserved
Corona, CA U.S.A.
060300
1493 Bentley Drive • Corona, CA 92879 •
www.vizualogic.com
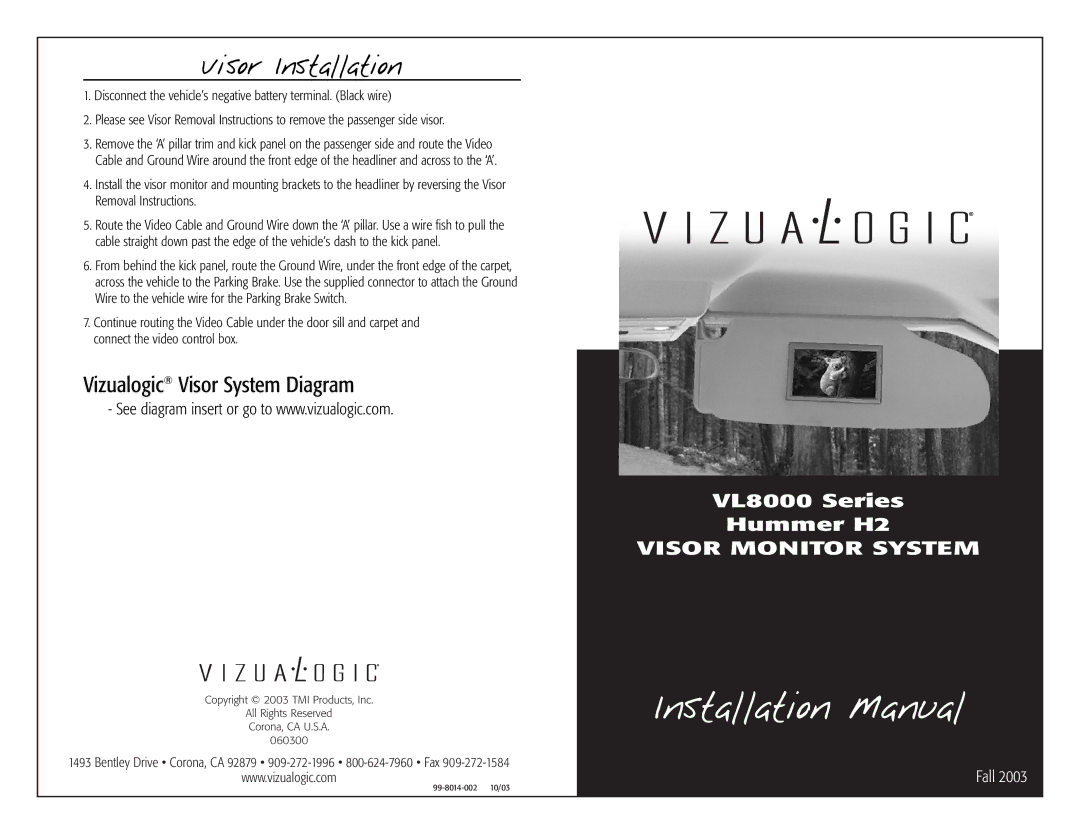
VL8000 Series
Hummer H2
VISOR MONITOR SYSTEM
Installation Manual
Fall 2003