CDG X-3 Mark II specifications
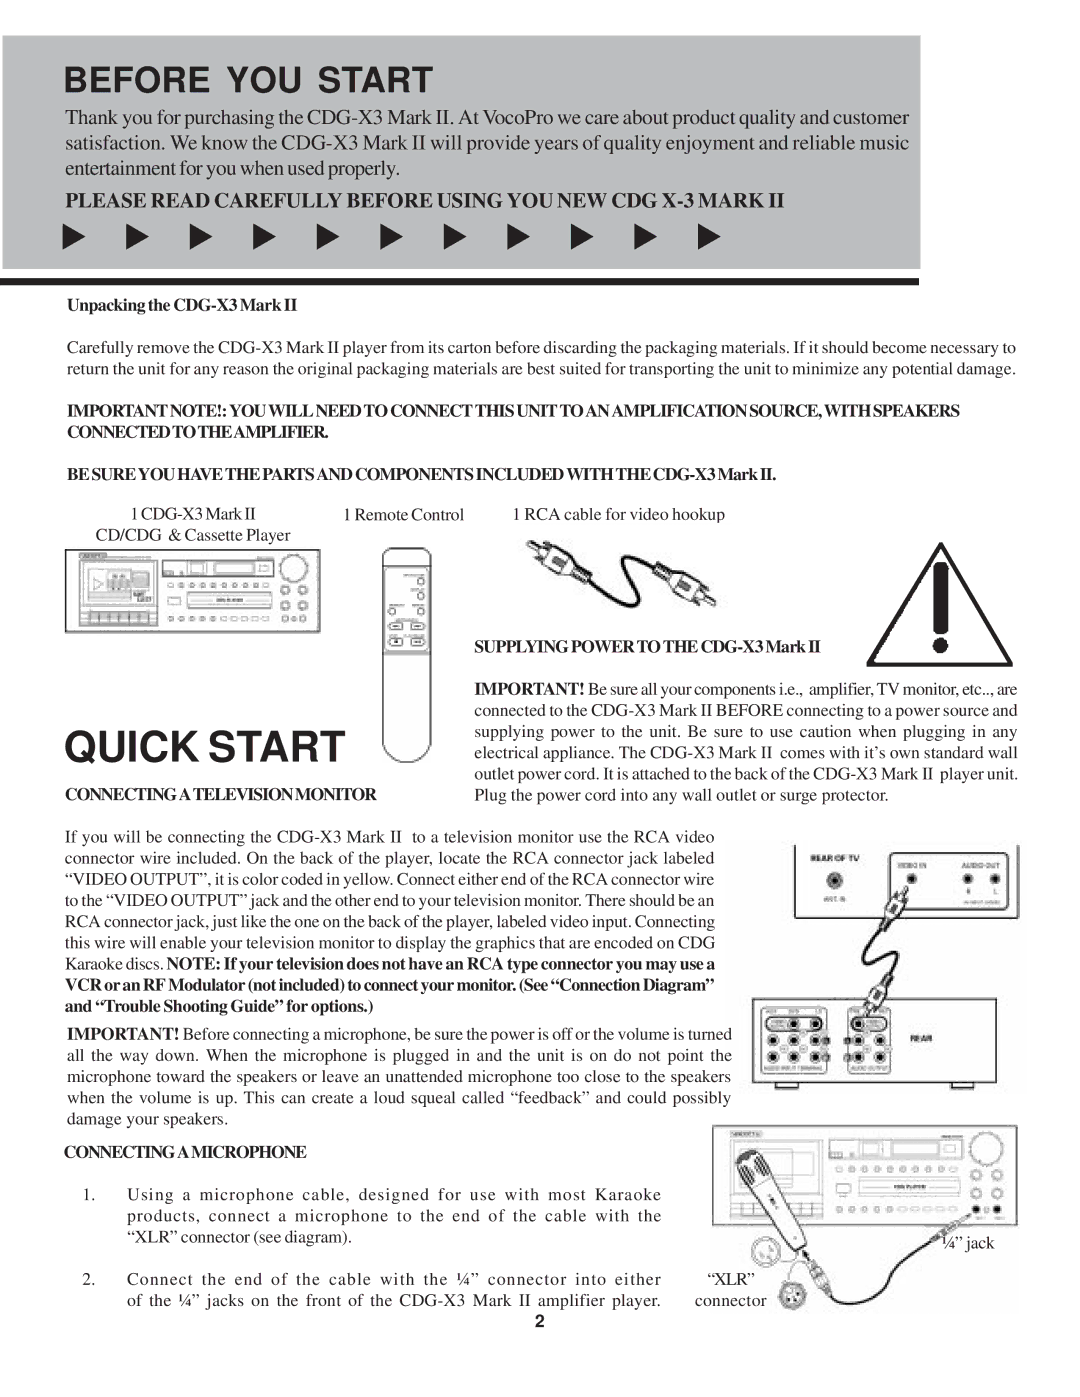
The VocoPro CDG X-3 Mark II is a versatile and user-friendly karaoke player designed for both home use and professional performances. This compact unit brings a wealth of features and technologies that make singing along to your favorite tunes an enjoyable experience. With the rise of karaoke popularity, the CDG X-3 Mark II stands out as an essential piece of equipment for any karaoke enthusiast.One of the main features of the VocoPro CDG X-3 Mark II is its ability to play CD, CDG, and even MP3+G formats. This ensures that users have access to a wide variety of songs for their karaoke sessions. The device comes with a built-in microphone input, which allows for easy connection of standard microphones, enabling multiple people to join in on the fun. Furthermore, the unit supports two microphone inputs, making it ideal for duets or small group performances.
The CDG X-3 Mark II also incorporates a number of technological advancements. It features a high-quality audio output that delivers clear vocals and vibrant music, ensuring that every performance sounds professional. The built-in digital key controller allows users to adjust the pitch of the vocals to match their singing style, accommodating various vocal ranges. Additionally, it comes equipped with echo and reverb effects, providing an enhanced auditory experience that helps singers sound their best.
In terms of design, the VocoPro CDG X-3 Mark II is compact and portable, making it easy to transport for parties, gatherings, or events. The intuitive interface includes a bright LED display that shows track information and settings clearly, facilitating smooth operability. Control buttons are strategically placed for quick access, allowing users to select tracks, adjust volume, and fine-tune settings with ease.
Durability is another significant characteristic of the CDG X-3 Mark II. Constructed with high-quality materials, it is built to withstand the rigors of frequent use, making it a reliable choice for both home and professional environments. Overall, the VocoPro CDG X-3 Mark II is an excellent option for anyone looking to elevate their karaoke experience, combining functionality, technology, and user-friendly design into one powerful package. Whether you are a casual singer or a seasoned performer, this karaoke machine promises to enhance your musical experiences.

