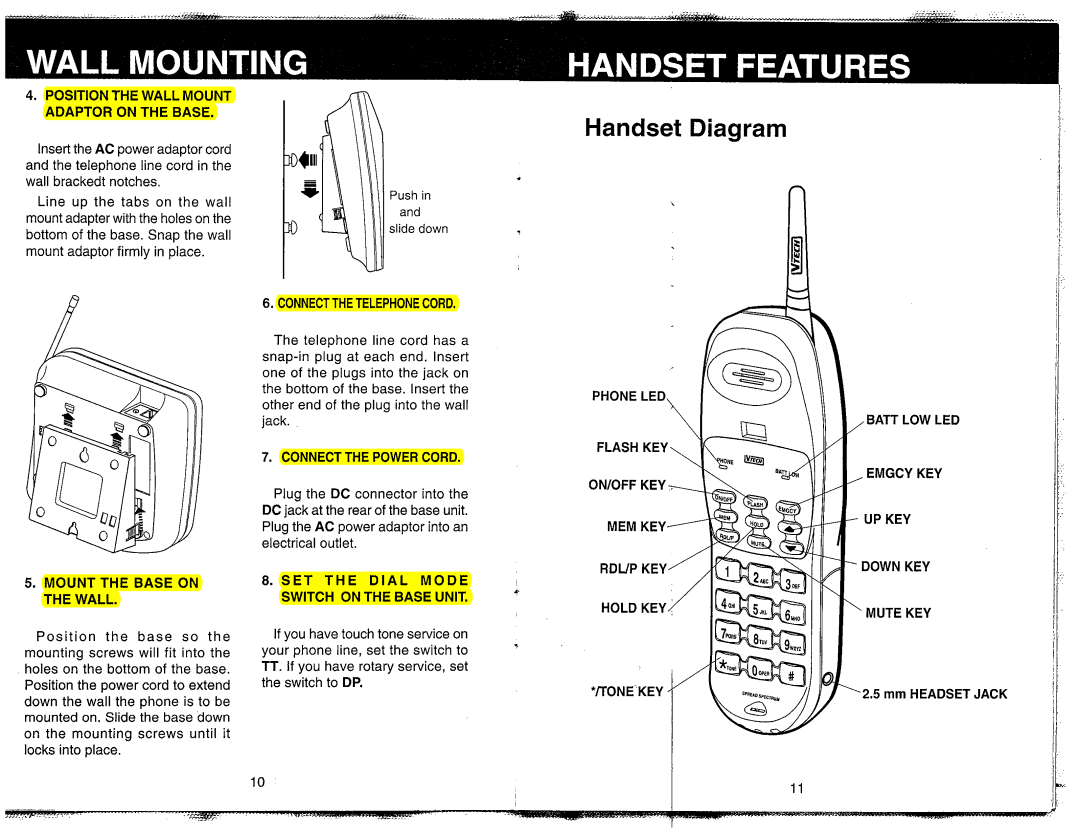
VT 1981 specifications
The VTech VT 1981 is an exemplary model that showcases the innovative spirit of the 1980s in home computing technology. Launched by VTech, a leading manufacturer in educational products and consumer electronics, the VT 1981 aimed at providing a blend of user-friendly features and substantial computing power for its time.One of the standout features of the VT 1981 is its compact design, making it an ideal choice for home use. The device is equipped with a simplistic yet functional keyboard that allows for easy data entry, catering to users from various age groups, including children and adults. The display is characterized by a clear, backlit interface, providing users with a visual experience that enhances usability in different lighting conditions.
In terms of technology, the VT 1981 is powered by a relatively advanced microprocessor for its era, allowing it to handle a variety of tasks with ease. The operating system is intuitive, featuring a menu-driven interface that simplifies navigation and task management. Users can engage with various applications ranging from word processing to basic programming, thus encouraging learning and productivity.
Another noteworthy characteristic is its built-in educational software, which aims to facilitate learning through interactive gameplay and quizzes. This focus on education not only engages young users but also makes the device suitable for schools and educational institutions looking to incorporate technology into their curricula.
The VT 1981 also includes expansion capabilities, allowing users to upgrade their systems with additional memory and peripherals. This forward-thinking approach extended the lifespan of the unit and provided users with options to enhance their computing experience as technology continued to evolve.
Overall, the VTech VT 1981 stands out as a significant player in the history of personal computing, merging functionality with educational value. Its features and design contributed to making computing accessible and enjoyable, paving the way for future innovations in educational technology. As the world moved towards more sophisticated computing solutions, the VT 1981 remains a nostalgic reminder of how far we have come and the foundational role it played in the evolution of personal and educational devices.

