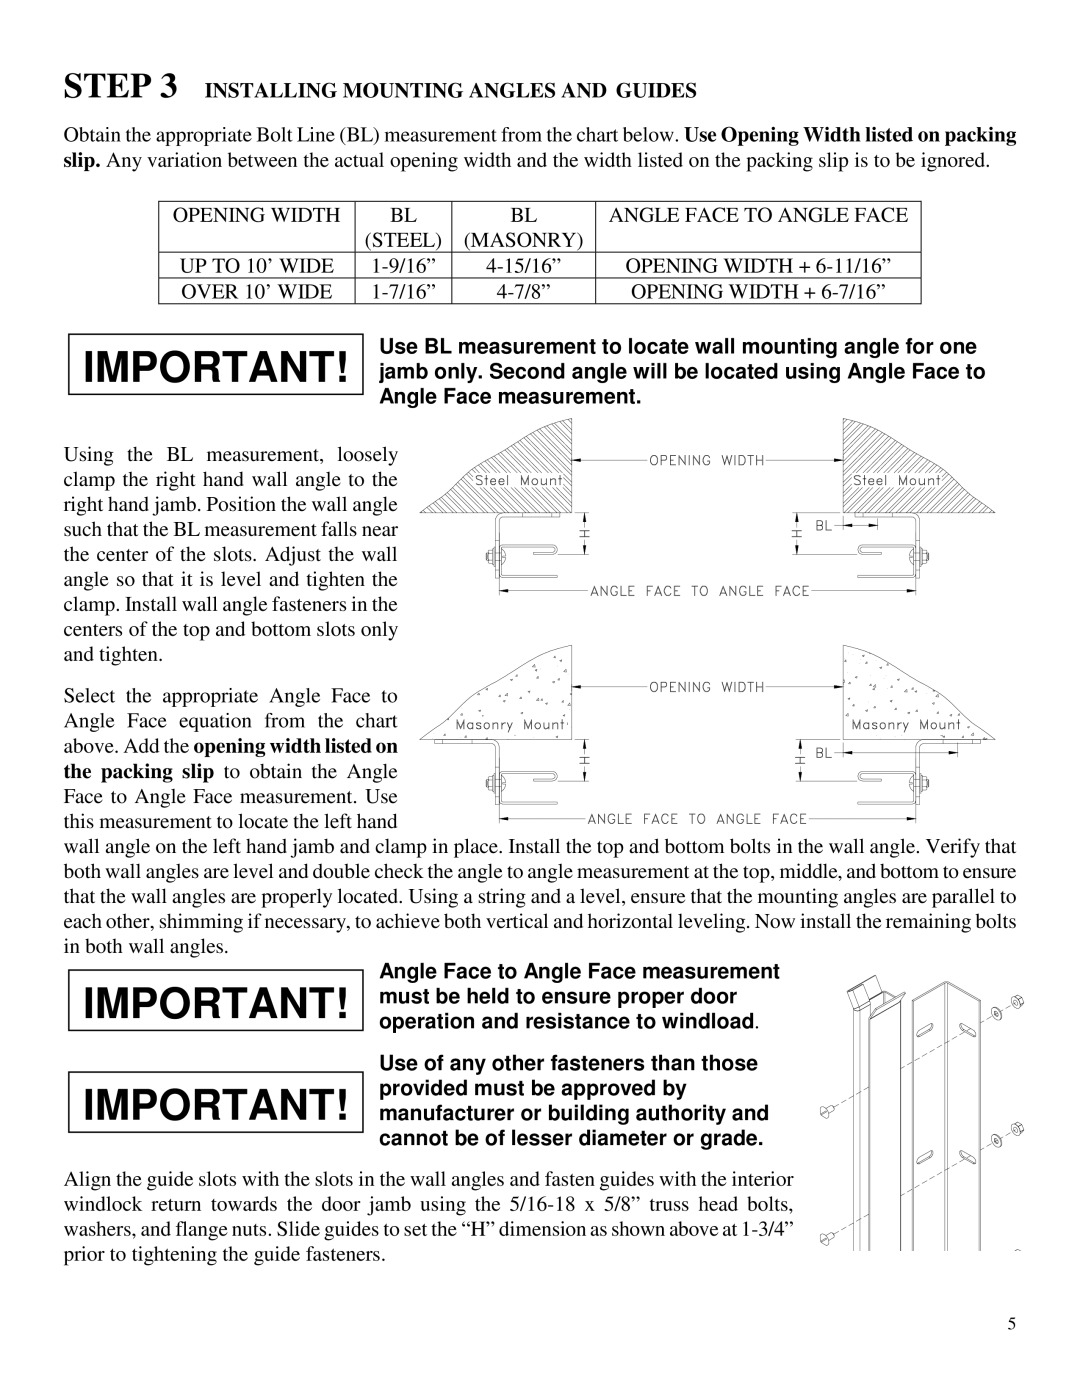
DS-350 specifications
Wayne-Dalton, a leading manufacturer of residential and commercial garage doors, offers a range of high-quality door systems, including the DS-200 and DS-350 models. These doors are designed to provide superior performance, energy efficiency, and aesthetic appeal, making them ideal for various applications.The Wayne-Dalton DS-200 model is particularly recognized for its durability and strength. Constructed from high-quality materials, the DS-200 features a steel frame with thermal insulation, enabling it to maintain comfortable temperatures in the garage while reducing energy costs. The door's design includes various panel styles and colors, allowing homeowners to customize the look of their garage door to match their home's exterior.
One of the standout technologies incorporated in the DS-200 is its proprietary insulation system, which enhances energy efficiency. The door is equipped with polystyrene insulation that provides an impressive R-value, ensuring optimal thermal resistance. This technology not only helps reduce energy losses but also contributes to soundproofing the garage, creating a quieter environment for both living and working.
The DS-350 model, on the other hand, is engineered for heavier commercial applications while still maintaining the aesthetic appeal of residential designs. This model offers enhanced security features, making it a suitable choice for businesses requiring reliable and robust doors. The DS-350 also utilizes advanced manufacturing techniques that ensure long-lasting performance, even under extreme weather conditions.
Both the DS-200 and DS-350 models feature a low-maintenance design, allowing users to enjoy the benefits without the hassle of constant upkeep. Their galvanized steel construction with a baked-on enamel finish resists rust and corrosion, ensuring that the doors remain visually appealing and functional over time.
Additionally, Wayne-Dalton provides a range of optional features for these models, including smart technology integration. Homeowners can enjoy the convenience of controlling their garage doors through mobile apps, offering an enhanced level of accessibility and security.
In summary, the Wayne-Dalton DS-200 and DS-350 models exemplify the perfect blend of durability, energy efficiency, and customizable aesthetics. With advanced insulation systems, low maintenance requirements, and options for smart technology, these garage doors are an excellent choice for both residential and commercial applications. Whether for modern homes or bustling businesses, Wayne-Dalton continues to set the standard for high-quality garage door solutions.

