
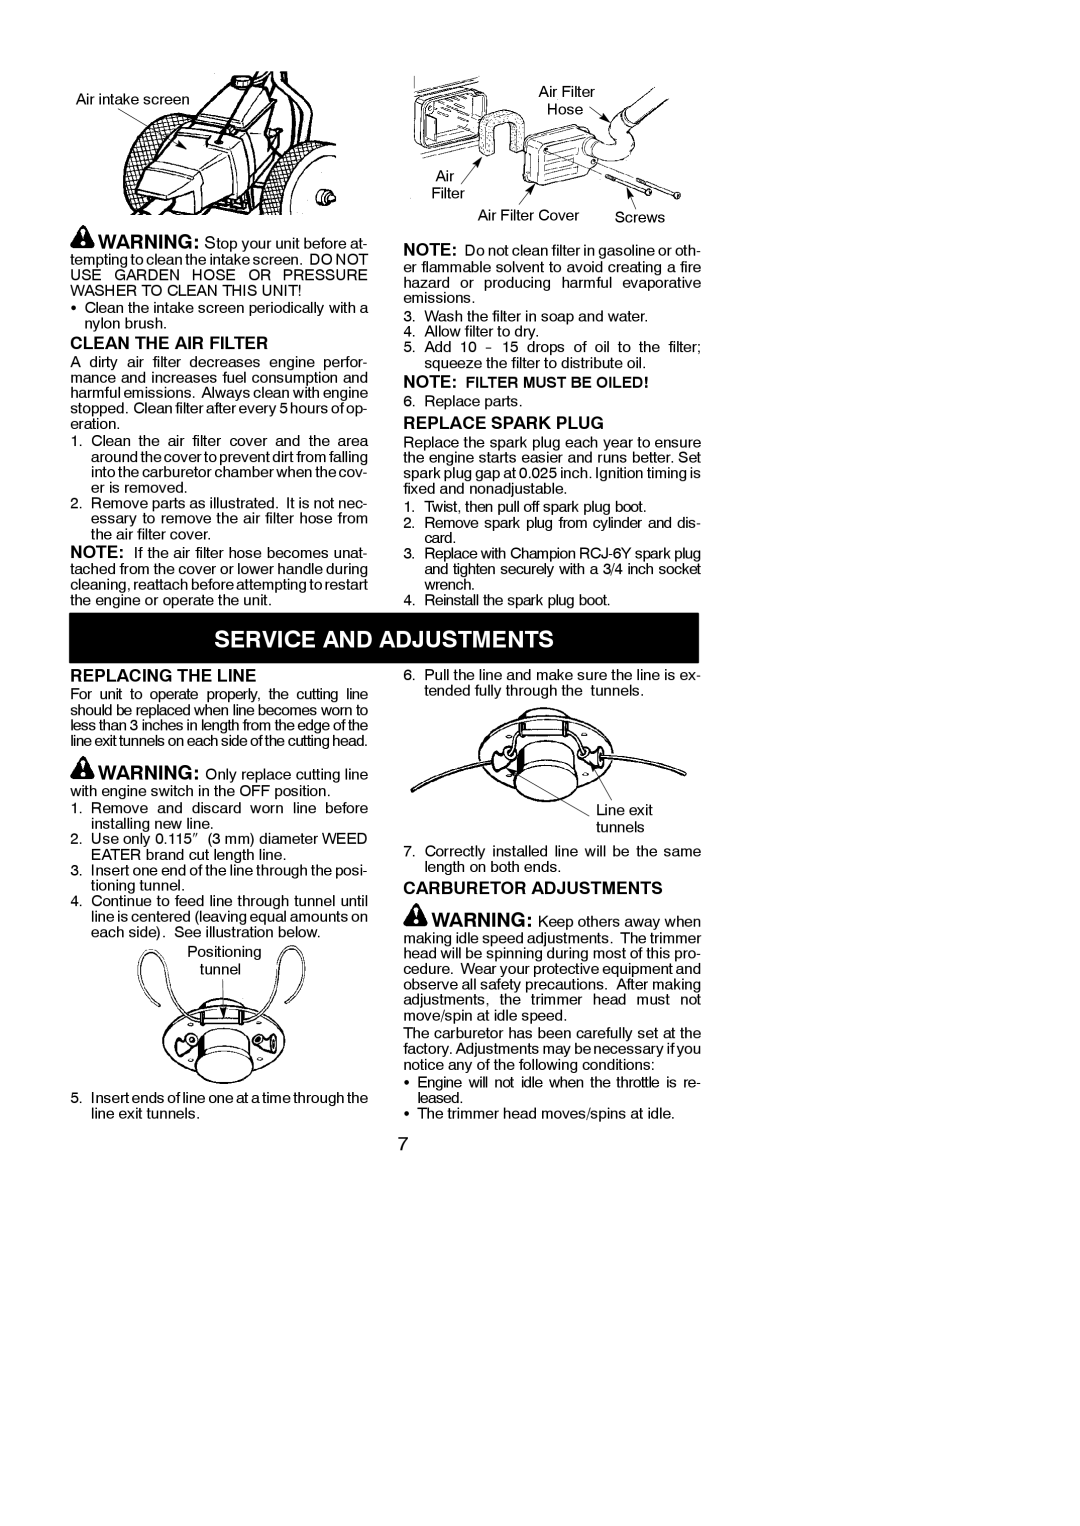
545186748 specifications
The Weed Eater 545186748 is a highly efficient and powerful string trimmer designed for homeowners and landscape professionals alike. This string trimmer epitomizes convenience and performance, making it an excellent choice for tackling various landscaping tasks, from maintaining lawns to edging and trimming around gardens.One of the standout features of the Weed Eater 545186748 is its robust engine. It boasts a powerful 25cc two-cycle engine, providing ample power to cut through thick grass and tough weeds effortlessly. The engine is designed to offer a balance of performance and fuel efficiency, allowing users to work longer without frequent refueling.
The trimmer features an innovative split-shaft design, which adds to its versatility. This design allows users to easily attach various accessories, such as blower attachments or cultivators, expanding the trimmer’s functionality and making it a multi-purpose tool in your landscaping arsenal.
Equipped with a 17-inch cutting width, the Weed Eater 545186748 allows users to cover more ground in less time, thereby improving efficiency. The quality of cutting is complemented by its easy-to-load string spool, which enables users to quickly change out line, minimizing downtime during projects.
One of the most user-friendly aspects of this trimmer is its lightweight and ergonomic design. Weighing in at just over 10 pounds, it is easy to maneuver, reducing fatigue during long trimming sessions. The adjustable handle ensures a comfortable grip, allowing the user to maintain control while working in various positions.
Safety features are also an important aspect of the Weed Eater 545186748. It includes a protective shield to guard against debris and cut grass, making it safer to operate in residential areas. Additionally, the trimmer is designed with anti-vibration technology, promoting user comfort and reducing strain on the hands and arms.
For cutting precision, the Weed Eater utilizes a dual line, bump feed head. This feature allows for quick line advancement simply by tapping the head on the ground, ensuring that users have the right amount of line for their trimming needs without interruptions.
In summary, the Weed Eater 545186748 stands out as a reliable and efficient string trimmer. With its powerful engine, versatile attachments, user-friendly design, and safety features, it is an excellent investment for anyone looking to maintain a well-manicured yard. Whether you are a seasoned landscaper or a first-time user, this trimmer can effectively meet your gardening needs.