Outdoor Lighting Fixture specifications
The Westinghouse Outdoor Lighting Fixture is an exceptional product designed to enhance the aesthetics of outdoor spaces while providing reliable illumination. With its elegant design and advanced technology, this fixture is ideal for patios, gardens, walkways, and entryways.One of the standout features of the Westinghouse Outdoor Lighting Fixture is its durability. Constructed from high-quality materials, the fixture is engineered to withstand various weather conditions, including rain, snow, and high winds. This makes it a reliable choice for year-round outdoor use.
The fixture incorporates energy-efficient LED technology, which not only saves on electricity costs but also provides bright, long-lasting illumination. LEDs have a significantly longer lifespan compared to traditional incandescent bulbs, often lasting up to 25,000 hours or more. This means less frequent replacements and minimal maintenance, making it a cost-effective lighting solution for homeowners.
Additionally, many Westinghouse outdoor fixtures are designed with adjustable brightness levels or color temperatures, allowing users to customize their lighting experience based on their needs. This versatility makes it easy to create the desired ambiance for various occasions, from cozy gatherings to vibrant celebrations.
Another innovative characteristic of the Westinghouse Outdoor Lighting Fixture is its motion detection technology. Some models come equipped with built-in sensors that automatically turn the lights on when movement is detected. This not only enhances security by illuminating entryways and pathways when someone approaches but also conserves energy by ensuring lights are only on when needed.
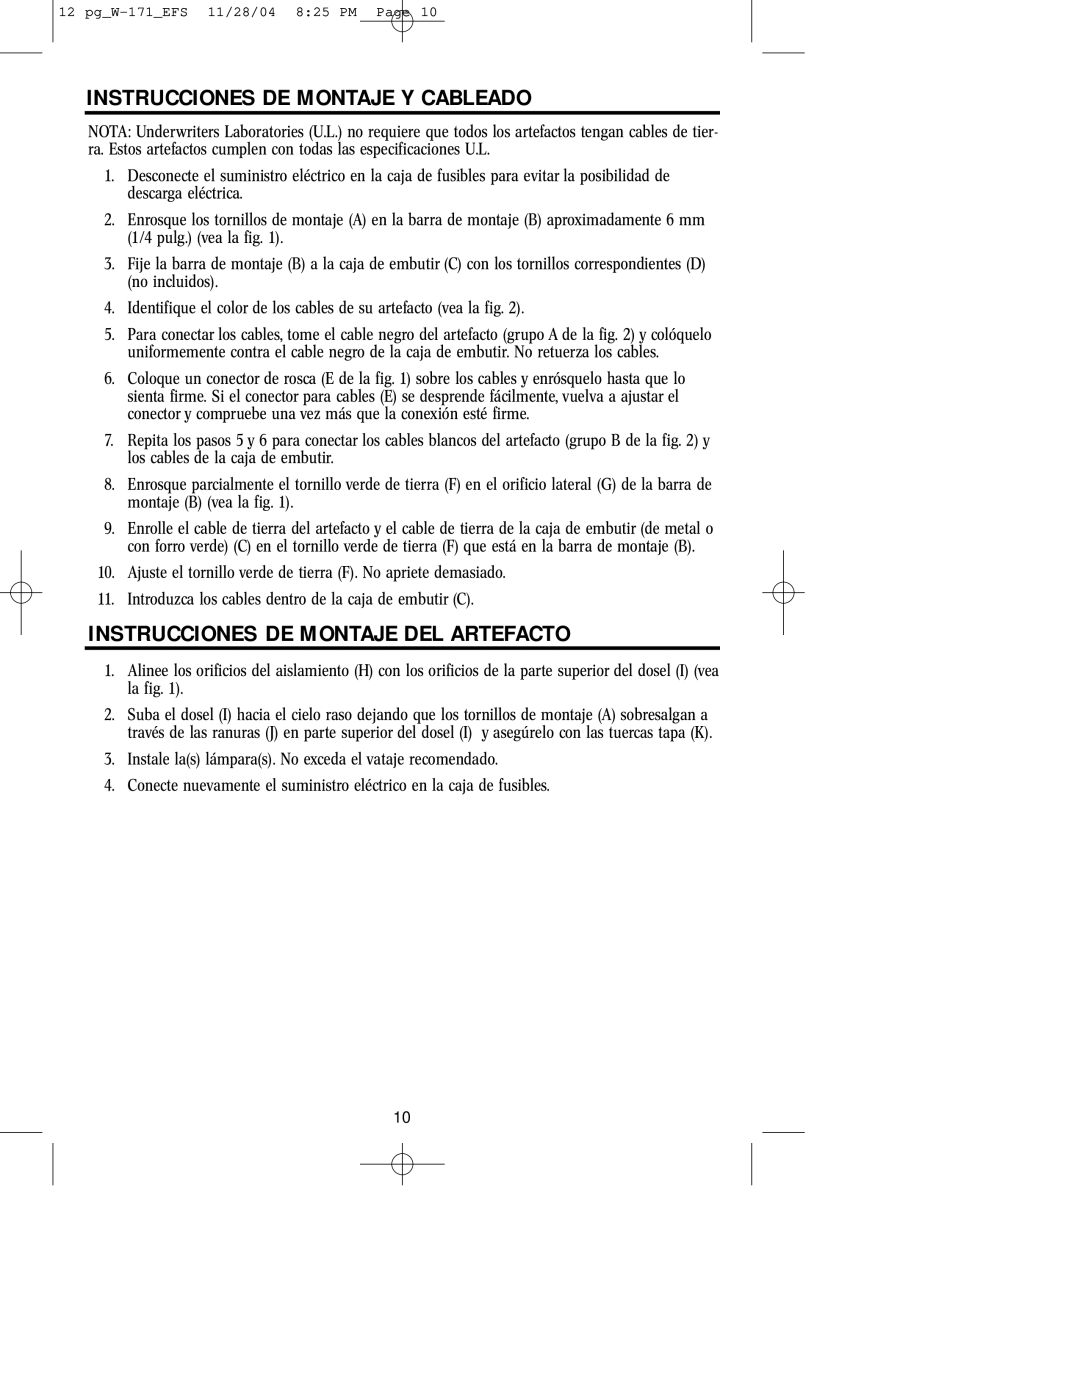
The Westinghouse Outdoor Lighting Fixture is also designed with easy installation in mind. Whether mounted on a wall or positioned on a post, these fixtures can be set up quickly, often requiring minimal tools and expertise. Clear installation instructions further simplify the process for homeowners and DIY enthusiasts.
In conclusion, the Westinghouse Outdoor Lighting Fixture combines style, functionality, and advanced technology to provide an exceptional lighting solution for outdoor spaces. With its durable construction, energy-efficient LED illumination, customizable features, and user-friendly installation, this fixture truly stands out in the market, making it an excellent choice for anyone looking to enhance their outdoor living areas.

