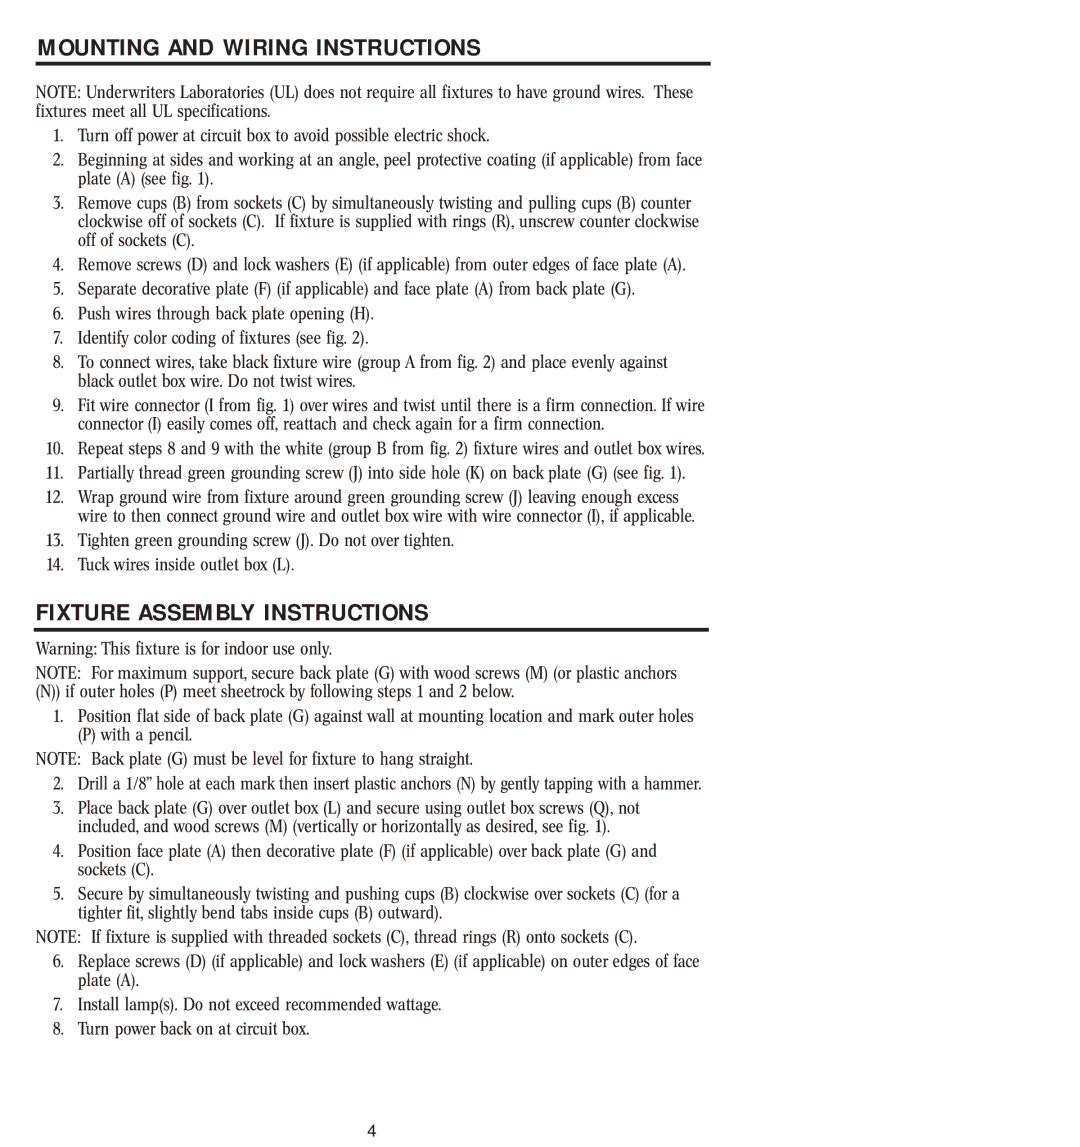
MOUNTING AND WIRING INSTRUCTIONS

NOTE: Underwriters Laboratories (UL) does not require all fixtures to have ground wires. These fixtures meet all UL specifications.

1.Turn off power at circuit box to avoid possible electric shock.

2.Beginning at sides and working at an angle, peel protective coating (if applicable) from face plate (A) (see fig. 1).

3.Remove cups (B) from sockets (C) by simultaneously twisting and pulling cups (B) counter clockwise off of sockets (C). If fixture is supplied with rings (R), unscrew counter clockwise off of sockets (C).

4.Remove screws (D) and lockwashers (E) (if applicable) from outer edges of face plate (A).

5.Separate decorative plate (F) (if applicable) and face plate (A) from back plate (G).

6.Push wires through back plate opening (H).

7.Identify color coding of fixtures (see fig. 2).

8.To connect wires, take black fixture wire (group A from fig. 2) and place evenly against black outlet box wire. Do not twist wires.

9.Fit wire connector (I from fig. 1) over wires and twist until there is a firm connection. If wire connector (I) easily comes off, reattach and check again for a firm connection.

10.Repeat steps 8 and 9 with the white (group B from fig. 2) fixture wires and outlet box wires.

11.Partially thread green grounding screw (J) into side hole (K) on back plate (G) (see fig. 1).

12.Wrap ground wire from fixture around green grounding screw (J) leaving enough excess wire to then connect ground wire and outlet box wire with wire connector (I), if applicable.

13.Tighten green grounding screw (J). Do not over tighten.

14.Tuckwires inside outlet box (L).

FIXTURE ASSEMBLY INSTRUCTIONS

Warning: This fixture is for indoor use only.

NOTE: For maximum support, secure back plate (G) with wood screws (M) (or plastic anchors (N)) if outer holes (P) meet sheetrock by following steps 1 and 2 below.

1.Position flat side of back plate (G) against wall at mounting location and mark outer holes

(P) with a pencil.

NOTE: Back plate (G) must be level for fixture to hang straight.

2.Drill a 1/8” hole at each mark then insert plastic anchors (N) by gently tapping with a hammer.

3.Place back plate (G) over outlet box (L) and secure using outlet box screws (Q), not included, and wood screws (M) (vertically or horizontally as desired, see fig. 1).

4.Position face plate (A) then decorative plate (F) (if applicable) over back plate (G) and sockets (C).

5.Secure by simultaneously twisting and pushing cups (B) clockwise over sockets (C) (for a tighter fit, slightly bend tabs inside cups (B) outward).

NOTE: If fixture is supplied with threaded sockets (C), thread rings (R) onto sockets (C).

6.Replace screws (D) (if applicable) and lockwashers (E) (if applicable) on outer edges of face plate (A).

7.Install lamp(s). Do not exceed recommended wattage.

8.Turn power back on at circuit box.

4

Page 4
Image 4
Westinghouse w-025 owner manual Mounting and Wiring Instructions, Fixture Assembly Instructions

w-025 specifications

The Westinghouse W-025 is an advanced, high-efficiency generator known for its robust performance and user-friendly features. Designed for various applications, from powering homes to serving as backup energy sources in commercial settings, the W-025 blends innovation and reliability in one compact unit.

One of the principal features of the Westinghouse W-025 is its powerful engine. It is equipped with a reliable four-stroke engine that delivers robust power output, ensuring that it can handle demanding electrical loads. With a capacity of up to 2,500 watts, it has enough power to run essential appliances such as refrigerators, lights, and even small power tools, making it an ideal choice for emergency power and recreational use.

The generator also incorporates advanced inverter technology. This feature is crucial for producing clean, stable power, which is essential for sensitive electronics such as computers and televisions. The inverter maintains a consistent output frequency and voltage, minimizing the risk of damage to electronic devices.

Another notable characteristic of the W-025 is its fuel efficiency. The generator is designed to operate with reduced fuel consumption, which not only translates to cost savings for users but also extends the running time per tank of fuel. This efficiency is particularly advantageous during extended power outages or outdoor activities.

The Westinghouse W-025 is also notable for its lightweight and portable design. Weighing around 50 pounds, it features a compact structure and ergonomic handles that make it easy to transport. Whether you're camping, tailgating, or in need of backup power at home, the W-025 provides the convenience of mobility without sacrificing functionality.

In terms of user accessibility, the generator features a simple control panel with easy-to-read indicators and controls. Users can quickly start and stop the unit, check fuel levels, and monitor output, making it suitable for both seasoned users and beginners alike.

Safety features are also a significant aspect of the Westinghouse W-025. It incorporates essential protections such as low oil shutdown, overload protection, and a robust frame that can withstand harsh conditions. With these safety measures, users can operate the generator confidently, knowing it is designed to operate efficiently and safely.

In summary, the Westinghouse W-025 stands out due to its powerful engine, advanced inverter technology, fuel efficiency, portable design, user-friendly controls, and safety features. This combination makes it an excellent choice for anyone seeking a reliable and versatile generator for a wide range of applications.