
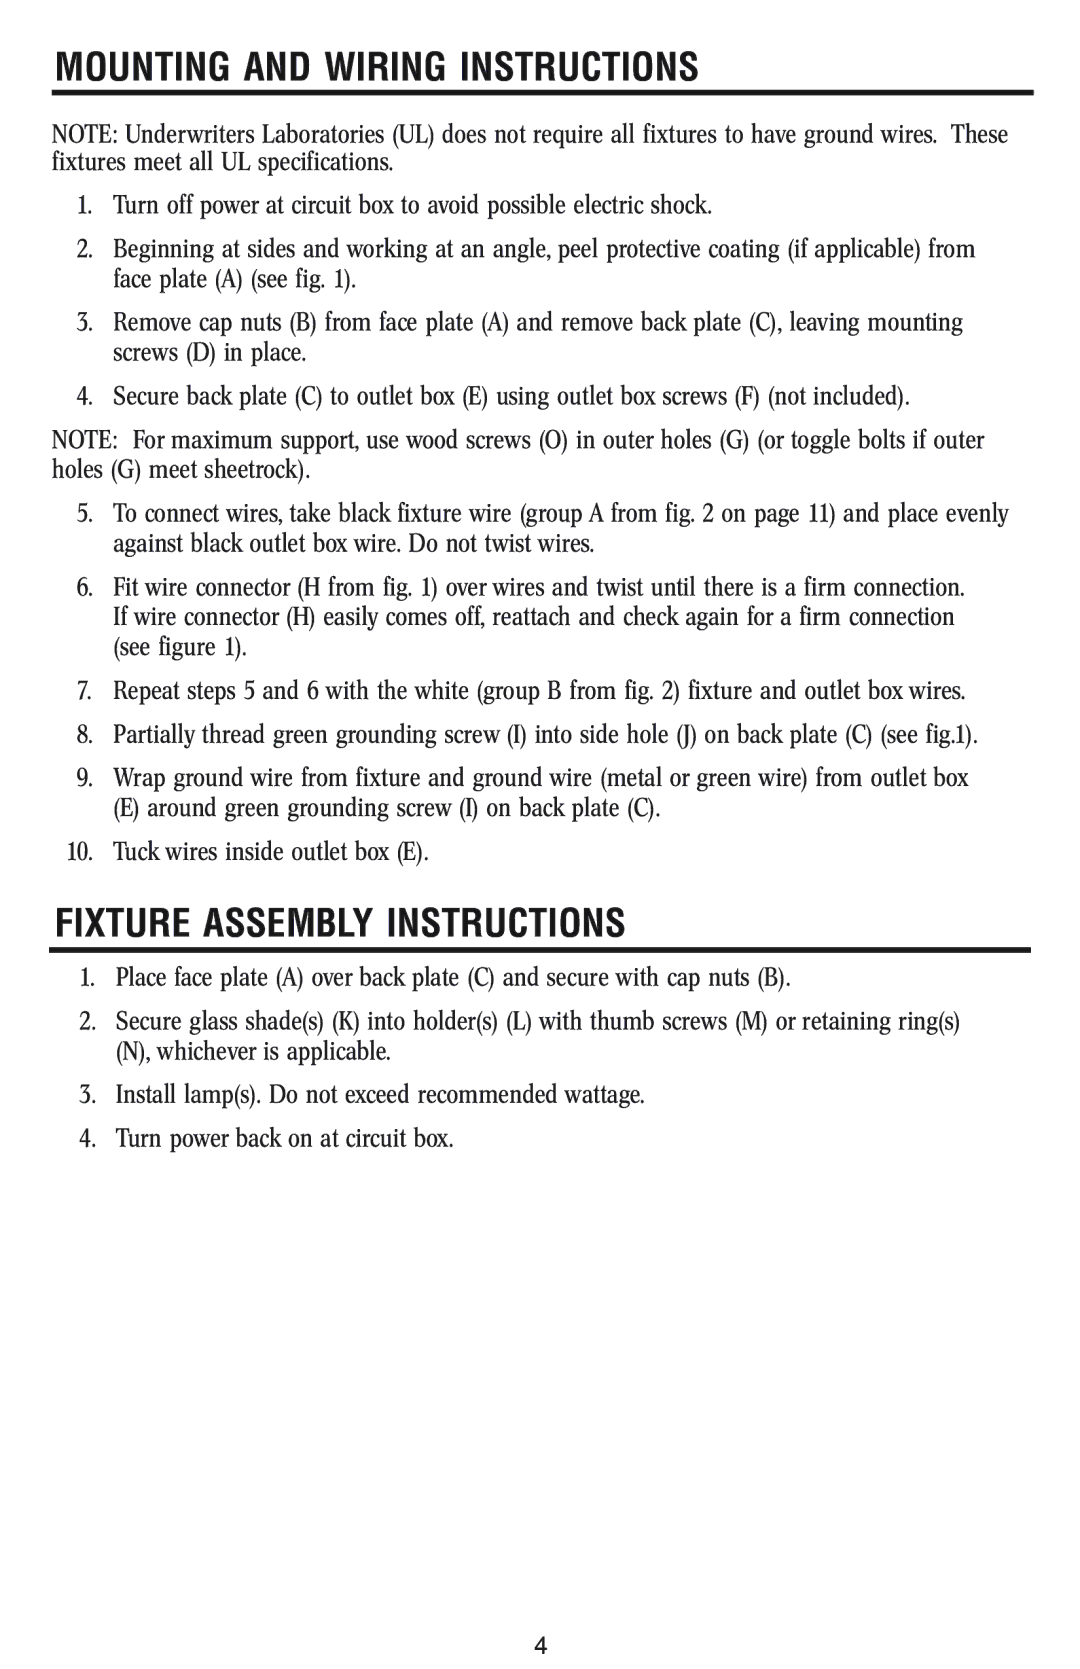
W-029 specifications
The Westinghouse W-029 is a notable model within the Westinghouse line of products, designed with a focus on efficiency, durability, and user-friendliness. This model stands out due to its blend of advanced technology and classic engineering principles, which together contribute to its reputation for reliability in various applications.One of the primary features of the Westinghouse W-029 is its robust construction, designed to withstand harsh operational environments. It incorporates high-quality materials that ensure longevity and reduce the need for frequent maintenance. This durability makes it an ideal choice for industrial settings, where equipment must perform consistently under heavy workloads.
The W-029 utilizes advanced electrical technologies that enhance its performance and energy efficiency. It is equipped with a state-of-the-art control system, allowing for precise monitoring and regulation of operational parameters. This not only helps in optimizing performance but also contributes to energy savings, making it a cost-effective solution for users.
The design of the W-029 also focuses on ease of use. It features an intuitive interface that allows operators to easily navigate settings and make adjustments as necessary. This user-centric approach minimizes the learning curve and helps ensure that even less experienced users can operate the machine effectively.
In terms of versatility, the Westinghouse W-029 is well-equipped to handle a variety of applications, making it a preferred choice in diverse industries. Its adaptability is a testament to Westinghouse’s commitment to catering to the specific needs of different sectors, whether in manufacturing, energy production, or other industrial applications.
Another significant characteristic of the W-029 is its safety features. It is designed with multiple safety mechanisms that protect both the equipment and the user. These features contribute to a safer working environment, which is paramount in industries where heavy machinery is involved.
In conclusion, the Westinghouse W-029 embodies the innovative spirit of Westinghouse, combining advanced technologies, robust construction, and a user-friendly design. Its efficiency and versatility position it as a valuable asset in industrial operations, ensuring that users can rely on its performance for years to come. Whether for high-demand industrial applications or routine operational tasks, the W-029 is a trusted choice that delivers on its promise of reliability and efficiency.