
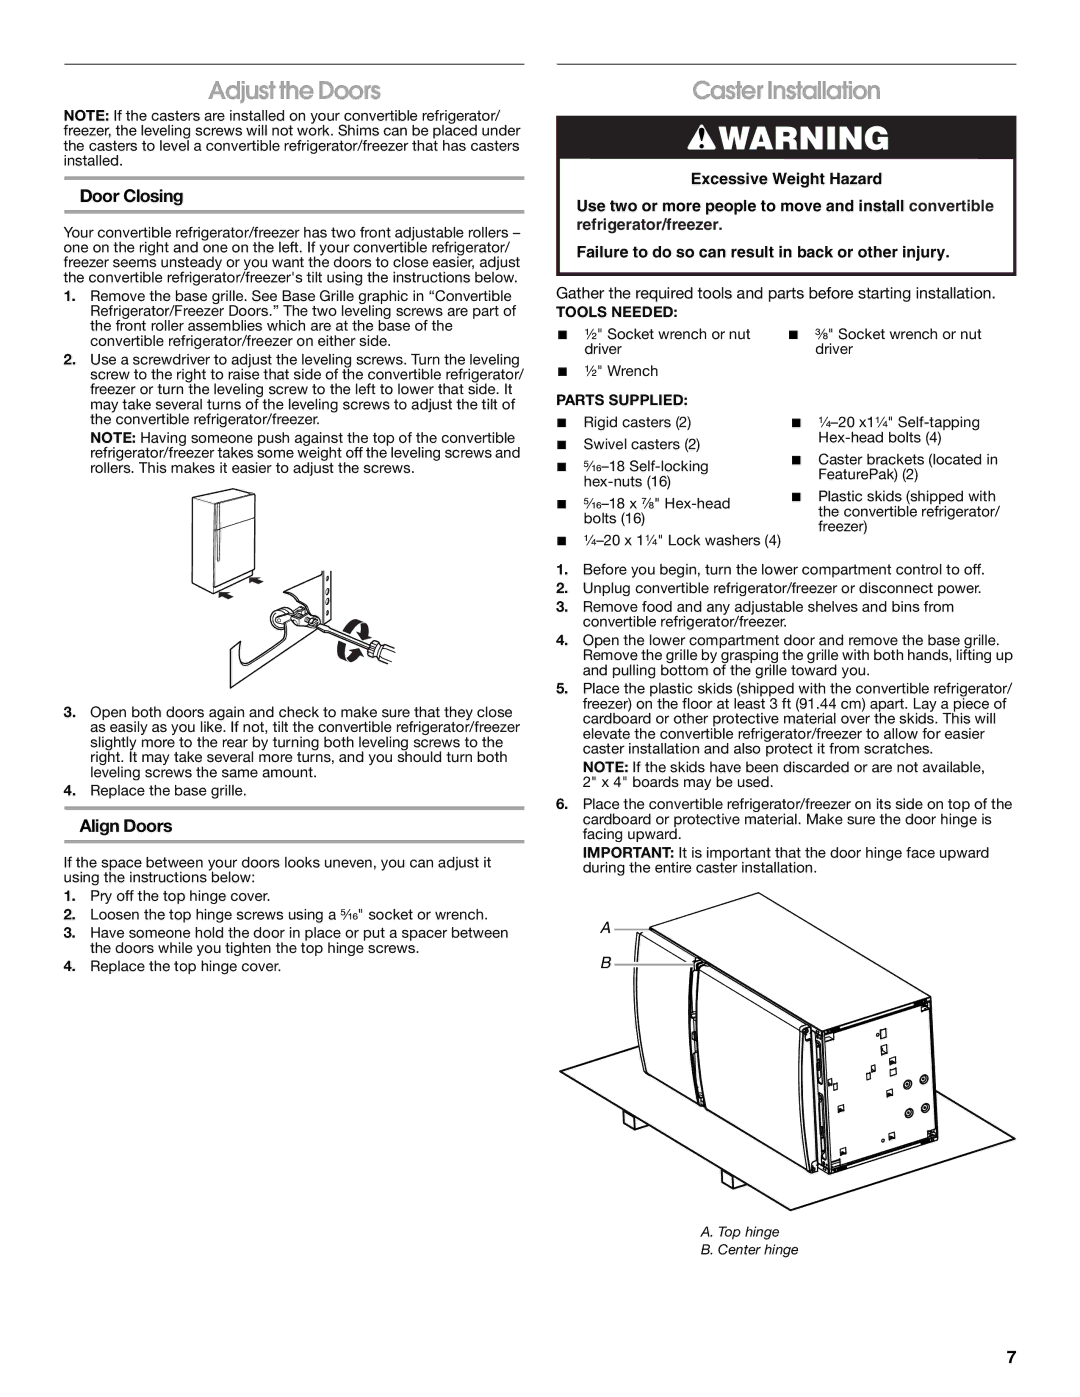
2314466 specifications
The Whirlpool 2314466 is a highly efficient refrigeration appliance designed to enhance both storage and preservation capabilities in modern kitchens. As a part of Whirlpool's extensive product lineup, this refrigerator is engineered with several innovative features that cater to the needs of today’s consumers.One of the main characteristics of the Whirlpool 2314466 is its spacious interior. This refrigerator provides generous storage capacity, which allows users to organize their groceries and perishable items with ease. Its adjustable shelves enable customization, accommodating items of various heights, and maximizing usable space. Additionally, the refrigerator includes dedicated compartments such as crisper drawers that help maintain optimal humidity levels for fruits and vegetables, prolonging their freshness.
The Whirlpool 2314466 employs advanced cooling technologies that contribute to energy efficiency and effective food preservation. Equipped with a temperature management system, this refrigerator ensures consistent cooling throughout all compartments, preventing temperature fluctuations that can affect food quality. The Adaptive Defrost feature further optimizes energy usage by only defrosting when necessary, helping to reduce electricity costs.
In terms of convenience, the Whirlpool 2314466 integrates user-friendly controls that simplify operation. A digital display allows users to monitor and adjust settings with minimal effort, while features such as LED lighting illuminate the interior, making it easy to locate items at any time of the day. The refrigerator also incorporates a water and ice dispenser, providing immediate access to chilled water and ice, ensuring hydration and refreshments are always close at hand.
Design-wise, the Whirlpool 2314466 is sleek and modern, featuring a stainless-steel finish that fits seamlessly into a variety of kitchen aesthetics. The fingerprint-resistant surface helps maintain a clean look, reducing the need for constant upkeep.
Safety features are also a priority in the Whirlpool 2314466, with a door alarm that alerts users when the door has been left ajar for too long, preventing spoilage and waste. Overall, the Whirlpool 2314466 exemplifies the blend of innovative technology, user-friendly design, and efficient performance, making it a valuable addition to any home.