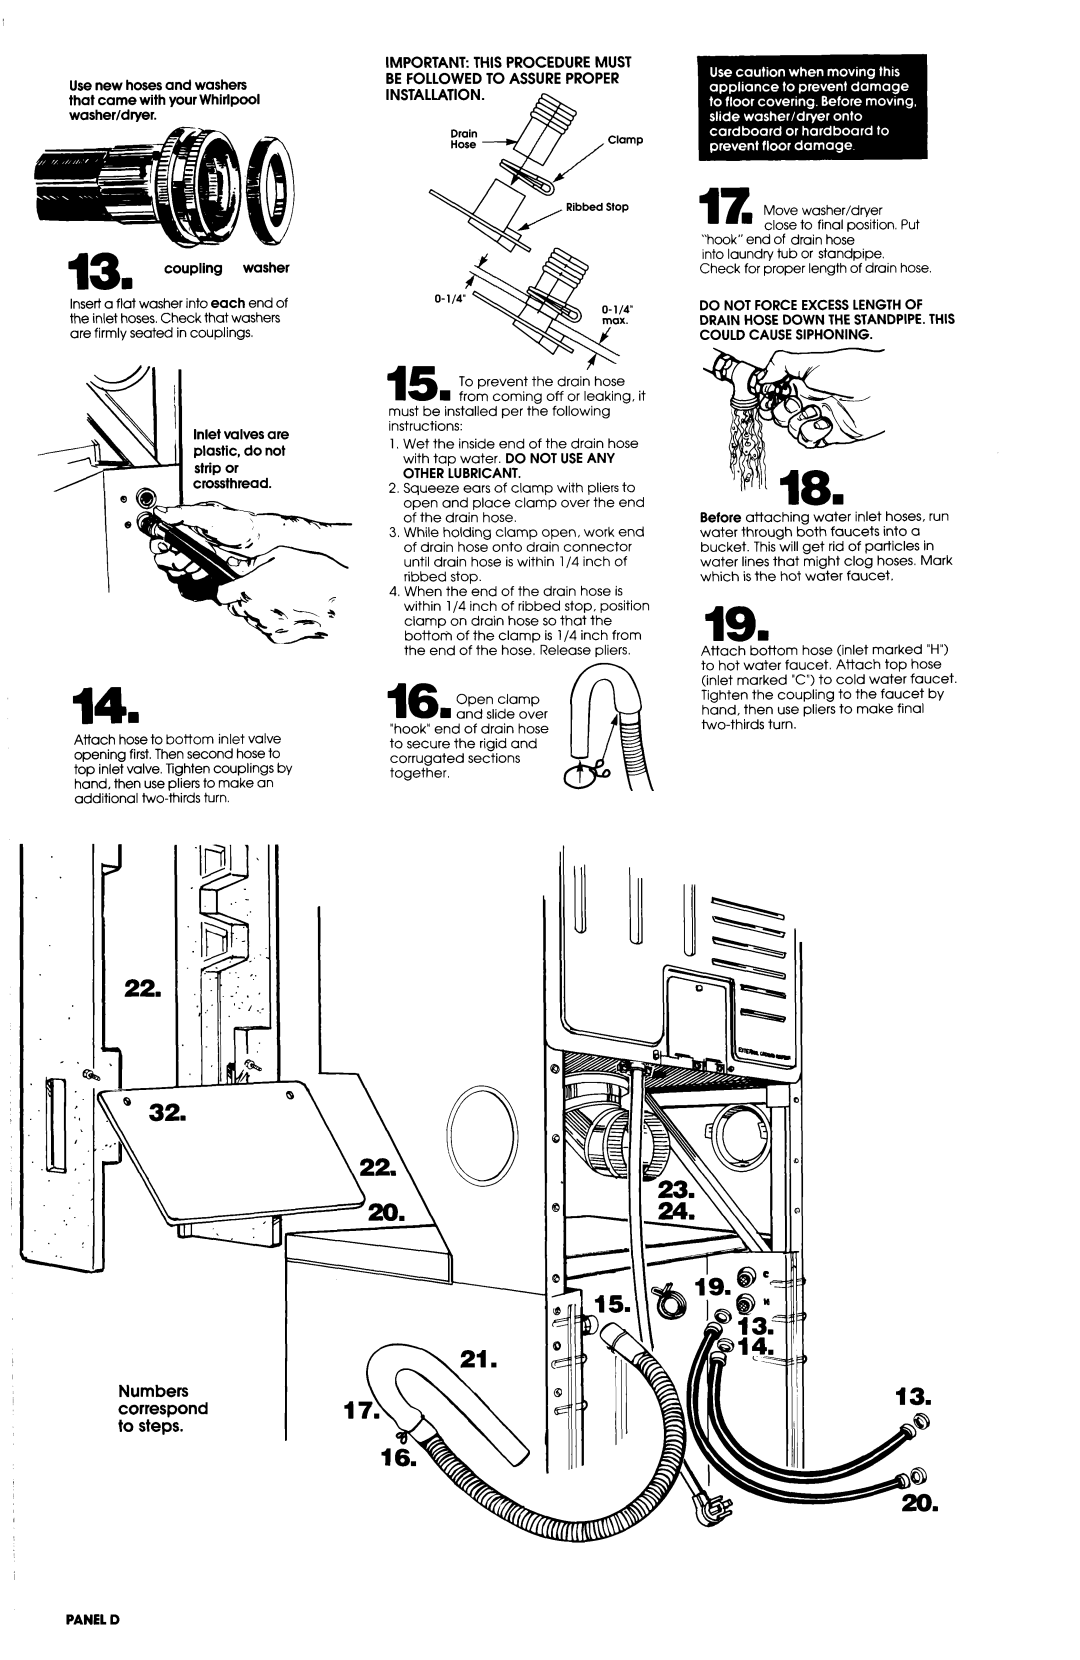
3397512 specifications
The Whirlpool 3397512 is a highly regarded replacement dryer heating element designed to restore your appliance's heating capabilities effectively. It is particularly popular among homeowners looking to replace a faulty heating element in their Whirlpool dryers. This part is compatible with a wide range of dryer models, ensuring that users can benefit from the heating solution it provides.A standout feature of the Whirlpool 3397512 is its robust construction, designed to withstand the rigors of frequent use. Made from high-quality materials, it ensures longevity and durability, minimizing the need for frequent replacements. This feature is crucial for maintaining the efficiency of your dryer over time.
One of the key technologies incorporated in the Whirlpool 3397512 is its advanced heating design, which promotes even heat distribution. This ensures that clothes are dried uniformly, preventing instances of damp spots that can occur with inferior heating elements. This technology not only enhances the drying process but also contributes to fabric care, reducing wear and tear on clothes.
The Whirlpool 3397512 is engineered for easy installation, making it accessible for DIY enthusiasts as well as casual users. The design features straightforward connections that can be made with minimal tools, allowing users to quickly restore their dryer’s functionality without the need for professional assistance.
Moreover, the efficiency of the Whirlpool 3397512 aligns with modern energy-saving standards. It operates effectively at optimal temperatures, reducing energy consumption while providing powerful drying capabilities. This efficiency can lead to lower utility bills and a smaller carbon footprint, making it an environmentally conscientious choice.
In addition, compatibility is another essential characteristic of the Whirlpool 3397512. It fits various Whirlpool dryer models, making it a versatile solution for many households. This wide compatibility ensures that when the heating element needs replacing, homeowners can easily find a suitable option without facing the hassle of extensive searches or waiting on special orders.
In conclusion, the Whirlpool 3397512 heating element is an essential component that enhances the performance of compatible Whirlpool dryers. Its robust construction, advanced heating design, ease of installation, and energy efficiency make it a preferred choice among consumers looking to maintain their dryers in optimal working condition. By choosing the Whirlpool 3397512, users can enjoy a reliable and efficient drying experience.

