Completing the installation
Level the freezer so the door will close prop- erly. The leveling legs are packaged with your Use and Care Guide.
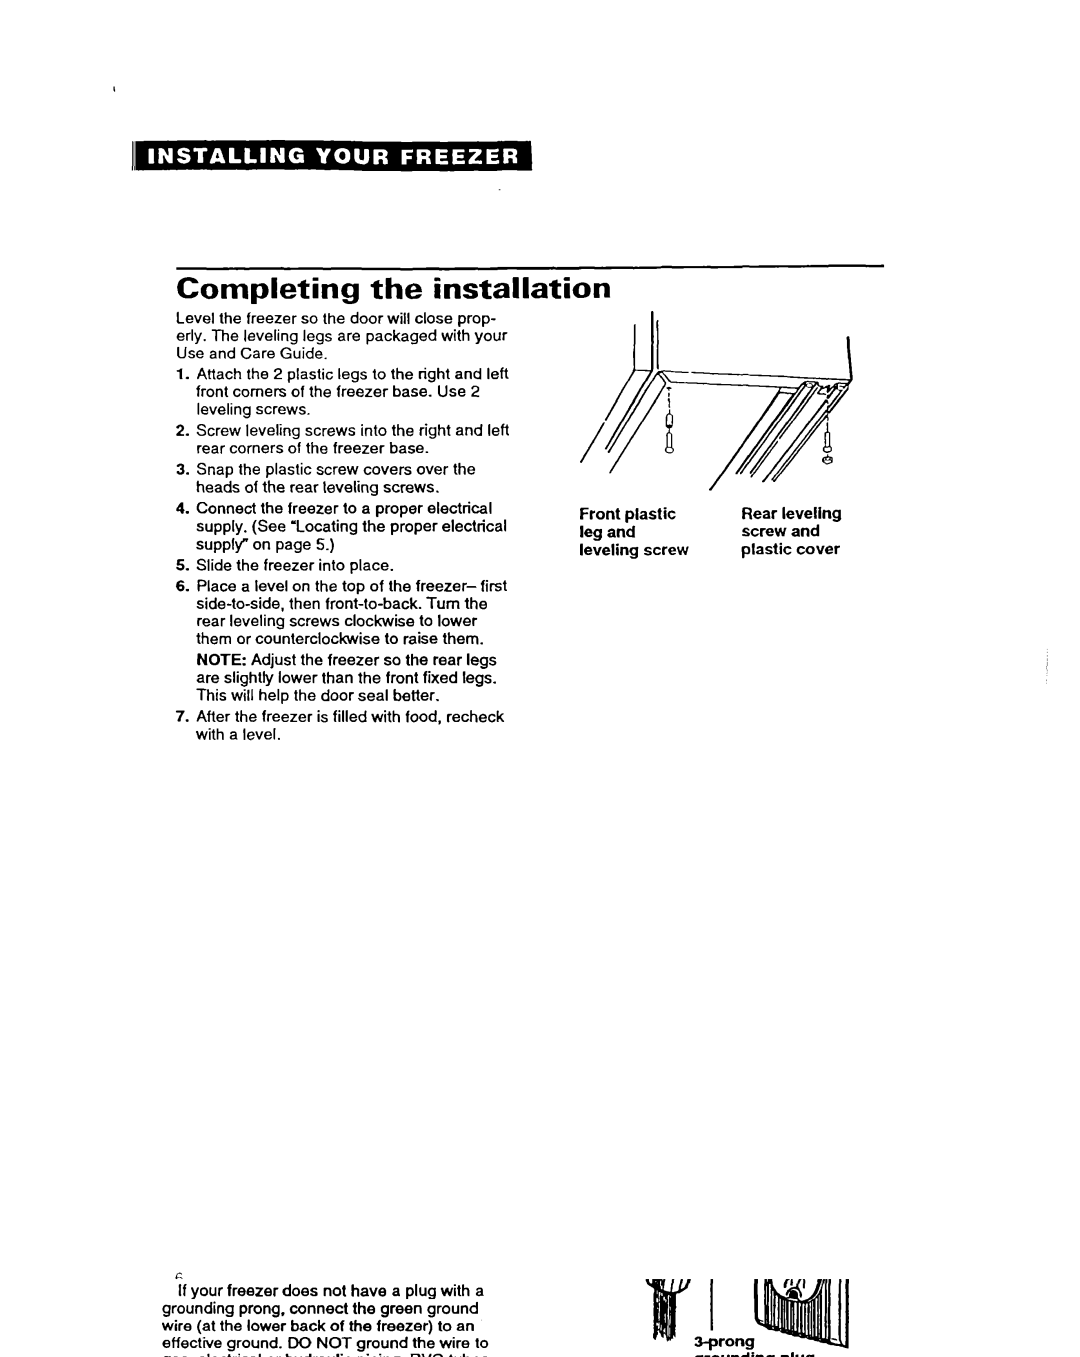
1.Attach the 2 plastic legs to the right and left front comers of the freezer base. Use 2 leveling screws.
2.Screw leveling screws into the right and left rear corners of the freezer base.
3.Snap the plastic screw covers over the heads of the rear leveling screws.
4.Connect the freezer to a proper electrical supply. (See “Locating the proper electrical supply on page 5.)
5.Slide the freezer into place.
6.Place a level on the top of the freezer- first
NOTE: Adjust the freezer so the rear legs are slightly lower than the front fixed legs. This will help the door seal better.
7.After the freezer is filled with food, recheck with a level.
Front plastic | Rear levellng | |
leg and | screw | and |
leveling screw | plastic | cover |
6