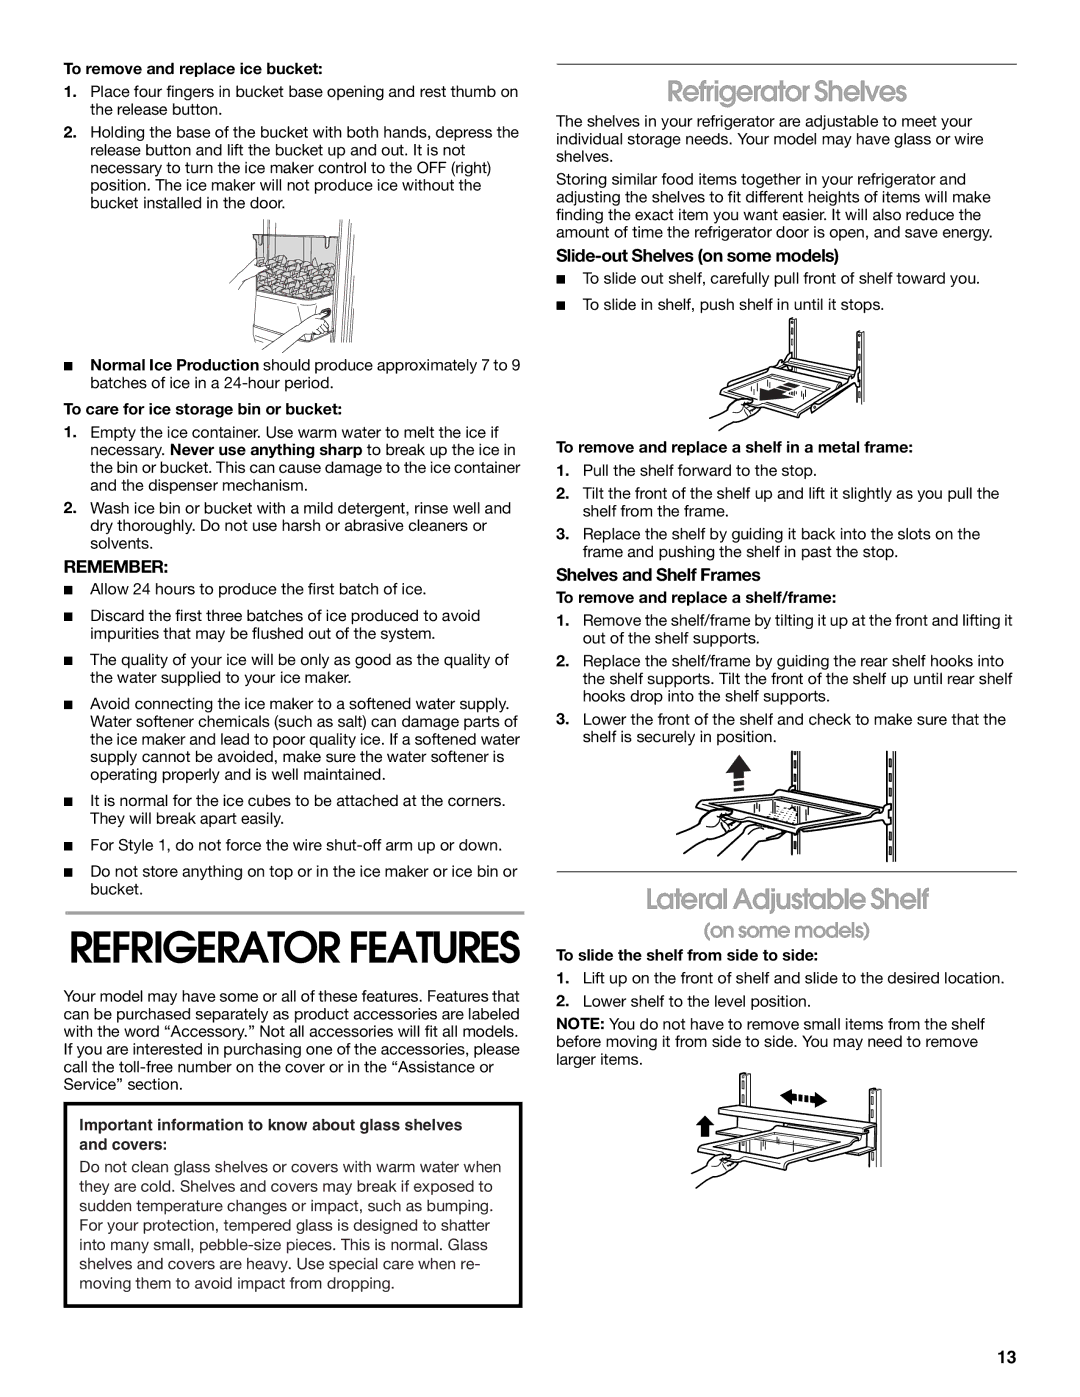
To remove and replace ice bucket:
1.Place four fingers in bucket base opening and rest thumb on the release button.
2.Holding the base of the bucket with both hands, depress the release button and lift the bucket up and out. It is not necessary to turn the ice maker control to the OFF (right) position. The ice maker will not produce ice without the bucket installed in the door.
■Normal Ice Production should produce approximately 7 to 9 batches of ice in a
To care for ice storage bin or bucket:
1.Empty the ice container. Use warm water to melt the ice if necessary. Never use anything sharp to break up the ice in the bin or bucket. This can cause damage to the ice container and the dispenser mechanism.
2.Wash ice bin or bucket with a mild detergent, rinse well and dry thoroughly. Do not use harsh or abrasive cleaners or solvents.
REMEMBER:
■Allow 24 hours to produce the first batch of ice.
■Discard the first three batches of ice produced to avoid impurities that may be flushed out of the system.
■The quality of your ice will be only as good as the quality of the water supplied to your ice maker.
■Avoid connecting the ice maker to a softened water supply. Water softener chemicals (such as salt) can damage parts of the ice maker and lead to poor quality ice. If a softened water supply cannot be avoided, make sure the water softener is operating properly and is well maintained.
■It is normal for the ice cubes to be attached at the corners. They will break apart easily.
■For Style 1, do not force the wire
■Do not store anything on top or in the ice maker or ice bin or bucket.
REFRIGERATOR FEATURES
Your model may have some or all of these features. Features that can be purchased separately as product accessories are labeled with the word “Accessory.” Not all accessories will fit all models. If you are interested in purchasing one of the accessories, please call the
Important information to know about glass shelves and covers:
Do not clean glass shelves or covers with warm water when they are cold. Shelves and covers may break if exposed to sudden temperature changes or impact, such as bumping. For your protection, tempered glass is designed to shatter into many small,
Refrigerator Shelves
The shelves in your refrigerator are adjustable to meet your individual storage needs. Your model may have glass or wire shelves.
Storing similar food items together in your refrigerator and adjusting the shelves to fit different heights of items will make finding the exact item you want easier. It will also reduce the amount of time the refrigerator door is open, and save energy.
Slide-out Shelves (on some models)
■To slide out shelf, carefully pull front of shelf toward you.
■To slide in shelf, push shelf in until it stops.
To remove and replace a shelf in a metal frame:
1.Pull the shelf forward to the stop.
2.Tilt the front of the shelf up and lift it slightly as you pull the shelf from the frame.
3.Replace the shelf by guiding it back into the slots on the frame and pushing the shelf in past the stop.
Shelves and Shelf Frames
To remove and replace a shelf/frame:
1.Remove the shelf/frame by tilting it up at the front and lifting it out of the shelf supports.
2.Replace the shelf/frame by guiding the rear shelf hooks into the shelf supports. Tilt the front of the shelf up until rear shelf hooks drop into the shelf supports.
3.Lower the front of the shelf and check to make sure that the shelf is securely in position.
Lateral Adjustable Shelf
(on some models)
To slide the shelf from side to side:
1.Lift up on the front of shelf and slide to the desired location.
2.Lower shelf to the level position.
NOTE: You do not have to remove small items from the shelf before moving it from side to side. You may need to remove larger items.
13