
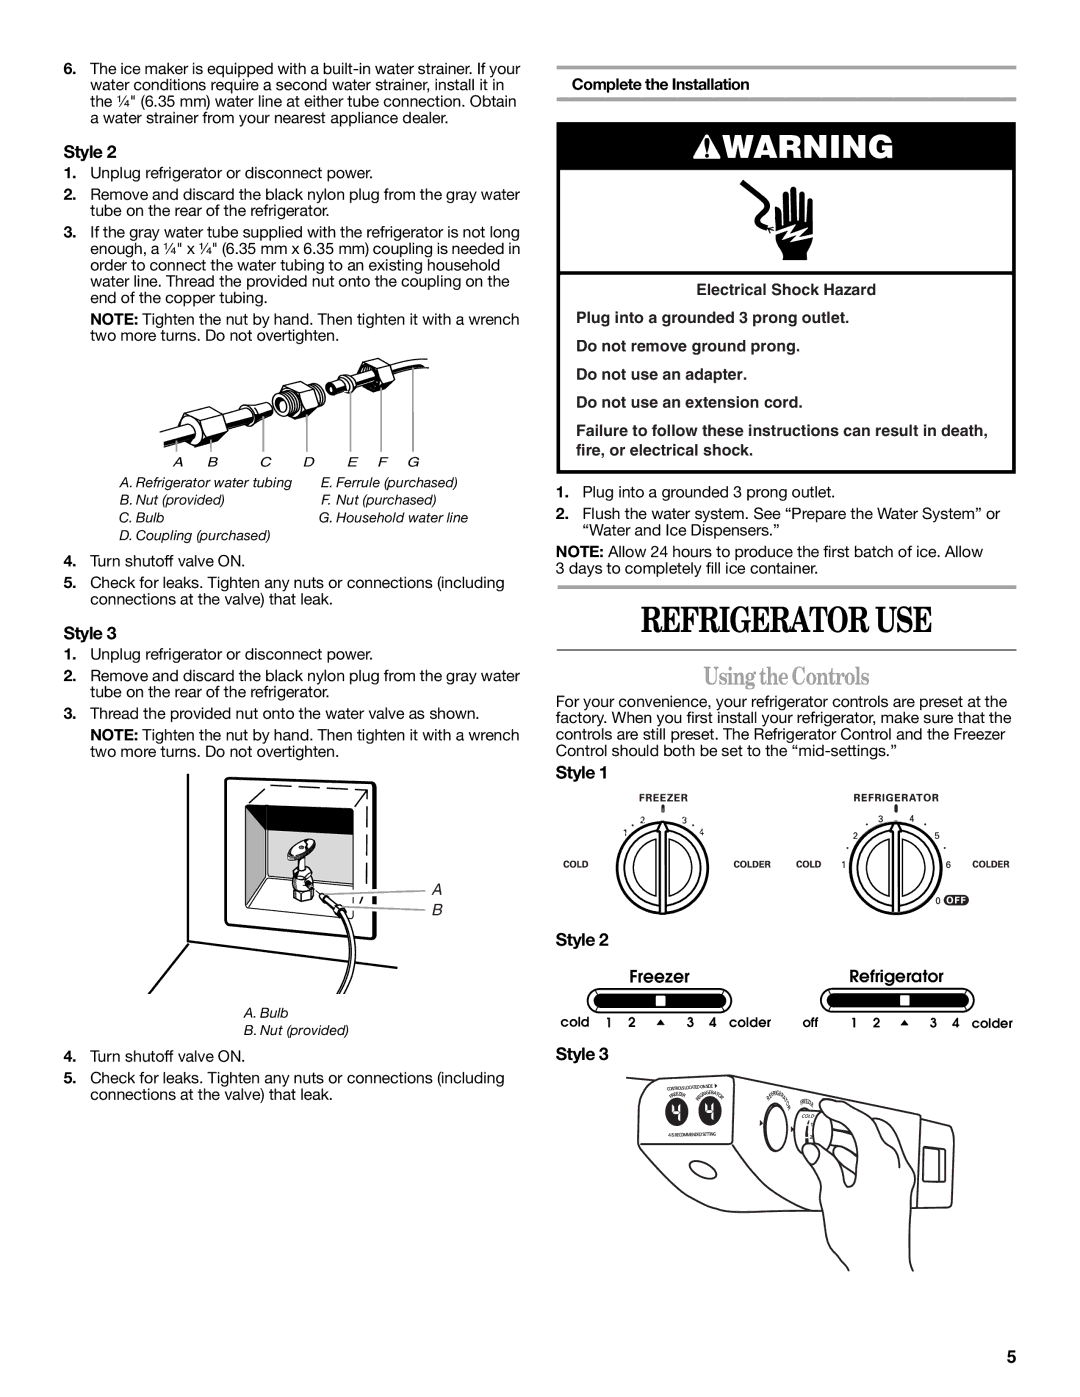
ES2FHAXSA00 specifications
The Whirlpool ES2FHAXSA00 is a sleek and efficient side-by-side refrigerator that caters to the demands of modern households. With a total capacity of 25 cu. ft., this appliance provides ample storage space, making it a perfect fit for families of various sizes. Its thoughtful design combines innovation and functionality, bringing a high level of convenience to daily food storage.One of the standout features of the Whirlpool ES2FHAXSA00 is its Accu-Chill Temperature Management System. This advanced technology ensures that the temperature within the refrigerator is consistently maintained. The system utilizes innovative sensors to monitor and adapt the cooling temperature, ensuring that your food stays fresher for longer periods. This feature is especially beneficial for those who wish to minimize food waste.
In terms of design, this model sports a smooth, stainless steel finish that adds a touch of elegance to any kitchen. The exterior is not only visually appealing but also easy to clean, making maintenance a breeze. The side-by-side configuration allows for easy access to both the refrigerator and freezer compartments. With adjustable shelves, door bins, and a slide-out shelving system, users can customize the storage according to their needs.
Another impressive feature is the In-Door-Ice System. This ice-making technology maximizes interior space by storing ice in the door, thereby allowing for more usable shelf space within the freezer. This design helps you enjoy ice on demand without sacrificing valuable room for frozen foods.
Moreover, the Whirlpool ES2FHAXSA00 also comes equipped with LED lighting that brightens every corner of the unit. The energy-efficient LED bulbs last longer than traditional bulbs, while providing enhanced visibility to help you find items quickly.
In terms of energy efficiency, this refrigerator meets ENERGY STAR guidelines, ensuring that it not only performs well but also consumes less electricity. This not only contributes to environmental sustainability but also helps lower utility bills, making it a practical investment for budget-conscious consumers.
Overall, the Whirlpool ES2FHAXSA00 combines contemporary aesthetics with cutting-edge technology, making it an excellent choice for anyone looking to enhance their kitchen with a reliable and stylish refrigerator. With features that promote efficient storage, energy savings, and user-friendly design, this model stands out as a top contender in the crowded appliance market.