Changing the light bulb...
u Q
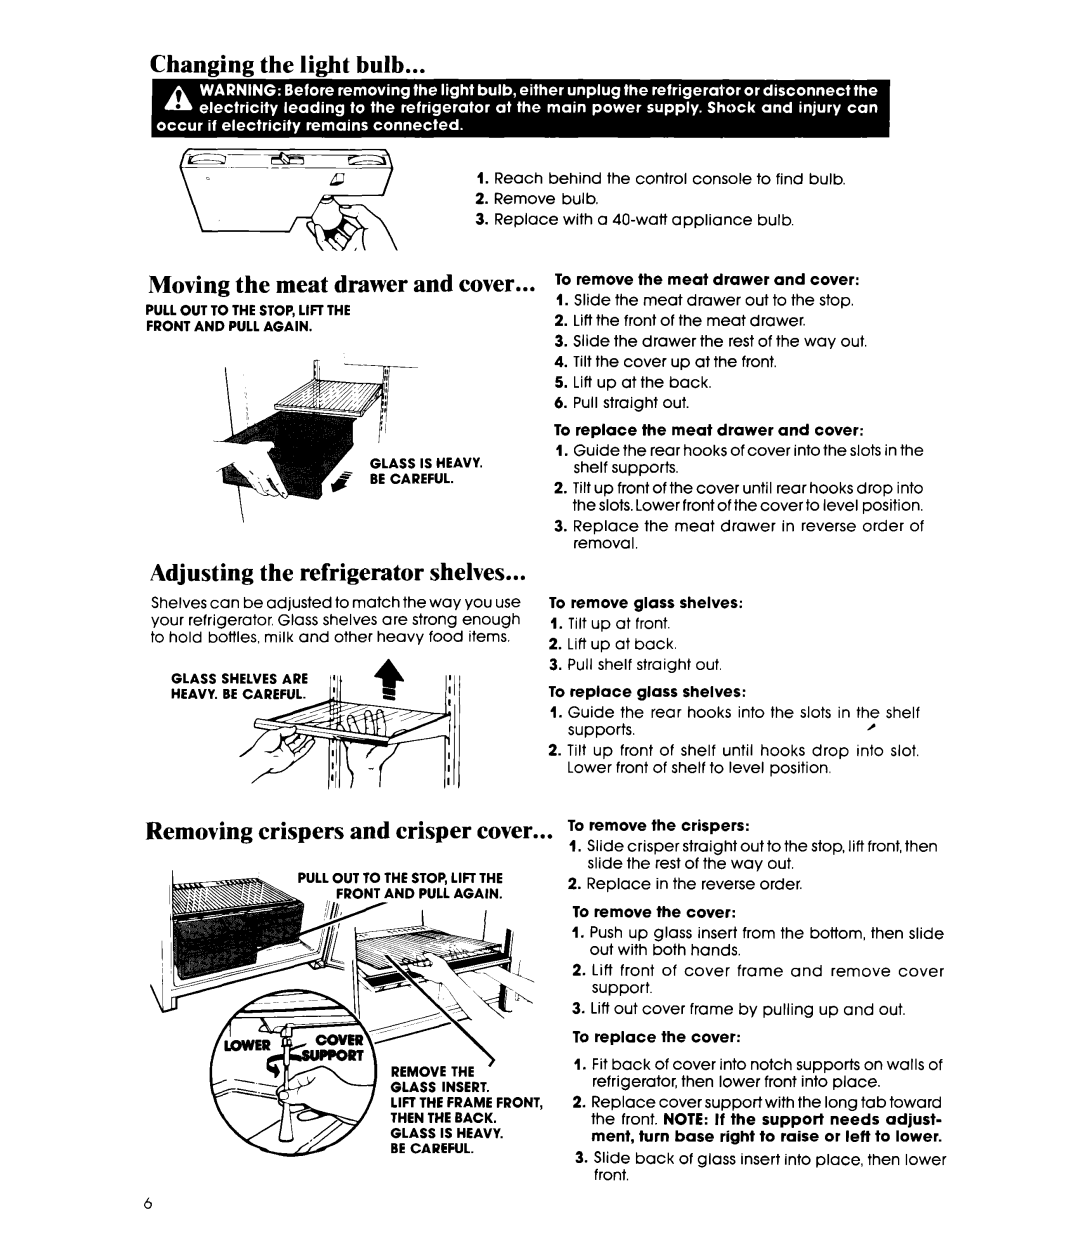
| 1. Reach behind the control console to find bulb. | |||||||
yY& | 2. | Remove | bulb. |
|
|
| ||
| 3. | Replace | with a | appliance | bulb. | |||
Moving the meat drawer and cover... | To remove the meat drawer and cover: | |||||||
1. Slide the meat drawer out to the stop. | ||||||||
PULL OUT TO THE STOP, LIFT THE |
| |||||||
| 2. | Lift the front | of the | meat | drawer. | |||
FRONT AND | PULL AGAIN. |
| ||||||
| 3. | Slide the drawer | the rest of the way out. | |||||
|
|
| ||||||
|
|
| 4. Tilt the cover up at the front. | |||||
|
|
| 5. | Lift up at the | back. |
| ||
|
|
| 6. | Pull straight | out. |
|
| |
GLASS IS HEAVY. BE CAREFUL.
To replace the meat drawer and cover:
1.Guide the rear hooks of cover into the slots in the shelf supports.
2.Tilt up front of the cover until rear hooks drop into the slots. Lower front of the cover to level position.
3.Replace the meat drawer in reverse order of removal.
Adjusting the refrigerator shelves...
Shelves can be adjusted to match the way you use your refrigerator. Glass shelves are strong enough to hold bottles, milk and other heavy food items.
GLASS SHELVES ARE
HEAVY. BE CAREFUL.
Removing crispers and crisper cover.
To remove glass shelves:
1.Tilt up at front.
2.Lift up at back.
3.Pull shelf straight out.
To replace glass shelves:
1. Guide the rear hooks into the slots in the shelf
supports.,
2.Tilt up front of shelf until hooks drop into slot. Lower front of shelf to level position.
. . To remove the crispers:
I. Slide crisper straight out to the stop, lift front, then slide the rest of the way out.
2. Replace in the reverse order.
REMOVE THE ’
GLASS INSERT.
LIFT THE FRAME FRONT, THEN THE BACK.
GLASS IS HEAVY. BE CAREFUL.
To remove the cover:
1.Push up glass insert from the bottom, then slide out with both hands,
2.Lift front of cover frame and remove cover support.
3.Lift out cover frame by pulling up and out.
To replace the cover:
1.Fit back of cover into notch supports on walls of refrigerator, then lower front into place.
2.Replace cover support with the long tab toward the front. NOTE: If the support needs adjust- ment, turn base right to raise or lefi to lower.
3.Slide back of glass insert into place, then lower front.
6