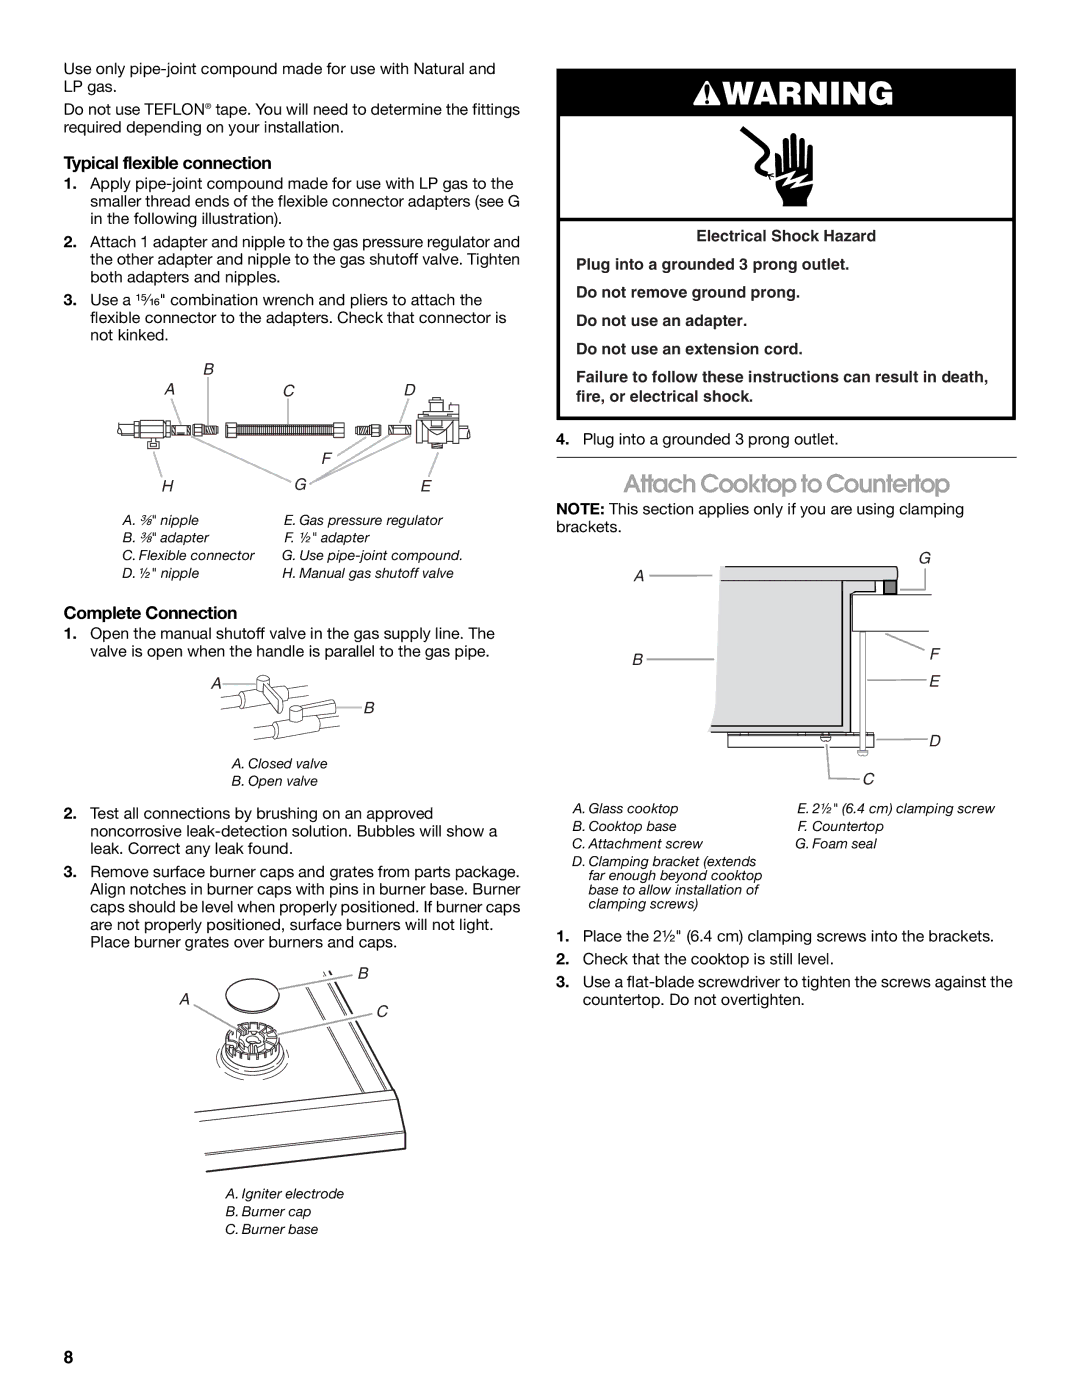
Gas Built-In Cooktop specifications
The Whirlpool Gas Built-In Cooktop is a versatile and stylish addition to any modern kitchen, engineered to deliver exceptional cooking performance while seamlessly integrating into your kitchen design. Its sleek, built-in configuration offers a clean and sophisticated look, making it an excellent choice for both contemporary and traditional décor.One of the standout features of the Whirlpool Gas Cooktop is its powerful burners, which provide efficient heat distribution for precise cooking control. The cooktop typically comes equipped with multiple burners, including high-output options that are perfect for boiling, searing, and stir-frying. The simmer burner is designed for delicate tasks like sauces or melting chocolate, ensuring that your culinary creations achieve the desired texture and flavor without risk of scorching.
Incorporating advanced technology, Whirlpool’s cooktops often feature a continuous grates design, allowing for smooth transitions between burners. This feature not only enhances stability when moving pots and pans but also simplifies the task of managing multiple cooking items simultaneously. The grates are usually made from cast iron, providing durability and excellent heat retention, which can elevate your cooking experience.
The cooktop’s ignition system is designed for user-friendly operation. With a simple push-to-turn knob, you can ignite the burners safely and quickly. Many models are equipped with electronic ignition, which means that the burners will light with ease each time you use them, eliminating the need for matches or lighters.
For added convenience and ease of cleaning, the Whirlpool Gas Cooktop features sealed burners. This design prevents spills and debris from seeping into the burner compartment, making cleanup a breeze. The surface is typically composed of premium materials that resist scratches and stains, ensuring that your cooktop maintains its polished appearance even after daily use.
Furthermore, you can often find adjustable burner settings that allow for greater flexibility in cooking styles. Whether you’re simmering sauces, boiling pasta, or achieving the perfect caramelization on meats, the ability to fine-tune the heat output is a major advantage for home cooks and culinary enthusiasts alike.
Overall, the Whirlpool Gas Built-In Cooktop exemplifies a perfect blend of performance, style, and technology, making it a smart choice for anyone looking to enhance their kitchen. With its robust features, user-friendly design, and reliability, it stands as a testament to Whirlpool's commitment to delivering high-quality home appliances that make cooking enjoyable and efficient.

