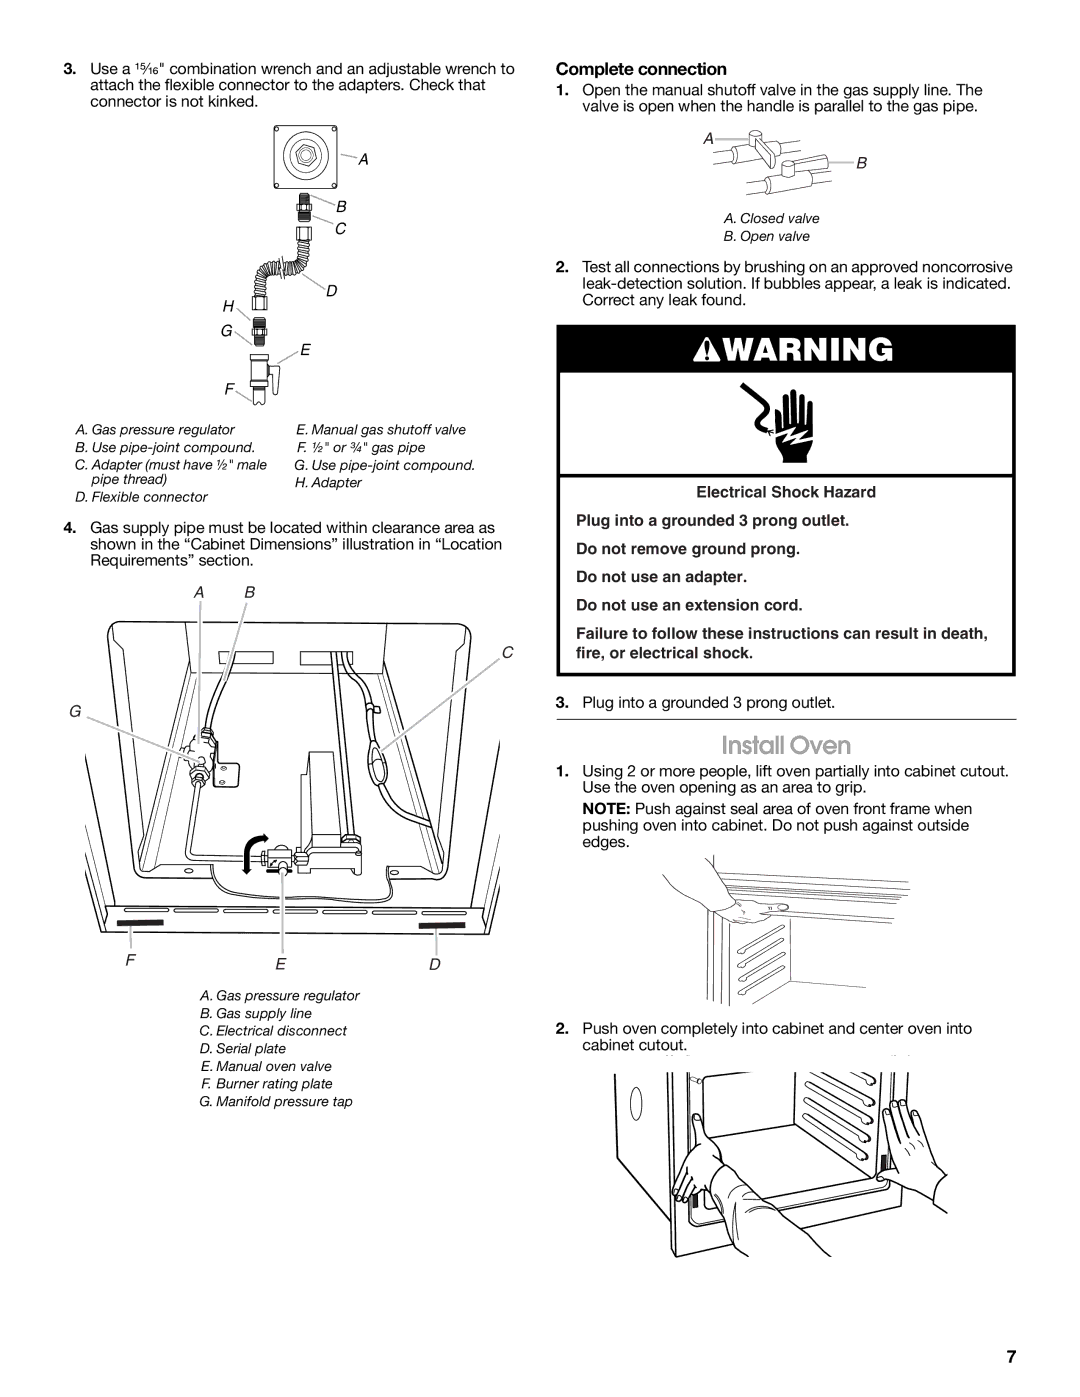
Gas Single And Double Built-In Oven specifications
Whirlpool Gas Single and Double Built-In Ovens represent the perfect blend of modern technology and timeless cooking tradition, offering a versatile cooking experience for every home chef. These ovens are designed to fit seamlessly into your kitchen, providing both functionality and style.One of the standout features of the Whirlpool Gas Ovens is their advanced cooking technology. The ovens are equipped with True Convection cooking, which utilizes a fan to circulate hot air evenly throughout the oven cavity. This ensures consistent cooking results, whether you are baking, roasting, or broiling. With True Convection, you can also cook multiple dishes at once without having to worry about uneven heat distribution.
Another key feature is the Precision Temperature Control, which allows for more accurate baking results. This technology ensures that the oven maintains the desired temperature throughout the cooking process, giving you the peace of mind that your culinary creations will turn out just right every time. The built-in temperature probe is another innovative addition, allowing you to monitor the internal temperature of your dishes without opening the oven door, ensuring perfectly cooked meats every time.
The Whirlpool Gas Ovens are designed with user convenience in mind. The intuitive touchscreen controls make navigation a breeze, allowing you to access cooking presets, timers, and other functions with ease. Additionally, the ovens come with a self-cleaning feature, which uses high temperatures to burn off food residues, making maintenance quick and hassle-free.
Safety is also a priority with these ovens, as they come equipped with features such as cool-to-touch door technology and a gas flame safety sensor, which ensures that gas flow is automatically shut off if a flame is not detected. These ovens also have a sleek design with a glass touch control, which adds a modern aesthetic to your kitchen.
With multiple cooking modes including Bake, Broil, Roast, and more, these ovens cater to a wide range of culinary needs. The double built-in option allows for even greater cooking capacity, making it ideal for large families or those who enjoy entertaining.
In summary, the Whirlpool Gas Single and Double Built-In Ovens combine advanced cooking technologies with elegant design, providing an unparalleled cooking experience for all users. Whether you're a novice home cook or a seasoned chef, these ovens are designed to enhance your cooking capabilities while ensuring safety and ease of use.

